
Creating a New Home: How to Repot a Jade Plant
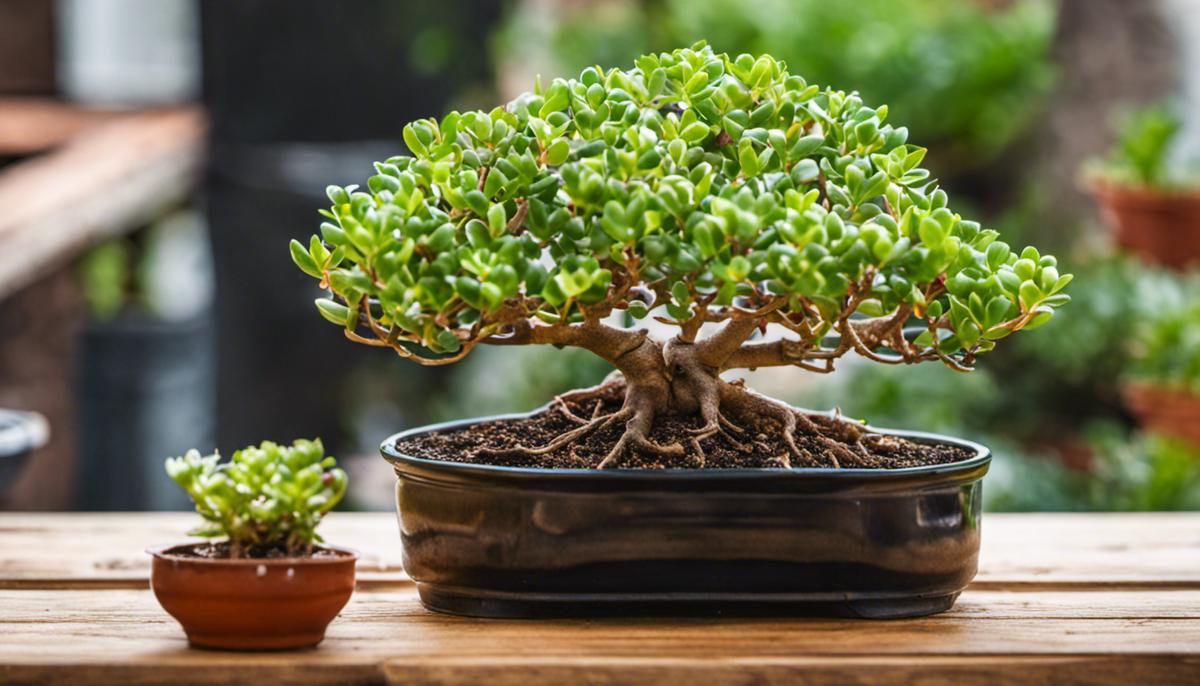
For many of us, nurturing plants in our homes adds a natural touch of beauty to our indoor spaces, and jade plants are one perfect option. These evergreen succulents are popular not just for their aesthetic appeal and symbol of good luck, but also for their ease of care. However, one necessary aspect of plant care is understanding when and how to repot them. This essay will enlighten you on how to determine when your jade plant requires repotting, which pot and soil would be best suited, and the process to transplant it with minimal stress on the plant.
Understanding When to Repot
“Repotting Jade Plants: When Does Your Gem Need a New Home?”
Jade plants, potentially one of the most rewarding hobbies for green thumbs around the globe, are treasured for their luscious green leaves, prolonged lifespan, and low-maintenance style. Known scientifically as Crassula ovata, these gems are also known as friendship trees, lucky plants, or money trees. No wonder jade plant enthusiasts are often keen on ensuring optimal plant health. But how do you know when it’s time to repot your beloved jade plant?
Firstly, closely observe the jade plant’s roots. This step is exceedingly crucial as roots often hint whether a repot is required. Distinct signs include roots appearing to be cramped, inhibiting the plant’s growth, roots emerging from the drainage holes, or an appearance so densified that they take on the shape of the pot. Uncomfortable roots don’t make for a happy plant!
Secondly, note that jade plants enjoy a snug pot environment. However, once it starts overcrowding the pot or seems to outgrow its container, that is likely a sign the jade plant is yearning for a new spacious home. Also, if a jade plant topples over due to its weight, it’s undeniably time for a new, sturdy pot.
Thirdly, symptoms of nutrient deficiency might also hint towards repotting need. Does your jade plant appear less vibrant, somewhat dull in color, or exhibit slow growth? These might be signs of a lack of essential nutrients, signaling that a fresh set of potting soil might just work wonders.
Last but not least, consider the age factor. While jade plants grow slowly, they may demand repotting roughly every few years. A standard timeframe may be 2-3 years. Keep this in mind and make it a part of your jade plant care.
Remember, repotting shouldn’t be rushed or done unnecessarily. It can be a little stressful to the plant’s system. So, ensure you are not overdoing it; the key is to strike an adequate balance. Your jade plant relies on you for its survival, thus the importance of making informed decisions. Also, when the repotting is done, make sure you give the plant some time to adjust to the new settings.
Every hobby is a world unto its own with its mysteries and magic. The hobby of growing jade plants is no different. By understanding our jade plants’ needs, we nurture them towards perfect health, enabling them to enhance our spaces by their mere presence. Happy jade growing!
Choosing the Right Pot and Soil
Embarking on a Jade Plant Repotting Adventure: Step-by-Step Walkthrough
Ah, the delicate and alluring art of nurturing jade plants, a journey every proud jade plant hobbyist knows all too well. Jade plants come with their fair share of love, characteristics, and needs. Once the hobbyist has deciphered the “repotting signs,” the adventure into repotting begins. Here’s a guide to enhancing your jade plant’s vivacity through repotting.
Step One: Gathering the Essentials
First things first, let’s get our hands on the right tools. You’ll need a new pot that’s a size bigger than the current one, fresh potting soil (one specifically designed for cacti or succulents works best), a clean sharp knife, and a small dusting brush. Each contributing to the harmonious dance of repotting, enhancing the captivating aura our jade plants already possess.
Step Two: The Unpotting Process
Next, there’s the gentle task of moving your jade plant out of its existing home. Start by loosening the dirt around the edges, working carefully to free any stubborn or wedged roots. Remember, jade plant roots are stringy and brittle, requiring your utmost patience and finesse – an art in itself!
Step Three: Inspecting the Roots
With the plant free from its former residence, take a moment to inspect the root ball. Brown or soggy roots could indicate rot. These should be expertly sliced off, without a trace, leading to a healthier jade plant life in the long run.
Step Four: Prepping the New Home
Moving forward! Let’s take that new pot and layer the bottom with some pebbles or pot shards for drainage. Top this layer with just enough potting soil so the plant will sit at the same height it did in the old pot, because remember – jade plants prefer to sit high.
Step Five: Potting the Jade Plant
Cozy up your jade in its new home by placing it in the center of the pot. Then, gently add the fresh potting soil around the roots, using your fingers to work the soil in and eliminate air pockets. A small brushes’ stroke can help dust off any soil that’s clinging to the leaves.
Final Step: Post-Repotting Care
Your jade is ready for its new start! But hold off on the water for at least a week, allowing the roots to heal and avoid rot. After this period, water thoroughly and place it back in its beloved sunny spot.
Congratulations! You’ve successfully navigated the elaborate dance that is repotting a jade plant. This is more than just a hobbyist checkpoint; it’s a testament to your refined green thumb, and evidence of the bond between human and plant life. A jade plant might just be that silent friend in the corner, but with patience and care, its growth mirrors your own personal growth. Truly, a dance worth learning!
Here’s to continuing the adventure, cultivating many more jade plants, and perfecting the art of repotting!

Transplanting Process
Vital to the beloved jade-planting pastime is the repotting process – a necessary stage that inevitably arises as our emerald companions continue to grow and thrive. Having already discussed when it’s time to usher your jade plant into larger lodgings, let’s now delve into the practical side – hands deep in the rich soil. Buckle up for an enjoyable and fulfilling potting adventure!
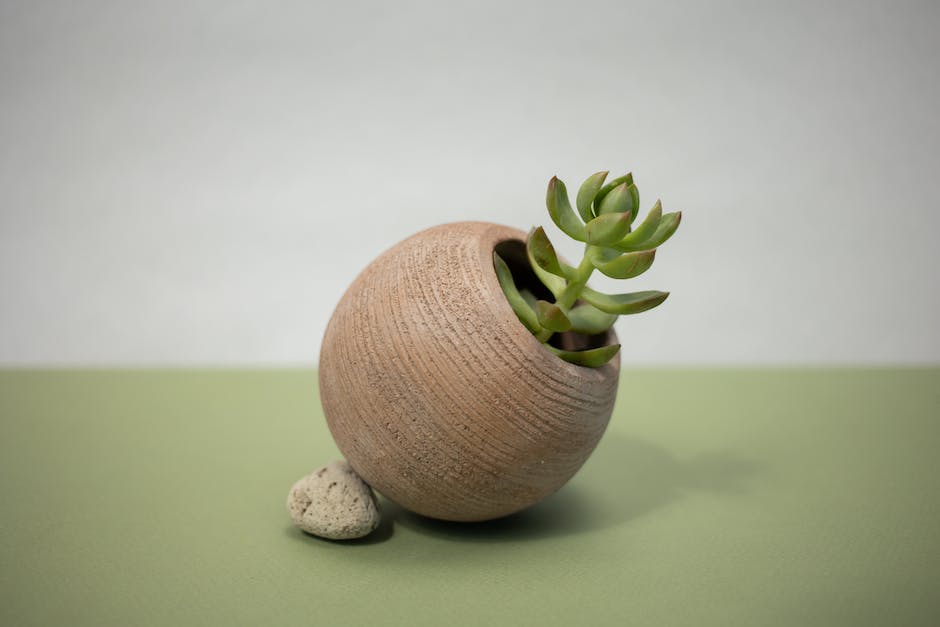
First, aspiring jade gardeners must gather the right materials. Start with a pot slightly larger than your jade’s current home – not too large, remember, these plants prefer an intimate space. Ensure its material allows for excellent drainage, as jade roots are prone to water damage. A terra-cotta or ceramic pot with drainage holes could be your best bet. Partner your chosen pot with a high-quality, well-draining potting mix specifically tailored for succulents.
Preparation, as in life, is paramount in jade repotting. Start by gently teasing your jade from its current home. Be careful: the process should be slow. If resistance is met, try easing the jade out by tapping the base of the pot. As the plant loosens, support it by placing your fingers around the base, lifting evenly and gently. Once free, it’s time for a full health check. Trim away any unhealthy-looking or rotten roots – our aim is to start this new chapter with a clean slate.
Next, it’s time to prep the new pot for your jade plant’s arrival. Fill it roughly a third of the way with your chosen potting mix. It’s a good idea to add a few crocks – broken pot shards – or gravel, for added drainage. To aid in settling, make a small depression in the soil to accommodate the root system comfortably.
Now, the joyous part: re-introducing your jade to its new abode. Pace your jade inside the pot, ensuring the root system fits snuggly within the depression. Begin adding the remaining potting mix, pressing gently around the roots as you go, encouraging stability. Be careful to ensure the jade’s stem isn’t buried too deeply, as this can lead to rot. It’s a balance – you want enough soil for stability, but do avoid the threat of overburial.
Finally, we must acknowledge that any move, however minor, requires an adjustment period. Post-repotting, be sure not to water your jade plant right away. Allow it a breather, give it a few days to recover and acclimatize to the new set-up. After this rest period, resume a normal watering schedule – always remember, jade plants prefer a cycle of soak and dry, rather than constant moisture. Then, simply return your jade plant to its usual sunny spot, and witness the results of your careful labor bloom before you.
Mastering the jade repotting technique is a rite of passage, a testament to one’s commitment to this fantastic hobby. Here’s to your thriving green friend and its future growth in its spacious new home! The delightful journey of nurturing these spectacular gems really is a hobby that keeps on giving. Adventure on, fellow jade enthusiasts!
Armed with the knowledge outlined above, you can confidently repot your jade plant, managing its health effectively. Keeping an eye out for signs of growth or stress in the plant, correctly selecting a pot and soil, and following the appropriate techniques for repotting play essential roles in ensuring your jade plant’s lasting vitality. May your jade plant thrive in its new pot, continuing to bring you joy and enhance your indoor spaces with its beauty.


