
Creating a Worm Bed: An Easy Guide
Delving into the exciting world of vermiculture, or worm farming, can seem complex at first. However, with some solid knowledge and understanding on the right materials, construction techniques, and worm care, anyone can become a successful worm farmer. This guide will discuss not only the selection of important materials like suitable wooden boards or plastic containers and bedding like newspaper or cardboard, but also the efficient and enriched world of worms themselves, making you equipped to start your own worm bed.
Materials Selection
If you’re looking to undertake one of the most rewarding alternative gardening practices out there, let’s dive right into the world of vermiculture, or more specifically -building a worm bed! It’s a fun, sustainable, and eco-friendly hobby, and it also happens to be an outstanding way to create top-quality organic fertilizer right at home! But before starting, it’s worth taking a few moments to familiarize ourselves with the key materials necessary for this exciting project.
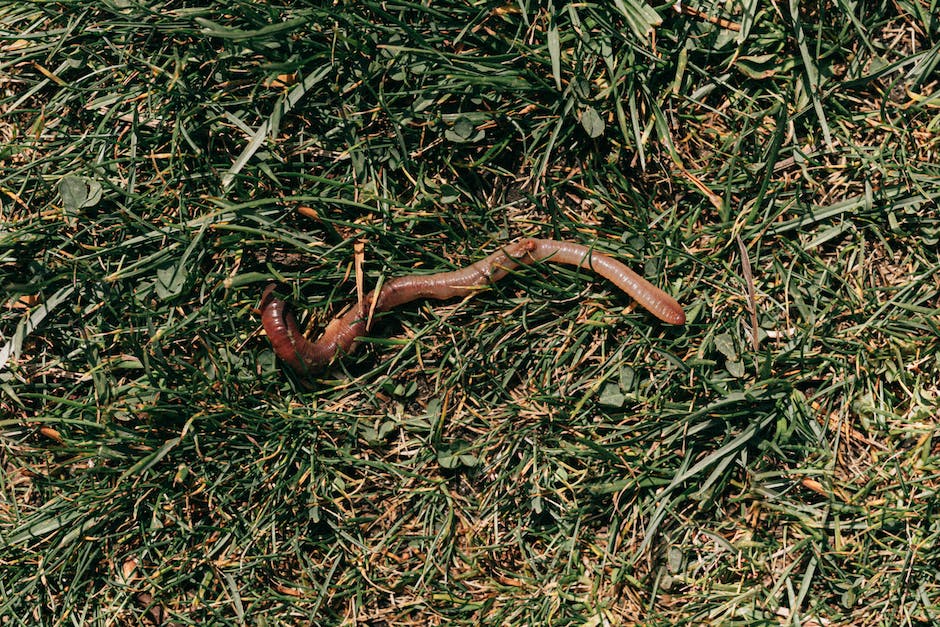
1. The Worms:
Not just any worms will do here! Red Wigglers (Eisenia fetida) and European Nightcrawlers (Eisenia hortensis) are the champions of composting. Loved by vermiculture enthusiasts across the nation, these worms break down organic matter quickly and effectively.
2. The Container:
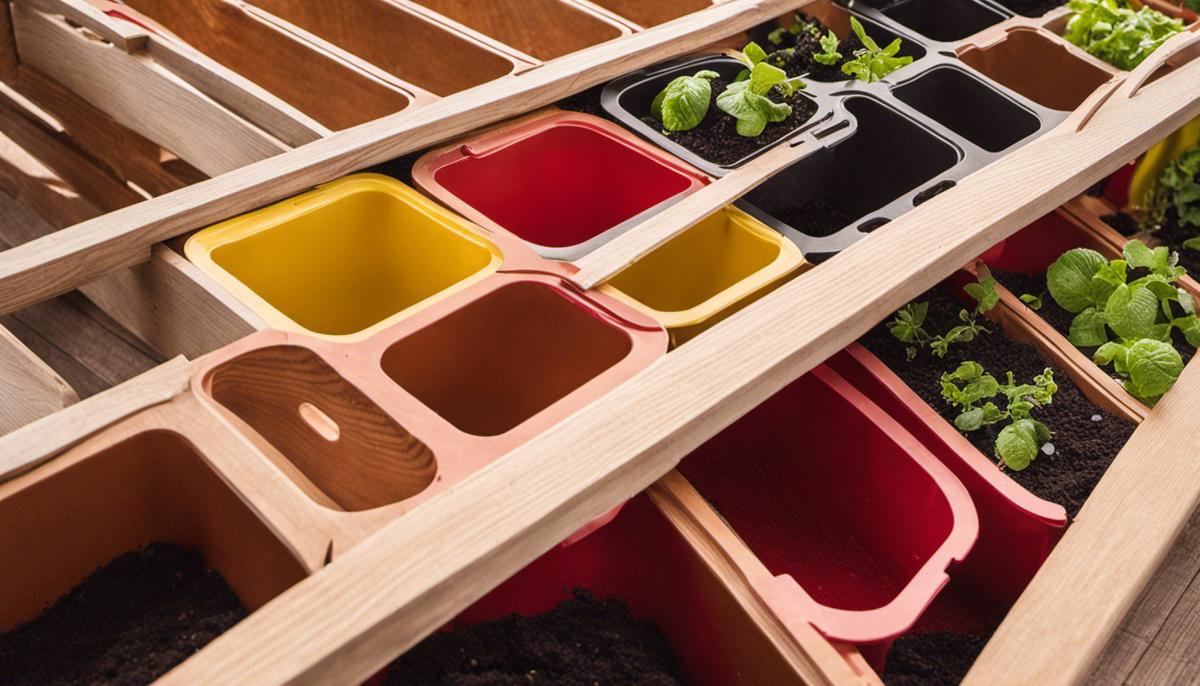
Worms need a home, and a breathable wooden box serves as a fantastic worm bed. Plastic containers can also work but ensure that they have ample drainage and ventilation. The size of the box depends on one’s needs, but it’s generally useful to start with a 2’ x 2’ x 1’ size box for a household of two. Remember, the depth is significant since worms are surface feeders.
3. Bedding Material:
Worms require a warm and moist environment to thrive, and the bedding material provides exactly that. Shredded newspaper or cardboard, dried leaves, or composted yard waste are all excellent choices. The bedding needs to remain damp, about as wet as a wrung-out sponge.
4. Food Scraps:
A worm’s menu primarily includes fruit and vegetable scraps such as banana peels, apple cores, carrot tops – you name it! Adding crushed eggshells is also beneficial as it helps balance the acidity in your worm bed. However, steer clear from dairy products, onions, meat, citrus fruits, and anything oily or greasy.
5. Water:
Just like any living creature, worms need water to survive. The bedding needs to be regularly moistened with water, but not soaked.
6. A Cover:
A cover is important as it maintains an ideal dark environment for the worms, as well as helps in retaining moisture. The lid should also have ventilation, so consider a breathable fabric or a lid with drilled holes.
And there you have it. These are all the necessary items to get rolling with building a worm bed at home. It might seem like a lot, but once you begin, you’ll find it to be a relaxing, enjoyable, and incredibly productive hobby. So here’s to the world of worms and the great adventures in vermiculture that lie ahead!
Worm Bed Construction
Harnessing the Power of Worms: Advanced Vermiculture Techniques
Having set up your home vermiculture environment and indulged in the blissful experience of watching your worms thrive, it’s time to delve a bit deeper into the magic of worm farming. With clear understanding and detailed oversight, your worm bed can go from simply sustainable to spectacularly thriving.
Managing your Worm Population
An enthusiastic vermiculturist pays keen attention to the population of their worm bed. If the population gets too dense, it can cause the system to overheat, leading to a slowdown in composting activity. Regularly monitor your worm population and consider dividing the worm bed if it gets too dense. Optimal population densities depend immensely on your composting needs, but as a general rule, around one pound of worms for each square foot of surface area is a safe benchmark to start with.
Understanding Worm Migration
As your worms consume the food scraps, they will invariably leave behind their nutrient-rich castings. Concurrently, they will migrate to areas with fresh food. Managing this migratory behavior is a key part of an advanced vermiculture technique known as worm casting harvesting. One way to encourage migration is to feed your worms on one side of the bed for a while, allowing you to collect worm castings from the other side without disturbing them.
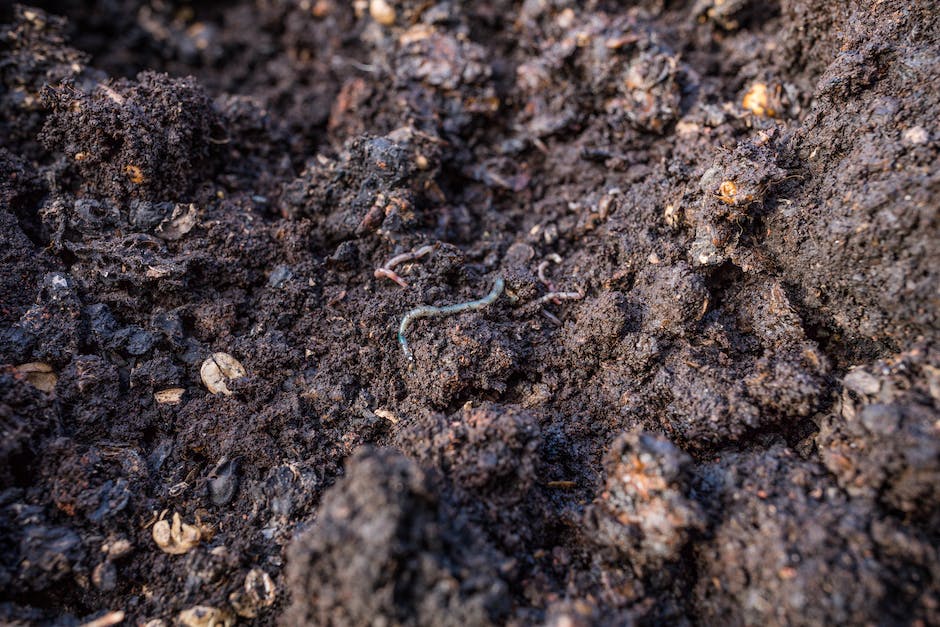
Utilization of Worm Castings
Worm castings, the byproduct of your worm’s voracious activity, is a potent organic fertilizer rich in nutrients and beneficial microbes that can boost the health of your plants. Apply the sifted worm castings directly to your garden soil or make “worm tea”. Steep the castings in water, then apply the strained liquid to your plants for an immediate nutrient boost.
Creating Optimal Conditions
Just as we humans appreciate a bit of comfort, so do our wriggling friends. Maintaining a steady temperature, ideally between 55°F and 75°F, can ensure your worms remain healthy and productive. Quick temperature shifts can be stressful and damaging to the worm population.
Monitoring pH Levels
Worms thrive best in a pH-neutral environment. Keeping a close eye on the pH levels of your composter is essential. The bed should ideally possess a pH between 5 and 8; outside of this, the worms may struggle to stay healthy. You can easily adjust pH by adding a handful of crushed eggshells or dolomitic lime for acidity or well-rotted leaf litter for alkalinity.
Engaging with the Vermiculture Community
Every element of vermiculture is part of a grand cycle of sustainability. From sharing excess worms from a prolific bin, to trading tips on temperature control and moisture balance, engaging with other vermiculture aficionados both online and offline can only heighten your enjoyment of this rewarding practice. Remember, we are all stewards of this planet, and every worm bed contributes to a healthier Earth!
In the world of vermiculture, there’s always more to learn, more to do, and more to enjoy. As your worm bed flourishes apace, so will your knowledge and esteem in this invaluable practice. Embrace the science, relish the art, and share the joy of successful worm farming!
Worm Care and Maintenance
How to Keep Your Worm Bed Healthy and Thriving
Once you’ve plunged headfirst into the glorious world of vermiculture, you’ll soon realize that regular maintenance of your worm bed is a crucial aspect of the hobby. It isn’t just about dumping food scraps and leaving the worms to their business. These wonderful little creatures need a bit of tender, loving care from us.
The balance within your worm bin, from moisture levels to acidity, heavily influences the wellbeing of your worms. Proper maintenance is paramount in preserving the longevity and the efficiency of your worm bed.
Controlling Moisture Levels
Just as much as providing adequate water is essential, it can quickly become a problem if not monitored properly. Overwatering often leads to a worm bed that’s overly saturated and devoid of the needed air pockets. A soggy, mucky worm bed may result in a drowned worm population, which is the last thing an enthusiast wants.
The perfect worm bed moisture level should feel like a damp sponge that has been squeezed out and not be dripping or mucky. Remember, worms breathe through their skin, and excess moisture saturates their habitat, leaving them without enough oxygen.
Regulating Temperature Levels
Like all creatures, worms have an ideal temperature range where they thrive. The sweet spot lies between 55°F (13°C) and 77°F (25°C). Keeping the bin in a shaded area or indoors during hot months or harsh winters will ensure your worms remain comfortable.
Air Flow and Ventilation
Airflow is yet another critical aspect of maintaining a healthy worm bed. For the worms to breathe and for decomposition to happen, air must reach all corners of the bin. Bins with false bottoms can assist with this or manually rotating the bedding every few days to ensure sufficient air-flow.
Maintaining Bedding Conditions
Frequent checking on the bedding is imperative, not just for moisture but also for food supply and general conditions. Over time, worm castings will accumulate, and the bedding will compress due to the worms’ activity and weight. This condition lowers the air pockets available. Regular fluffing and replenishing of the bedding is a surefire way to keep your worms frolicking joyfully.
Steady Food Supply
Never overfeed your worm bed. Remember, accumulated food scraps start to ferment and produce heat which is detrimental to your ecosystem. Feed your worms little and often while ensuring the balance of green and brown matter is maintained for optimal results.
Paying attention to these aspects is the ticket to a flourishing bed of eager, hard-working worms. Embrace the worm-care as you would a beloved pet, and you’ll reap all vermiculture has to offer, from rich compost to healthier plants and an overall rewarding time. Lastly, remember to connect with other vermiculture enthusiasts; the collective wisdom shared is usually a treasure trove of practical tips and experiences. Keep your worms comfy, and your efforts will bear fruit, or more appropriately, vegetables!
Crafting a worm bed is a craft and science that requires knowledge, patience, and care. However, the rewards go far beyond producing your own nutrient-rich compost. You will witness, and in some way, partake in the circle of life, assisting these little creatures to recycle organic waste into a valuable resource. Moreover, with proper care, maintenance, and feeding habits, you can ensure that your worms thrive. A well-managed worm bed doesn’t just benefit your garden, but contributes to a healthier environment as well.


