
Easy Guide: Growing a Peach Tree from a Pit
Delighting at the juicy sweetness of a ripe peach is a summertime joy. Imagining that singular pit within the core of such a fruit, being the origin of a magnificent tree, laden with these succulent delicacies, seems almost magical. This is the remarkable potential and promise stored within a humble peach pit – the capability to embark on a journey from a small seed to a full-grown peach tree. This journey, while fascinating, necessitates careful preparation of the peach pit, precise germination techniques, and an understanding of how to plant and nurture the young tree.
Preparing the Peach Pit
Title:
The Unveiled Steps to Prepare a Peach Pit for Planting: A Green Thumb GuideStepping into the world of peach pit planting can be incredibly rewarding. With just a bit of patience and a few helpful tips, you too can start nurturing your very own peach trees from the comfort of your backyard.
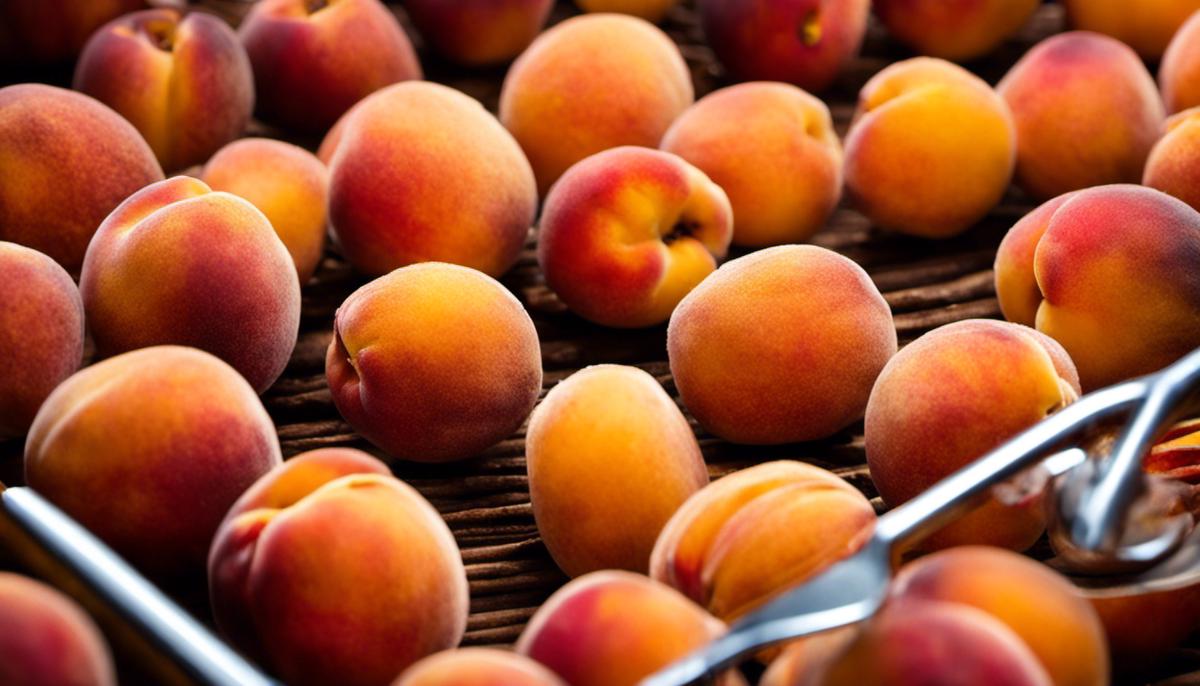
Step 1: Save a Peach Pit
It all starts with a single peach pit. Look for a healthy, ripe peach, preferably organic. Consume or use the fruit, then clean the pit. Be sure not to inadvertently crack the pit during the process, as this can damage the seed inside.
Step 2: Dry the Pit
Once the pit is cleaned of all flesh, it will need to be dried. Place it in a discreet, dry, shaded spot and let the air work its magic. Usually, a timeframe of three to seven days will suffice.
Step 3: Strategically Crack the Pit
After the pit has completely dried, carefully crack it to reveal the seed inside regarded as the “true” peach seed. Laying the pit sideways and lightly tapping with a hammer often yields the best results. Remember, the goal here is to get to the seed without causing any harm to it.
Step 4: Cold Stratification
The peach seed simulates a winter season for germination to occur, using a process called “stratification”. This can be done by placing the seeds in a bag of lightly moistened peat moss, vermiculite, or similar growing medium. Store this in the refrigerator for roughly 6-8 weeks. Verify that the medium remains somewhat moist and check periodically for sprouting, as some seeds may require less chilling time.
Step 5: Time for Pot Planting
After the cold stratification, if the peach seed hasn’t started sprouting already, it’s time to plant it. Start the peach seed off in a pot then transplant the sapling outdoors. Choose a pot with good drainage, filling it with a rich yet well-draining soil. Plant the seed roughly 2 to 3 inches deep, and water it gently.
Step 6: Simulate Spring
Ensure the pot eventually gets plenty of sunlight and temperature approximately 70 degrees Fahrenheit to simulate spring conditions. Monitor soil moisture carefully, avoiding both drying out or waterlogging the soil.
Once the sprouts begin to appear and the saplings have grown a few inches high, they are then ready to be transplanted outdoors. Choose a sunny location and ensure the soil conditions are favorable to peach trees for best results.
Patience truly is a virtue when it comes to peach pit planting. It takes years for the tree to mature and bear fruit, but when they finally do, there’s simply no joy that can compare! With every juicy bite into that sweet, homegrown fruit, you’ll taste the fruits of your labor and the love that went into growing your own peach tree. This, my fellow hobbyists, is the real beauty and gift of peach pit planting. Best of luck, and here’s to future flourishing peach trees!

Germinating the Peach Pit
Step 7: Transplanting Your Peach Seedling
After your peach pit’s germination has been successfully simulated, it’s time to take the next big step: transplantation. The key here is to wait until your seedling has hit 2-3 inches, – it’s a rule of thumb that ensures the seedling is robust enough to survive the process. Making this move too soon could potentially stunt growth or kill the plant entirely. However, don’t dawdle too long either; giving it ample room to grow encourages strong root formation.
To transplant, prepare a bigger pot filled with a good quality potting mix. An organic blend or a mix specifically designed for fruit trees, drip-fed with a slow-release fertilizer, is a fantastic choice. Remember to ensure your chosen pot has good drainage to avoid waterlogged roots, which can spell doom for your young tree.
Step 8: Provide Lots of Sunshine and Water
Peach trees love sunshine just as much as they love water. The most crucial thing here is balance. Imagine spending a few hours basking in the sun, then taking a relaxing dip in the pool—it’s that kind of rhythm we want for our peach tree seedlings. Essential yet straightforward—just remember not to drown nor dehydrate them. A good balance of 6 hours of sunlight and regular watering should maintain their vivacious growing rhythm.
Step 9: Pruning and Maintenance
The key to a thriving peach tree lies in the constant upkeep and pruning. What might seem harsh initially keeps the tree healthy long road. Once the saplings reach a foot in height, clip off the top to encourage it to grow laterally, forming a sturdy and broad base. Bi-yearly check-ups are also necessary to keep the bugs and diseases at bay.
Step 10: Transplanting to the Garden
Now let’s talk about the final stage of this peach-germinating endeavor: transitioning from a potted plant to being a full-fledged tree in your garden. It’s a big move a few years down the road, so do be patient. Always remember the old saying: the best time to plant a tree was 20 years ago, the second best is now.
When the tree sports a height of around 3-4 feet, it is more than ready to make the garden its new address. Make sure you pick a spot that matches its love for the sunshine and has well-draining soil. Space your trees about 15-20 feet apart to let them grow and flourish without competing for resources.
Step 11: Peach Harvest Time
Is there anything sweeter than harvesting your home-grown bounty? After a few years, your tree should start producing fruit – its timing for fruiting depends on the variety and overall conditions it was exposed to throughout its growth.
As this wonderful peach-germinating journey comes full circle, you’re reminded of why this hobby is so fulfilling. It’s the magical process of nurturing a small peach pit into a fruitful tree, which truly makes this hobby a lifestyle for the passionate hobbyist you are.
Planting and Caring for the Young Tree
Stepping into the thriving world of gardening, one can experience the thrill of watching a humble peach pit transform into a bounty-bearing tree of beauty, providing not only shade but the promise of juicy peaches fresh from the branch. But let’s be honest, the journey isn’t all roses. There are challenges as well as triumphs as we dive deeper into our beloved hobby. Yet for the passionate garden hobbyist, isn’t that all part of the fun?
So, with the germination process completed and the emergence of the peach seedling, what next? Read on as we delve into steps that will help guide through the next phases of this exciting gardening endeavor.
Step 7: Transplanting to an Apt Pot
As the seedling breaks from its pot confines, it’s time for a bigger home. Choose a pot that is twice the width and depth of the current one. A sturdy clay pot of about 12-15 inches diameter is ideal. The potting mix should be well-draining with equal parts compost, loamy garden soil, and grit, such as coarse sand or perlite.
Step 8: Sunlight and Watering
Peach trees love their sunlight. A sunny windowsill with 6-8 hours of light is perfect for the flourishing seedling. Water when the top inch of the soil is dry, usually once every five to seven days.
Step 9: Pruning
Once the seedling reaches about 18-24 inches in height, trim about a quarter off the top. This stimulates lateral growth and strengthens the tree.
Step 10: Bug and Disease Check
Regular monitoring keeps the peach tree free from ravaging bugs and diseases. In case of an infestation, natural insecticides or fungicides are environmentally friendly control measures.
Step 11: Garden Transplant
When the peach tree stands a proud three feet or higher, it’s ready to move outdoors. Choose a sunny spot with well-draining, fertile soil. Space trees about 15-20 feet apart to allow for unhindered growth.
Step 12: Reap the Fruits of Your Labor
After several years, when the tree first blossoms and produces fruit, the moment is nothing short of magical. The joy of tasting a fresh peach, from pit to tree to plate, can’t be underestimated.
It’s essential to remember that peach trees are a labor of love. They require consistent nurturing, keen vigilance, and the gentle patience that only true gardening hobbyists can give. The thrill of watching a tree mature, from the careful cradling of a germinated peach pit to the thrill of the first blossom, is a testimony to the timeless gratification of planting your own fruit trees.
A peach pit growing into a bountiful tree is a testament to the wonders of nature. Diligence, patience, and learning are vital partners on this intriguing journey, as we transform a mere pit into a peach tree. Understanding each step – meticulously preparing the pit, creating the optimum conditions for germination, and fostering the seedling’s growth with the correct soil, water, sunlight, and protection – allows us to process this marvel. Not only does the endeavor bear fruits, but it also fosters a profound appreciation for nature’s intricacies.


