
Effortless Guide to Splitting an Aloe Vera Plant
The Aloe Vera plant, known for its hearty nature and myriad health benefits, often forms small offshoots known as “pups,” marking the plant’s readiness to multiply. The process of successfully separating these pups to yield new, independent Aloe plants requires a keen understanding of the proper conditions and methods. From accurately identifying the right stage for separation, to carefully transplanting the pups, all the way to their adequate aftercare, every step plays an essential role.
- Determining the best time for propagation involves an understanding of the Aloe Vera plant’s maturity stage and the seasonal influences that contribute to their wellness.
- The art of separating and transplanting these Aloe Vera pups involves a finesse that respects the delicate nature of these young offshoots, using specific tools, the appropriate soil, and following the right transplanting depth.
- The aftercare of the newly separated Aloe Vera pups requires a mindful approach to watering, lighting conditions, and fertilization that fosters healthy growth.
Determining When to Split Your Aloe Vera
Heading: The Perfect Moment: Unraveling the Mystery of When to Divide Your Aloe Vera Plant
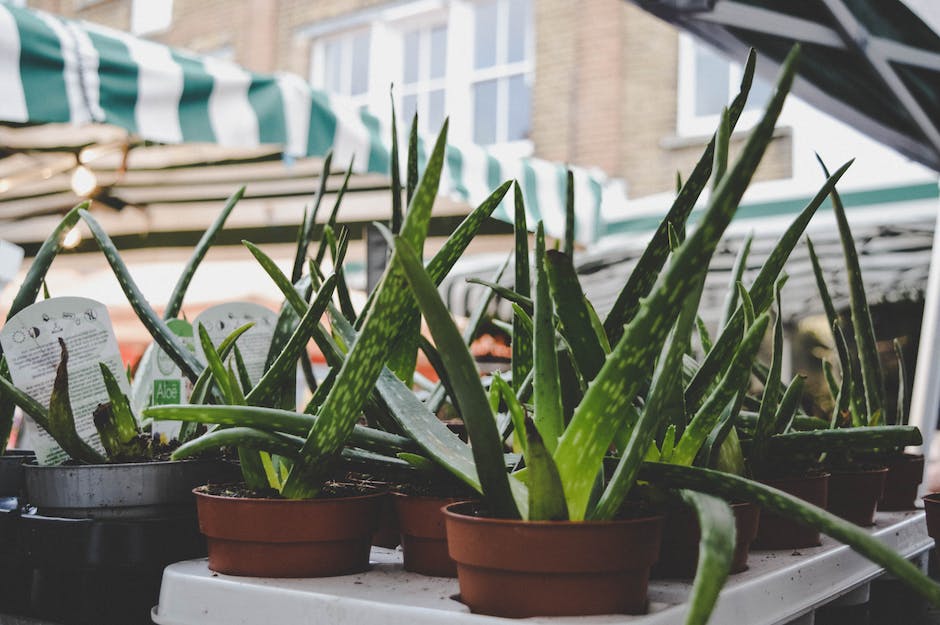
Embarking on the exciting journey of owning an aloe vera plant is indeed rewarding. As radiant as they appear, their unassuming nature harbors a wealth of healing properties. Now, if you’re onto the next stage of your green endeavor – division and propagation, you’re not alone. Let’s dive into the world of finding the optimal time to divide your fascinating aloe vera plant.
Aloe vera plants have a unique trait of growing “pups” or offshoots – smaller version of themselves that feed off the mother plant. These pups provide the perfect opportunity for propagation. After all, why stop at having one aloe vera plant when you could potentially have a garden full? The question remains – when is the optimal time to reach into that pot and segregate those pups?
Unveiling the Optimal Time
These hardy succulents prefer temperatures that range from 55 to 80°F, which makes spring and early summer ideal for division. Why? This period pushes aloe vera plants into a growth spurt, enabling the divisions to recover more quickly and start their journey into maturity.
Understanding the Plant’s Growth Cycle
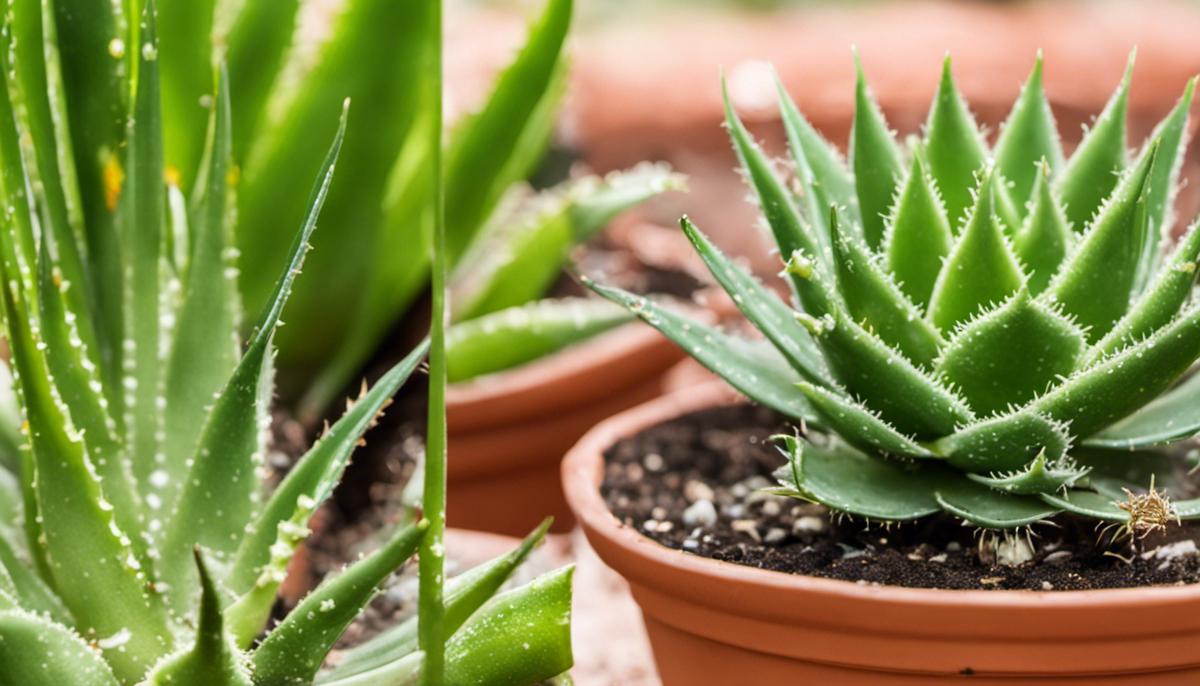
Before diving into division, understanding the aloe vera’s growth cycle is key. The optimal time to divide an aloe vera plant is when the pup or offshoot has grown large enough. Typically, this would mean pups that are one-fifth the size of the parent plant, with at least four to six leaves.
Ensuring the maturity of a pup is crucial before division, as younger ones may fail to take root and perish before they have a chance to grow. So, practicing a little patience can ensure a higher success rate for your aloe vista propagation.
Taking Note of the Preparation Time
Friday night rolls around, you’re donning your favorite gardening gloves, ready to dissect your beloved aloe vera plant. Yet have you given it time to prep? Before executing the division, watering the parent aloe vera plant a week ahead can leave it well-hydrated and more likely to survive the division process.
Assessing the Plant’s Health
Never underestimate the power of healthy foliage when planning a division. Your aloe vera plant should show no signs of distress, disease, or pests. Invest time inspecting your plant, ensuring it has healthy, plump, green leaves – signs of a plant in perfect shape for division.
Finally, it truly is remarkable how the simple act of observing the plant’s growth pattern, health, and readiness to divide can turn our humble hobby into a garden brimming with aloe vera plants. Happy dividing!
Separating and Transplanting Aloe Vera Pups
Diving into the specifics of separating and transplanting aloe vera pups, this activity requires an adequate amount of precision paired with the right knowledge.
Knowing the correct approach is crucial for the survival and flourishing of the aloe pups. Fret not, these simple steps will guide you through this interesting and fulfilling endeavor.
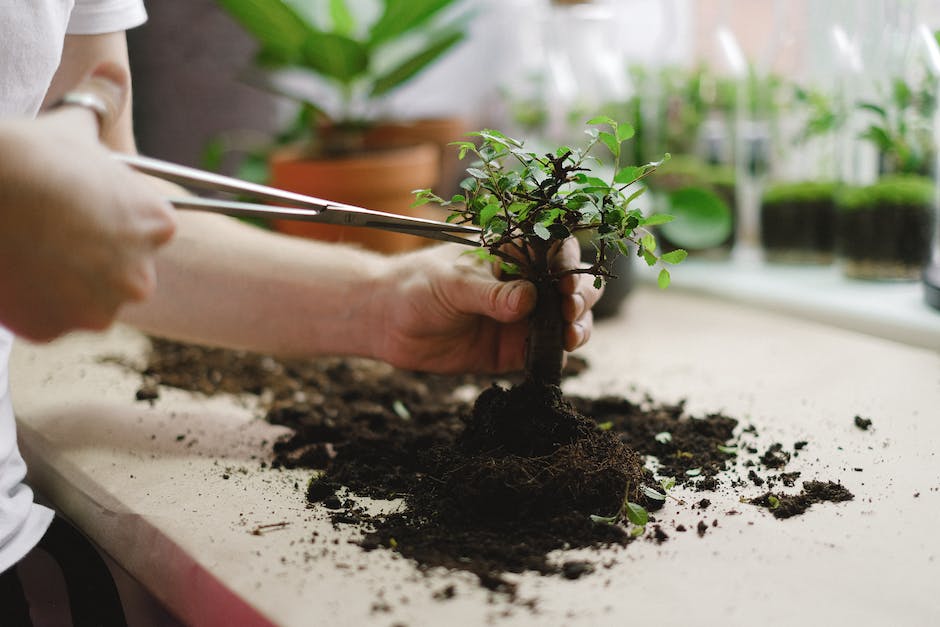
- Necessary Tools: Equip yourself with the right tools; clean, sharp garden shears or a knife, and gloves to protect your hands from aloe’s potentially irritating sap. Sterilize your tools beforehand to avoid any bacterial contamination.
- Pup Identification: Spotting the right aloe pup is important for successful transplantation. Mature pups are your best pick, identifiable by their healthy size (around 2 inches tall) and a decent root system. Do you see hefty, vibrant pups detaching from the mother plant? You’re good to go!
- Detaching the Pup: With your sterilized tool, cut the pup away from the base of the parent plant. Take care to include as much root as possible which aids in a smooth transplant process. Make clean, sharp cuts to avoid causing unnecessary stress to the pup and mother plant.
- Drying the Pup: Leave the freshly separated pup to air dry for a couple of days. This aids in forming a protective callus over the cut, preventing rot and disease on replanting.
- Prepping the Pot: Get a pot ready with well-draining soil using a mixture of regular potting soil and perlite, or a commercial cactus & succulent mix. Ensure the pot has drainage holes to prevent water-logging which could spell disaster for your newly transplanted pup.
- Planting the Pup: Nestle the pup into the soil, ensuring the roots are fully covered but the leaves remain above the surface. Tamp the soil gently to provide some stability to the pup.
- Aftercare: Initially, keep the soil on the dry side to allow the pup to settle in its new home. After a week or so, start a watering routine, ensuring the soil dries completely between waterings. Place your newly transplanted pup in a bright location, but avoid direct sunlight initially to prevent scorching.
And voila! By following these steps, you’re providing the best shot at life and growth for your aloe vera pups. Enjoy the sprouting beauty of your propagated plants, their flourish a testament to your green thumb and the extraordinary world of botanical hobbies.
Aftercare of Divided Aloe Vera Plants
Post-division care is critical for the new aloe vera plants to flourish. Ensuring their wellbeing doesn’t have to be met with trepidation, especially when armed with the right techniques and insights!
As the freshly-divided plant ventures into its solo journey, patience and close observation are of the essence. While the new pups are in the healing stage, avoid watering for approximately one week. This “dry spell” allows the pups to mend from any division-related stress and develop calluses at their wound sites.
Once the week elapses, light watering can be introduced gradually. Like most succulents, aloe vera thrives with the ‘soak and dry’ method. This entails completely drenching the potting soil, then allowing it to entirely dry out before watering again. It’s crucial to follow this method, but also to understand the need for moderation. Over-watering can spell disaster, causing root rot and possibly even killing the plant.
Location plays a part in the thriving journey of a pup. A bright location, ideally with indirect sunlight, works wonders. Although aloe vera loves sun, it can still be quite vulnerable to sunburns, particularly juvenile plants and those that have been newly propagated.
The soil type is another important aspect of the post-division care process. A well-draining cactus mix is always a good choice. Avoid regular potting mix, as it tends to retain more water—something you want to steer clear of for aloe vera pups. Even better, create your homemade mix using one part soil, one part perlite, and one part coarse sand to ensure drainage.
Regularly monitor the new plants for any signs of distress. Yellowing leaves can be an indication of overwatering. Meanwhile, brown, wilted leaves often signal not enough water. Changes in leaf color, fungus, or pests are also signals that your plant needs some extra love and attention.
As the new pups navigate this new, independent world, fertilizing can provide them with an extra boost. Utilize a balanced houseplant fertilizer diluted to half strength. However, don’t jump into fertilizing too quickly—wait until the plant has settled into its pot, usually about a month post-planting.
Finally, remember that these plants are not just about survival, they thrive on love and attention. Shower them with the care they deserve, and they will lushly flourish, rewarding your spaces with their grounding beauty.
Taking care of aloe vera plants post-division may initially seem like a fussy endeavor. However, as with many great hobbies, practice makes perfect and patience paves the way. The reward of seeing the new pups grow into resilient adults will undoubtedly make all this nurturing worth every minute!
Transplanting Aloe Vera pups goes beyond simple plant propagation – it’s about promoting the continuous growth of this remarkable plant. Understanding when to split your plant, how to perform the delicate task of separating and transplanting these pups, and what steps to take following this process are all integral parts within the cycle. Through consistent effort and mindfulness of the needs of the aloe vera plant, you can enjoy a proliferative growth of these resilient houseplants. And as each mature plant develops its own pups, the cycle continues, fostering a lush indoor oasis, and allowing you to share the health-promoting benefits of the Aloe Vera plant with others.


