
Grow Pomegranates from Seeds: Home Gardening Guide
The pomegranate, a vibrant red fruit full of seedy arils, is not only delicious and rich in vitamins, but it’s also an attractive addition to any home garden. Growing your own pomegranates from seeds can be a rewarding experience, offering the opportunity to fully embrace the beautiful circle of life: from seed, to sapling, to large fruit-bearing tree. This journey will guide us through the process of preparing the pomegranate seeds, planting them properly, and taking care of germination, to ensure the healthy growth of your future pomegranate trees.
Preparation of Pomegranate Seeds
The Amazing Art of Preparing Pomegranate Seeds for Planting
If you’re like so many of us fellow green finger enthusiasts, you take joy in planting and nurturing carefully selected seedlings into flourishing, fruit-bearing trees. Among this verdant throng of gardening ventures, cultivating your very own pomegranate tree from seeds holds an allure of its own! Their vibrant, ruby-like seeds brimming with tart and sweet notes are worth every bit of effort. Let’s walk you through the process of preparing these gems for planting.
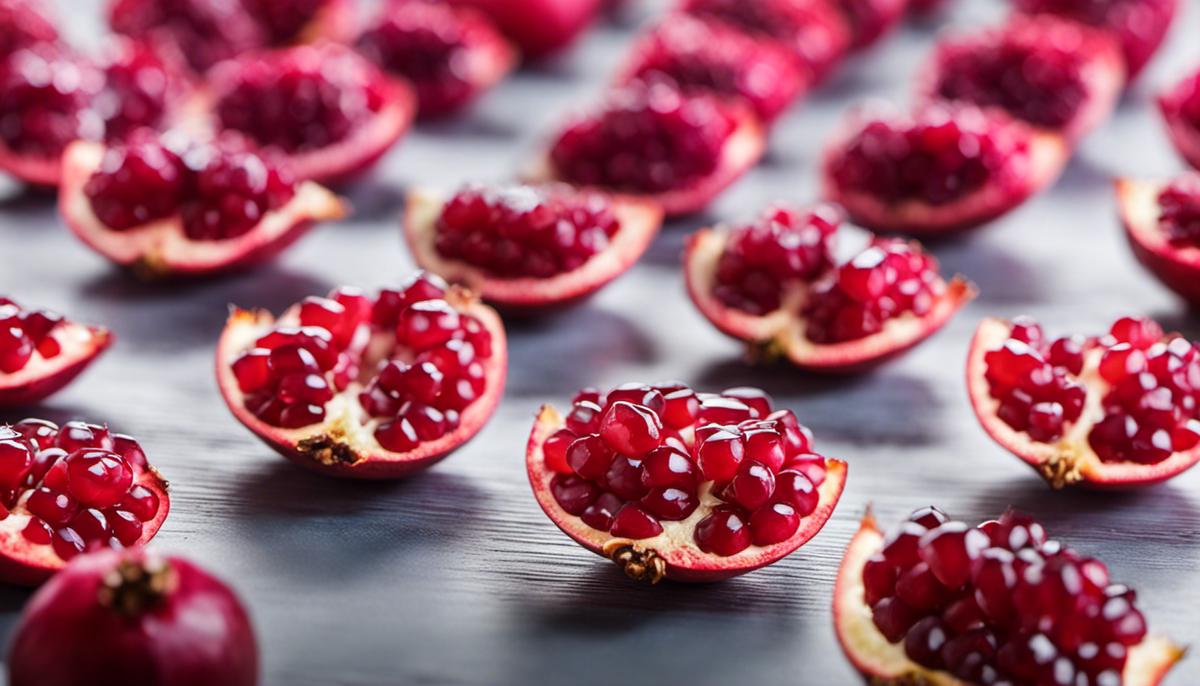
Step 1: Acquire Fresh Pomegranate Seeds
The first step in creating your very own pomegranate orchard is to find and extract seeds from a ripe, fresh pomegranate. Here’s why freshness matters: pomegranate seeds, also known as arils, dry out quickly and lose their viability. So, to ensure a high germination rate, always use seeds from a freshly cut fruit.
Step 2: Clean the Seeds
After opening your pomegranate and freeing the arils, give them a thorough rinse under cold water. This removes any residual pulp, which can lead to mold development during storage.
Step 3: Dry them Out
Once you’ve cleaned your seeds, you need to dry them before they’re ready for planting. Spread them out on a paper towel in a single layer and allow them to air dry for a few days in a cool, dry place. Patience goes a long way here. Avoid using heat in the drying process as it can damage the seeds and hinder germination.
Step 4: Stratification
Most hobby gardeners aren’t familiar with the concept of “stratification” – a process that mimics winter dormancy to encourage springtime germination. To do this, dampen a paper towel, wring it out, and place your dried seeds within its folds. Next, slide the paper towel into a ziplock bag and seal it. Keep this bag in your refrigerator for approximately six weeks to stratify the seeds. Make sure to check on your seeds regularly, ensuring the paper towel does not dry out. However, beware of making it overly soggy as this can induce mold growth – a balance is key!
Step 5: Plant the Seeds
After the stratification period, your pomegranate seeds are finally ready for planting. Prepare small pots with a mix of garden soil and light compost. Plant the seeds about a quarter of an inch deep, then water lightly. Make sure you place your pots in a warm, sunny spot, or under a grow light if your region lacks sufficient sunlight. Keep the soil consistently moist, but not waterlogged, until sprouts appear.
There you have it! With a dash of patience and a sprinkle of determination, those tiny arils will mature into sprawling pomegranate trees, laden with punchy, tangy fruits of your labor. Remember, green fingers make for verdant gardens! Let’s continue to cultivate knowledge and pass on the gardening passion that feeds our souls and our stomachs. Happy planting!

Planting the Seeds
Cultivating Pomegranate Trees from Seed: Cultivation Strategies and Guidance
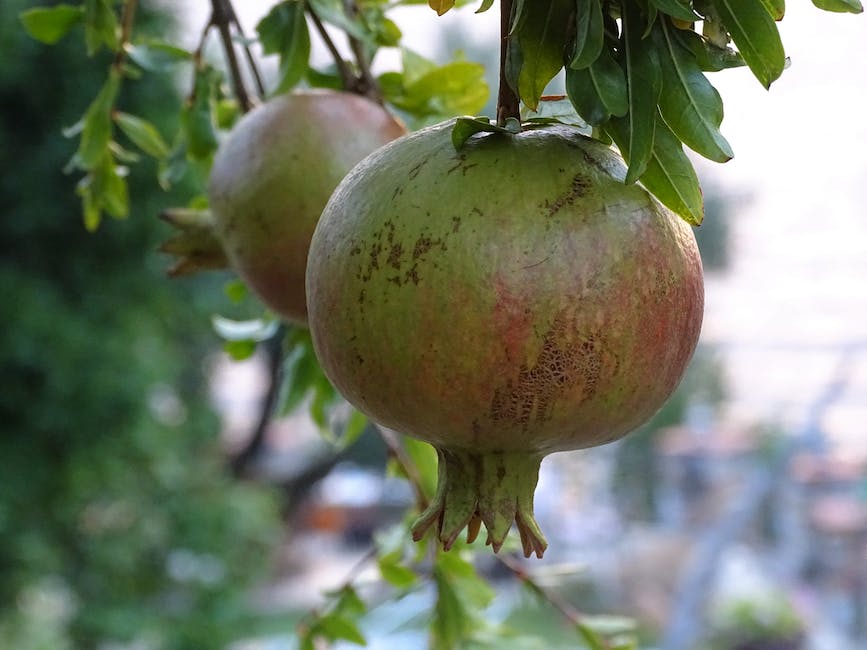
There is an organic thrill in growing pomegranate trees from seed. Originating from the Mediterranean region, these robust trees produce juice-filled seeds within large, round fruits that add a dash of color to any garden or household. After collecting fresh pomegranate seeds and patiently nurturing them during the stratification process, the next steps are crucial for establishing a strong and healthy tree that will one day yield its own fruit.
Adjusting Planting Depth and Soil Type
Even the mighty pomegranate tree springs from tiny beginnings. When planting your stratified seeds, remember that they don’t require burying too deep – approximately a quarter of an inch under the soil surface is ideal. This depth allows the seedling to expend minimal effort pushing through to the sunlight it so dearly needs for photosynthesis.
When it comes to picking the right soil, a well-draining variety is obligatory. Pomegranate trees are hardy and can thrive in a range of soil types, but they disdain water-logged soils. A mix of loam and sand is typically an excellent choice, and it’s equally important to ensure your soil has plenty of organic matter.
The Importance of Water and Sunlight
Watering newly planted pomegranate seeds is a delicate balance. After planting, give the soil a deep soak, but then allow it to dry out fully before any subsequent watering. This alternation between soaking and drying mimics the pomegranate’s natural habitat and encourages the growth of strong, healthy roots.
Sunlight requirements are equally crucial, as these trees love a lot of light. Such energy is essential for photosynthesis and the subsequent growth of your little seed into a robust tree. Aim for eight hours of natural sunlight every day – a south-facing window or a spot in the yard works great for this.
Optimal Fertilization Practices
The right nutrients can make quite the difference in the growth of your pomegranate tree. A balanced fertilizer, preferably organic, applied every six weeks during the growing season, will do wonders. Agreed, natural compost means slower release of nutrients than synthetic ones, but it also provides a steady supply of nutrients over time while also improving the structure and water-holding capacity of your soil.
The Final Step: Transplantation and Growth Management
In a span of a few weeks, seeds will sprout into seedlings. These seedlings need extra care as they are tender initially. When your seedling reaches about a foot tall, or develops several sets of true leaves, it’s ready for transplantation. A larger pot or a sunny spot in your garden can serve as its new home.
Annually vigorous pruning will promote more vigorous growth, maintain tree health and encourage fruit production once your tree is mature enough. Remember, fruiting will take years, but when it happens, the wait will be incredibly worth it!
Growing a pomegranate tree from a tiny seed is an enriching pastime that teaches patience, diligence, and gratifying reward. So, plunge into this gardening adventure and you may find yourself a lifetime enthusiast! Happy planting!

Seed Care and Germination
Once you’ve planted your pomegranate seeds, embarked on the path of their care, and witnessed their transformation from seed to tree, you’ll enjoy the fruits of your labor — literal pomegranates! Remember, the key to successful pomegranate cultivation lies in your dedication, patience, understanding each stage, and an appreciation for nature’s pace. Drawing upon these insights and techniques, your garden will soon house vibrant, fruit-bearing pomegranate trees, encouraging a healthier lifestyle and providing endless enjoyment.


