
Growing Apricot Trees from Seed: A Step by Step Guide
Hidden within every apricot pit is a kernel, a seed capable of sprouting an entirely new tree. But turning this potential into a reality requires careful steps, thorough knowledge and utmost patience. This journey embarks on seed preparation, revealing key insights into the stratification process, techniques to crack the hard shell without causing damage to the pit and maintaining ideal moisture conditions for the seed. Furthermore, learn the art and science of planting, delve into the care of young seedlings and explore the right techniques for watering and fertilizing them.
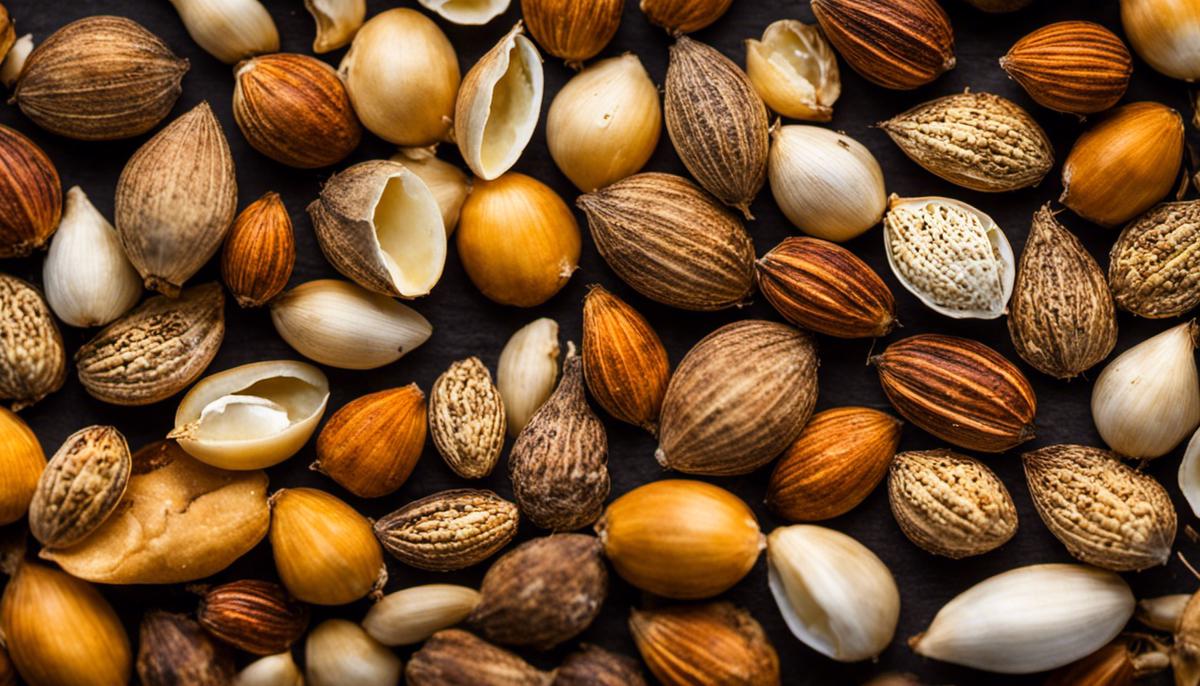
Seed Preparation
Discover the Joy of Growing Apricot Trees from Seeds
Have you ever tasted a fresh apricot right off the tree? If so, you know the flavor is unparalleled. Why not experience this bliss all season long by planting your own apricot tree? While it might seem daunting at first, starting a tree from a seed is a satisfying process. If you’re ready to embark on this rewarding journey, here’s the step-by-step process of preparing apricot seeds for planting.
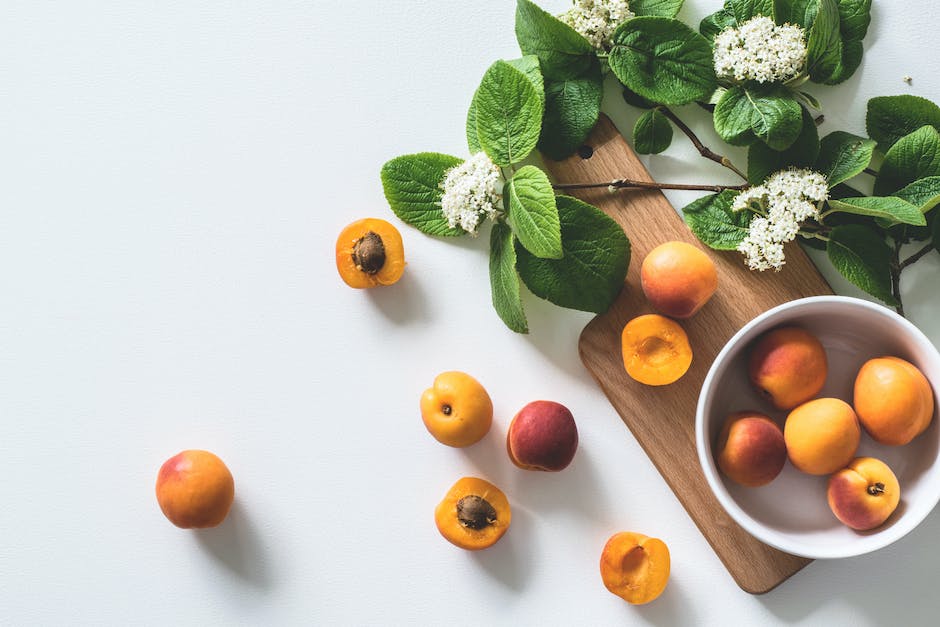
Step 1: Select High-Quality Apricot Fruits
The journey of a thousand trees, as they say, begins with a single seed. So, your first task is to find ripe, organic, and preferably local apricots. Choosing fruits grown in similar climate conditions to where your tree will live can increase your chance of successful germination. Locate farmer’s markets in your area, or visit a local orchard. Enjoy the process of selecting the best, juiciest apricots!
Step 2: Extract the Seeds
Equipped with your perfect apricots, head home and get ready for seed extraction. Enjoy the sweet and tangy flavor of your selected apricots and then keep the tough seed inside. Be careful not to damage the seed while eating the fruit. Rinse it under running water, gently scrubbing off any remaining flesh.
Step 3: Dry the Seeds
After rinsing, place these seeds in a warm, dry place for a week or so. For best results, spread the seeds on a clean towel and turn them daily to prevent mold and ensure even drying. Be patient; this drying process is crucial for the seed’s viability.
Step 4: Stratification Process
In nature, apricot seeds go through tough winter conditions in which they break dormancy and prepare for spring sprouting. This process, known as “stratification,” can be replicated at home. Simply fill a jar with damp peat moss or vermiculite, and then bury the dried apricot seeds inside. Store this jar in your refrigerator for around 60 days to mimic the cold dormancy period.
Step 5: Prepare for Planting
After two months of cold stratification, the apricot seeds are ready for planting. Before planting, let the seeds soak in warm water for a day to soften the shell and stimulate germination. Then, fill small pots (about 6 inches in diameter) with drainage holes at the bottom, with a seed starter mix.
Step 6: Plant the Soaked Apricot Seeds
Make a 1-2 inch deep hole in the center of each pot and place the soaked seed within, horizontally with the pointed end facing down. Cover it loosely with the soil. Place the pot in a warm, sunny window and keep the soil consistently moist but not soaked. Depending on the seed’s vigor and the conditions it’s in, expect your first seedling within 2 to 6 weeks.
Starting an apricot tree from seed is a rewarding experience, filled with anticipation and satisfaction. As you nurture your little seedling into a fruit-bearing tree, you’re part of a cycle of life that’s simply, beautifully natural. Get ready to savor the tasty achievement, as your backyard becomes home to succulent apricots. Enjoy your new venture into the mesmerizing world of apricot cultivation!
Planting and Taking Care of Young Seedlings
Unleashing the Magic of Apricot Cultivation: A Comprehensive Guide to Nurturing Healthy Tree Saplings
Now that you’ve delved into the process of selecting high-quality apricot fruits, know how to expertly extract the seeds, dry the seeds, stratify them, and understand the nuances of preparing for planting and finally planting the seeds, your journey into the mesmerizing world of apricot cultivation has truly begun.
But, let’s not stop there. Enhance your green thumb skills even further as we take you through the crucial steps that follow after planting. From watering to fertilization and right down to the essential sunlight exposure, let’s dig deeper.
Let’s dive into giving the seeds a healthy kickstart. After planting your apricot seeds, a confusing question could arise – how much water is too much water? That’s easy: Ensure your seeds get a healthy dose of water but avoid overwatering as it may lead to rotting or other potential fungal diseases. Remember, the goal is to keep the soil consistently moist, not waterlogged.
After watering, the most vital element for survival is ensuring correct sunlight exposure. Apricot saplings crave full sun, needing at least six hours a day. They thrive best in an east or north-facing position, where they can bask in the morning sun. If the plant receives inadequate sunlight, its growth may get stunted, or it may fail to flower and produce fruit.
Next up, comes the nutrient-rich world of fertilization. Feed your apricot saplings with slow-release, well-balanced, fruit-tree appropriate fertilizers during their growing period. An excellent standard mix is a 10-10-10 or 12-12-12 fertilizer, applied twice a year, a little in late winter, and the remaining in early summer. Make sure to water thoroughly after applying the fertilizer.
Failure to thrive is often due to pests or diseases. Aphids, caterpillars, or bacterial diseases such as bacterial spot or bacterial canker may damage your beloved saplings. Combat this by spraying with insecticides or introducing beneficial insects like ladybugs into your garden.
Lastly, remember that patience is a virtue. Apricots typically resist fruit-bearing until they are at least three years old. So, cherish each step, enjoy the process, and before long, you’ll be rewarded with the joyful sight of lush apricot fruits!
With these steps, your journey into apricot growing is set to be a fruitful endeavor. May the apricot trees you grow from seed fill your garden with endless beauty and your heart with immense joy. Happy growing!

Mature Tree Care
Having successfully established an apricot sapling that has grown into a thriving mature tree, the next critical stage to consider is taking appropriate care of it. Ensuring the health of the apricot tree is beneficial in the long run as it significantly influences the quality of fruit production. These are some of the ways to ensure the mature apricot tree thrives and produces healthy fruits.
One of the most crucial steps in apricot tree care is regularly monitoring for signs of disease or pest infestation. This involves visual inspections of the branches, leaves, and fruit. Issues like blight or bore insects need to be addressed immediately to avoid damage to the tree. Intervention methods could involve using an organic or chemical pesticide, but it’s essential to consult a local extension office or nursery for guidance.
Pruning is another vital task in apricot tree care. It allows the tree to focus its energy on fruit production, rather than unnecessary branch growth. Pruning should happen in late winter or early spring before the tree starts to bud, removing any dead or diseased branches and thinning out crowded areas to allow light and airflow.
To complement the pruning process, the application of mulch around the base of the apricot tree can be very beneficial. The mulch will retain water and reduce weed growth, creating a healthier environment for the tree to thrive. It also adds vital organic matter back into the soil as it decomposes, further nourishing the tree.
An apricot tree needs a balanced diet, just like any other living organism. Fertilizing the tree once a year in early spring with a slow-release, all-purpose fertilizer helps maintain proper nutrient levels. Be sure not to overdo it because too much fertilizer can harm the tree and its fruit production.
Watering is another important aspect of tree care to keep in mind. While mature apricot trees can handle periods of drought better than younger trees, they still need regular watering to produce juicy and delicious fruits. Water deeply once or twice a week rather than shallow, daily watering. However, avoid waterlogging the soil as it can lead to root rot diseases.
Last but not least, another technique that can improve fruit production in apricot trees is thinning the fruit. By selectively removing some of the immature fruits early in the season, the tree can concentrate its energy on the remaining fruits. This leads to larger, healthier, and more flavorful apricots when harvest time arrives.
Put simply, a little bit of observation and care combined with some basic gardening practices are all it takes to ensure a bountiful harvest of home-grown apricots. All that’s left is to enjoy the pleasure of plucking ripe, delicious apricots straight from the tree. It’s an experience that makes all the diligence and dedication to this remarkable hobby worthwhile.

As your seedling matures into a strong tree, understanding proper spacing, mastering pruning methods for superior fruit production, and effective monitoring and mitigation of diseases and pests will become critical. Planting an apricot tree is beyond just cultivation, it’s a labor of love and commitment that reaps sweet, rewarding fruits over time. Hence, nurture your knowledge and begin the rewarding journey of growing an apricot tree from a single seed, and revel in the beauty and bounty it brings forth.


