
Growing Ginger: A Step-by-Step Guide to Planting
Ginger is a versatile and flavorful root that has been used for centuries in cooking and traditional medicine. It is native to Southeast Asia and belongs to the Zingiberaceae family, which also includes turmeric and cardamom. Ginger is known for its distinct spicy and aromatic flavor, making it a popular ingredient in many cuisines around the world.
Growing ginger at home can be a rewarding experience. Not only does it provide you with a fresh supply of this delicious root, but it also allows you to have control over the quality and purity of the ginger you consume. Additionally, growing ginger can be a fun and educational activity for both adults and children.
Choosing the Right Ginger Varieties for Your Garden
There are several different varieties of ginger available, each with its own unique characteristics. When choosing ginger varieties for your garden, it is important to consider factors such as climate, soil conditions, and personal preferences.
One popular variety of ginger is called Zingiber officinale, which is the most commonly cultivated type of ginger. It has a pale yellow flesh and a pungent flavor. Another variety is called Galangal, which has a stronger and more peppery taste compared to regular ginger. Galangal is often used in Thai and Indonesian cuisine.
When selecting ginger varieties for your garden, it is important to choose ones that are well-suited to your climate. Some varieties are more tolerant of cold temperatures, while others thrive in warmer climates. It is also important to consider the size of the plants, as some varieties can grow quite tall and may require more space in your garden.
Preparing Your Soil for Ginger Planting
Proper soil preparation is crucial for successful ginger planting. Ginger plants prefer loose, well-draining soil that is rich in organic matter. Before planting ginger, it is important to prepare the soil by removing any weeds or grass and loosening it with a garden fork or tiller.
To improve the fertility of the soil, you can add compost or well-rotted manure. This will provide the ginger plants with the necessary nutrients they need to grow and thrive. It is also a good idea to test the pH level of your soil and make any necessary adjustments. Ginger plants prefer a slightly acidic soil with a pH level between 6.0 and 6.5.
Planting Ginger: Step-by-Step Instructions
| Step | Description |
|---|---|
| 1 | Choose a suitable location with well-draining soil and partial shade. |
| 2 | Prepare the soil by adding compost and organic matter. |
| 3 | Break the ginger rhizomes into smaller pieces with at least one bud each. |
| 4 | Plant the ginger rhizomes 2-4 inches deep and 8-10 inches apart. |
| 5 | Water the ginger regularly, keeping the soil moist but not waterlogged. |
| 6 | Fertilize the ginger with a balanced fertilizer every 4-6 weeks. |
| 7 | Harvest the ginger after 8-10 months when the leaves start to yellow and die back. |
Once you have prepared your soil, it is time to plant your ginger. Here are step-by-step instructions on how to plant ginger:
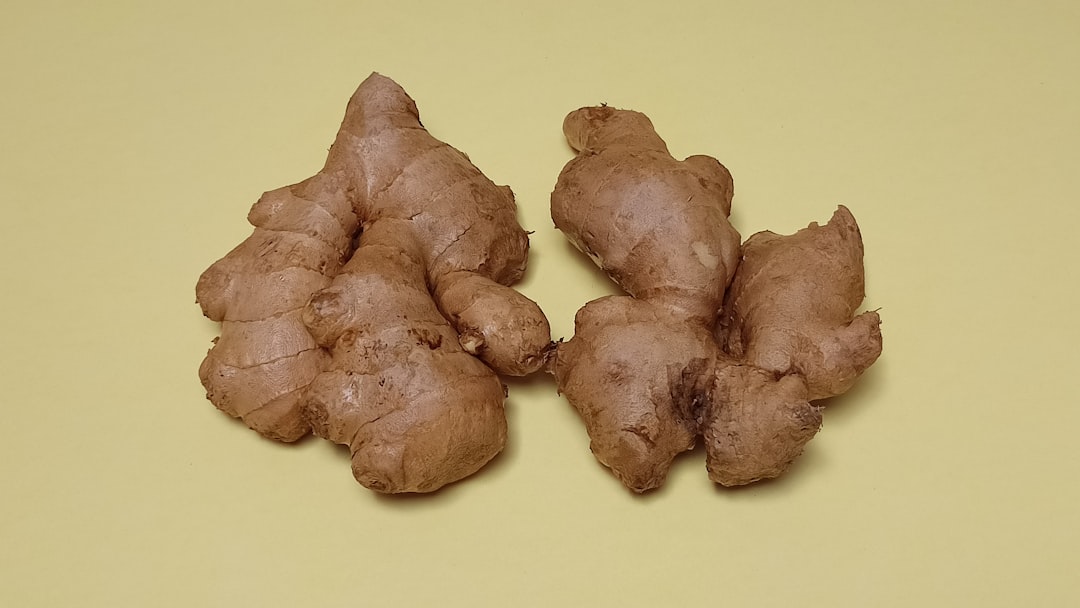
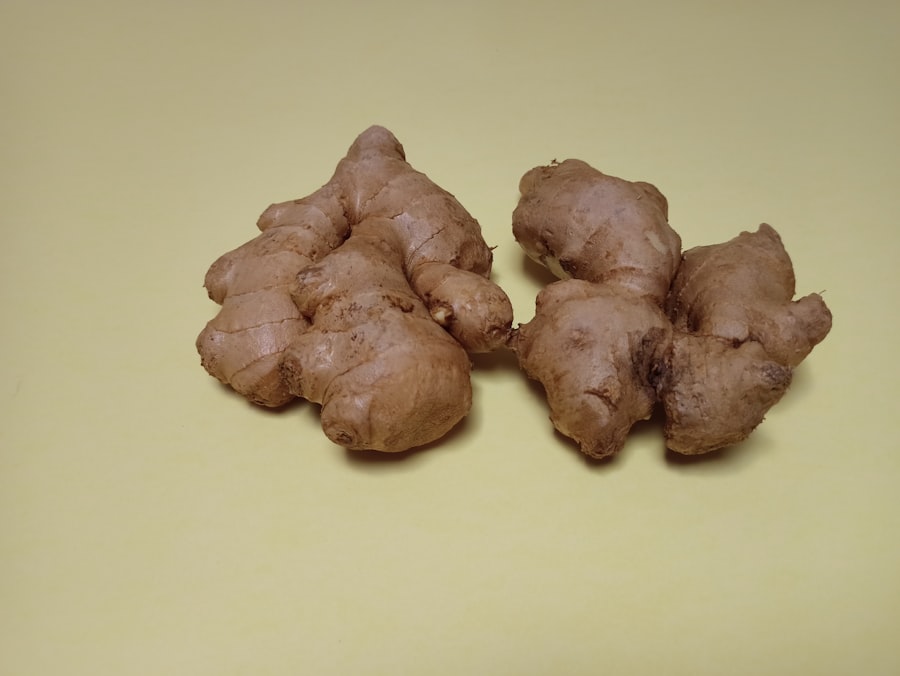
1. Select healthy ginger rhizomes: Choose ginger rhizomes that are firm and plump, with several eye buds or growth points.
2. Soak the ginger rhizomes: Before planting, soak the ginger rhizomes in water overnight. This will help to stimulate growth and improve germination.
3. Prepare planting holes: Dig small holes in the prepared soil, about 2-3 inches deep and 8-10 inches apart. Make sure to space the holes at least 12-16 inches apart if you are planting multiple rows.
4. Plant the ginger rhizomes: Place the ginger rhizomes in the planting holes, with the eye buds facing up. Cover them with soil, making sure they are completely buried.
5. Water thoroughly: After planting, water the ginger rhizomes thoroughly to settle the soil and provide moisture for germination.
Watering and Fertilizing Your Ginger Plants
Proper watering and fertilization are essential for the healthy growth of ginger plants. Ginger plants require regular watering, especially during dry periods or when grown in containers.
It is important to keep the soil consistently moist but not waterlogged. Overwatering can lead to root rot, while underwatering can cause the ginger plants to become stunted or produce small, woody rhizomes.
In addition to regular watering, ginger plants also benefit from regular fertilization. You can use a balanced organic fertilizer or a slow-release granular fertilizer specifically formulated for ginger plants. Apply the fertilizer according to the instructions on the package, taking care not to over-fertilize as this can burn the roots.
Managing Pests and Diseases in Your Ginger Garden
Like any other plant, ginger is susceptible to pests and diseases. Some common pests that can affect ginger plants include aphids, mealybugs, and spider mites. These pests can cause damage to the leaves and stems of the plants, leading to stunted growth and reduced yield.
To prevent and manage pest infestations, it is important to regularly inspect your ginger plants for signs of damage or infestation. If you notice any pests, you can try using organic pest control methods such as neem oil or insecticidal soap.
In addition to pests, ginger plants can also be affected by diseases such as root rot and fungal infections. To prevent these diseases, it is important to provide proper drainage and avoid overwatering. It is also a good idea to rotate your ginger crops every few years to prevent the buildup of soil-borne diseases.
Harvesting Ginger: When and How to Do It
Ginger is typically ready to be harvested 8-10 months after planting. The signs that ginger is ready for harvest include yellowing leaves and dying back of the stems. To harvest ginger, follow these steps:
1. Dig up the rhizomes: Use a garden fork or shovel to carefully dig up the ginger rhizomes. Be careful not to damage them during the process.
2. Shake off excess soil: Gently shake off any excess soil from the rhizomes. Avoid washing them as this can remove their protective outer layer.
3. Trim the stems and roots: Trim the stems and roots of the ginger rhizomes, leaving about an inch of stem attached.
4. Cure the ginger: To improve the flavor and shelf life of the ginger, allow it to cure for a week or two in a warm, dry place with good air circulation.
Storing and Using Fresh Ginger Root
Fresh ginger root can be stored for several weeks if properly stored. To store fresh ginger root, follow these tips:
1. Store in a cool, dry place: Keep fresh ginger root in a cool, dry place such as a pantry or cupboard. Avoid storing it in the refrigerator as this can cause it to become soft and moldy.
2. Wrap in paper towels: Wrap the ginger root in paper towels to absorb any excess moisture and prevent it from drying out.
3. Use within a few weeks: Fresh ginger root is best used within a few weeks of harvesting. As it ages, it can become woody and lose its flavor.
Fresh ginger root can be used in a variety of ways in cooking and other applications. It adds a spicy and aromatic flavor to dishes such as stir-fries, curries, and soups. It can also be used to make ginger tea, ginger ale, or infused into oils and vinegars for added flavor.
Propagating Ginger: Growing Your Own Ginger Plants
If you want to grow your own ginger plants from scratch, you can propagate them using fresh ginger rhizomes. Here is an overview of how to propagate ginger:
1. Select healthy ginger rhizomes: Choose fresh ginger rhizomes that are firm and plump, with several eye buds or growth points.
2. Cut the rhizomes into pieces: Using a sharp knife, cut the ginger rhizomes into pieces that are about 1-2 inches long. Each piece should have at least one eye bud.
3. Prepare planting holes: Dig small holes in the prepared soil, about 2-3 inches deep and 8-10 inches apart. Make sure to space the holes at least 12-16 inches apart if you are planting multiple rows.
4. Plant the ginger rhizome pieces: Place the ginger rhizome pieces in the planting holes, with the eye buds facing up. Cover them with soil, making sure they are completely buried.
5. Water thoroughly: After planting, water the ginger rhizome pieces thoroughly to settle the soil and provide moisture for germination.
Tips and Tricks for Successful Ginger Growing
Here are some additional tips and tricks for growing ginger successfully:
1. Choose a sunny location: Ginger plants thrive in full sun or partial shade. Choose a location in your garden that receives at least 6-8 hours of direct sunlight each day.
2. Mulch around the plants: Apply a layer of organic mulch around the ginger plants to help retain moisture, suppress weeds, and regulate soil temperature.
3. Provide support for tall varieties: If you are growing tall varieties of ginger, such as shell ginger or torch ginger, it is a good idea to provide support for the plants to prevent them from falling over.
4. Harvest ginger at the right time: Ginger is typically ready to be harvested 8-10 months after planting. Harvesting too early can result in small, underdeveloped rhizomes, while harvesting too late can cause them to become woody and lose their flavor.
5. Rotate your crops: To prevent the buildup of soil-borne diseases, it is important to rotate your ginger crops every few years. This means planting ginger in a different location in your garden each year.
Growing ginger at home can be a rewarding and enjoyable experience. Not only does it provide you with a fresh supply of this versatile root, but it also allows you to have control over the quality and purity of the ginger you consume. By following the steps outlined in this article, you can successfully grow ginger in your own garden and enjoy its many benefits. So why not give it a try and start growing your own ginger today?


