
Growing Your Own Plums: A Seed Propagation Guide
In an effort to promote biodiversity, home agriculture and to deeply connect with mother nature, many have turned to backyard gardening, finding joy and satisfaction in watching plants thrive under their care. Amongst the plethora of plant choices, it is the plum tree that has caught our attention. Unlike most fruits, cultivating plum trees from seed isn’t a straight forward process, as they require some extra steps for successful germination. This article will offer an in-depth tutorial on three key steps to successful plum tree propagation, from understanding the concept of stratification and preparing the seed for planting to looking after your seedling diligently post planting.
Understanding Plum Seed Stratification
Stratification: The Key to Successful Plum Seed Germination
Welcome to the beautiful, wonderful world of plum trees! Delicate pink blossoms, sweetly fragrant fruits – what’s not to love? It’s an exciting world of discovery and full of the season’s finest surprises. But wait! What’s that word tossed around quite a bit amongst plum tree enthusiasts: Stratification? It’s much simpler than it sounds, but crucial to growing plum trees from seeds successfully. Just hang in there, and soon, the joy of seeing a plum tree sprout will be all yours!
Stratification essentially is replicating Mother Nature’s process of preparing seeds for germination. In the case of plum seeds, it involves simulating a period of winter chill, significant because plum seeds have specific requirements to break dormancy and promote successful germination.
To thrive in different climates and conditions, certain seeds developed the evolutionary adaptation to survive through winter, and only proceed to germinate when the conditions are just right. In case of plums, this adaptation helps ensure that the seeds don’t germinate during a random warm spell during winter, only to be caught off guard by the ensuing frost and freeze. Now we know why Mother Nature is the best teacher!
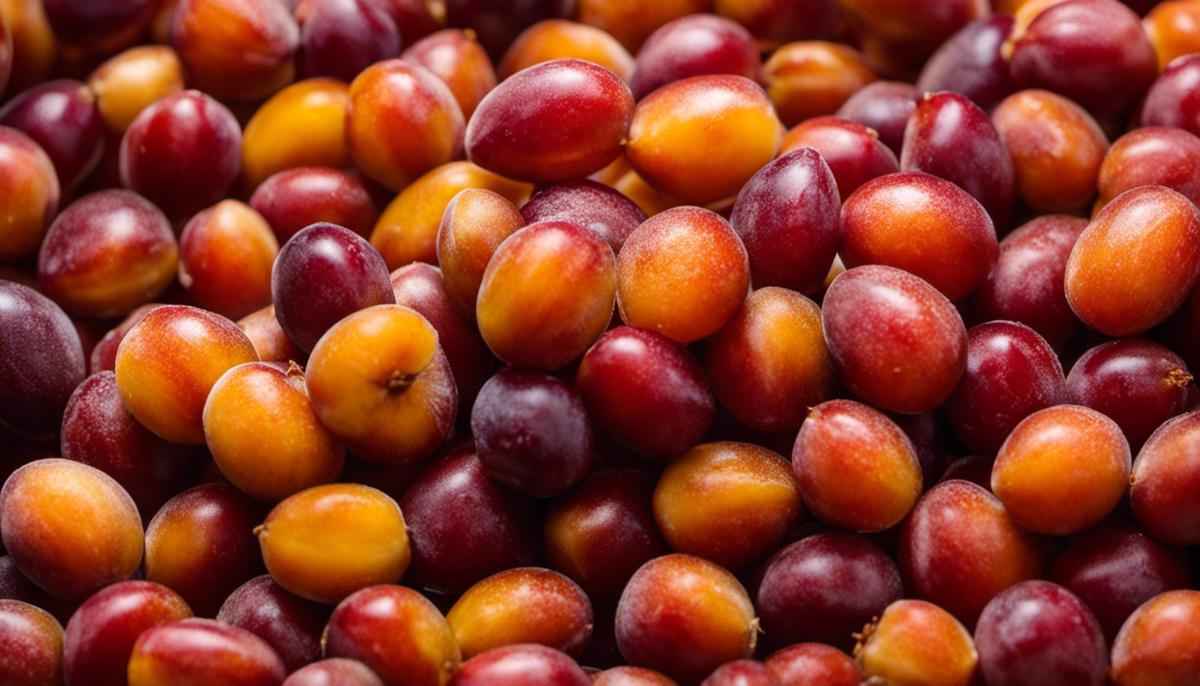
The process of replicating these conditions is easy-peasy! The steps are simple: clean the plum pit, soak it, wrap it, chill it, then plant it.
-
First, it’s essential to thoroughly clean the pit of the plum, get rid of all the fruit flesh to prevent any mold or fungal growth when it’s being stratified.
-
Next, it’s the soaking process, where you soak the clean pits in lukewarm water for a day or two. This pre-softening process will ensure that the pit absorbs enough water and speed up the stratification process.
-
The next step is to wrap the pits in a slightly damp paper towel or peat moss, then place them in a sealable plastic bag. Tuck this little bundle into your refrigerator, in the crisper drawer if possible, and let it chill for around 10-12 weeks.
Post-chill, if all went according to the natural design, the pits are ready to be planted! And just like that, you’ve unlocked the mystery of stratification in plum seeds.
Stratification is an essential part of understanding the start-to-finish growth of a plum tree. So remember to embrace this critical step, because it’s among the first steps in nurturing a beautiful fruit-bearing plum tree. So, armed with this newfound knowledge, go forth and conquer the world of plum tree propagation! Embrace the stratification process and thrill at the sight of your own plum sprouts pushing up through the earth. That sight, let’s face it, is worth every effort! Happy planting!

Preparing the Seed for Planting
Setting Off to Conquer Plum Seed Propagation: The Next Steps
After successfully completing the stratification process, you have paved the way for a strong and beautiful plum tree. Now it’s time to delve into the next steps of properly preparing your plum seeds for planting. Grab your gloves and let’s dive deep, for the journey of a plum seed from being a tiny pit to becoming a blossoming tree is a truly enriching experience!
Planting Post-Stratification: Discovering the Perfect Spot
Post-stratification, it’s time to get planting. Choose a location with good sunlight, ideally with well-draining soil and a pH between 5.5 and 6.5. Plums aren’t too picky, but their growth can be stunted in water-logged or overly acidic conditions.
Plum seeds should be planted in a deep hole – approximately two to three times the pit’s length – to provide ample space for root development. After placing the seed into the hole, keep the pointed side up. Backfill the hole, leaving the top of the pit slightly above ground level. This helps ensure the seed is not planted too deep, which can hinder germination.
Adequate Watering: The Key to Speedy Germination
Watering plays an essential role in fostering germination. Upon planting your plum seed, it’s crucial to ensure the soil is sufficiently moist, but not soggy. Regular, gentle watering assists the seed in breaking dormancy and initiating growth. Execute a steady watering routine, allowing the surface to dry slightly before re-watering.
Powering Growth with Protection and Patience
A seedling’s early days are filled with vulnerability. Predatory wildlife, weather extremities, or lack of nourishment can severely affect their growth. To protect the fragile plant, consider placing a wire mesh cage or a cloche around it, keeping pests at bay yet allowing sunlight and rain to nurture the seedling.
Remember, propagation from seeds is a test of patience. It often takes around 1-3 months for a plum seed to germinate and another 1-3 years to bear fruit. But rest assured, witnessing the transformation from a small pit to a fruit bearing tree is a rewarding sight and an unbeatable feeling of achievement!
While the process may feel lengthy and laborious, it pales in comparison to the culmination of watching a tree you’ve grown from a single seed bear its first set of luscious plums. This is the beauty of propagation – slow and steady, but intensely satisfying, a hobby that teaches patience and appreciation for nature’s clock.
So, fellow hobbyists, it’s time to immerse ourselves in this fascinating journey of seed propagation. With the right preparation, patience and a green thumb, you’re all set to coax those tiny plum seeds into lush, fruitful trees. Happy planting!

Planting and Caring for Your Plum Seedling
With a thorough understanding of stratification, one comes to appreciate the intricate dance nature performs to ensure the survival and propagation of species. In the case of the mighty plum, the initiation dance starts even before the tree manifests itself into existence. Following stratification, the next phase in plum propagation is planting the seedling and carefully nursing it to maturity.
Let’s delve into the unique world of plum sapling cultivation!
A significant quotient of successful gardening lies in location, location, location. For the plum tree seedling, it necessitates a sunny spot with well-drained soil. An area with full sun allows for the greatest opportunity for healthy growth and abundant fruit production. As much as solar exposure is crucial, the issue of soil can’t be overemphasized. Loamy soil offers a balance between sand and clay and is well-regarded for plum trees, often leading to impressive growth and yield.
Next comes the act of planting the stratified plum seeds. Space, just like in real estate, is essential here. Seek a spot that allows the tree to spread its branches freely. Placing the seed requires a gentle hand. Dig a hole two to three times the width of the root ball and place the seedling in it, ensuring the top of the root ball is level with the ground surface. Cover the seedling with soil, tamping it down gently to remove air pockets.
Watering is akin to the breath of life for any plant, and the plum is no exception. Immediately after planting, generously water the seedling and continue to do so regularly. Young plum trees need to be kept moist but remember, moderation is key! Overwatering may lead to root rot which is as detrimental to the tree as drought.
Defending the plum seedling from threats such as pests, disease, or frost is another aspect of ensuring successful growth. Stake the young tree to provide stability against harsh winds. Install a protective mesh around it to ward off nibblers such as deers or rabbits. Further, adopting organic methods to fend off common plum pests and diseases not only boosts the tree’s immunity, but it also ensures healthier fruits in the future.
Finally, patience truly is a virtue when it comes to plum tree propagation. It might take a few years for the tree to bear fruit. As hobbyist gardeners, we understand and revere this slow yet rewarding process. There’s a meditative calm in the wait—nurturing the sapling, tracking its growth, witnessing the miracle of nature firsthand.
Through careful watering, positioning, protection, and the art of patience, one can raise a plum seedling into a mature tree bearing wholesome, juicy plums. Just imagine the satisfaction of biting into a plum that grew from a seed you planted and cared for. Absolutely priceless!
The successful propagation of a plum tree from seed requires both knowledge and dedication. The stratification process is an act of patience and understanding, as is the sensitive task of preparing the seeds for planting. Lastly, it is the constant caring and monitoring of the seedling, maintaining an optimal environment that guarantees the growth of a healthy, thriving plum tree. The joy of tasting a plum from your own yard is a testament to your perseverance. Hopefully, the insights offered in these guides will help not only in your plum-planting venture but also inspire a continued passion for understanding and caring for the plant life that surrounds us every day.


