
Guide to Growing Magnolia Trees from Seeds
Could there be anything more gratifying than watching a tree grow from a tiny seed that you’ve planted with your own hands, particularly if that tree is as stunningly beautiful as a magnolia? Known for their striking, aromatic blossoms and glossy green leaves, magnolias are a favorite among gardeners and nature enthusiasts alike. Despite their exotic allure, these perennial beauties can be grown at home with a bit of time, patience, and know-how. This comprehensive guide will walk you through every stage of the process, from harvesting and preparing the seeds to planting, germinating, and caring for your young plants. Whether you’re an experienced gardener or a novice with a new found green thumb, this journey from seed to sapling is sure to enrich your appreciation of these enchanting trees.
Harvesting and Preparing Magnolia Seeds
The Awesome Art of Harvesting and Preparing Magnolia Seeds for Planting
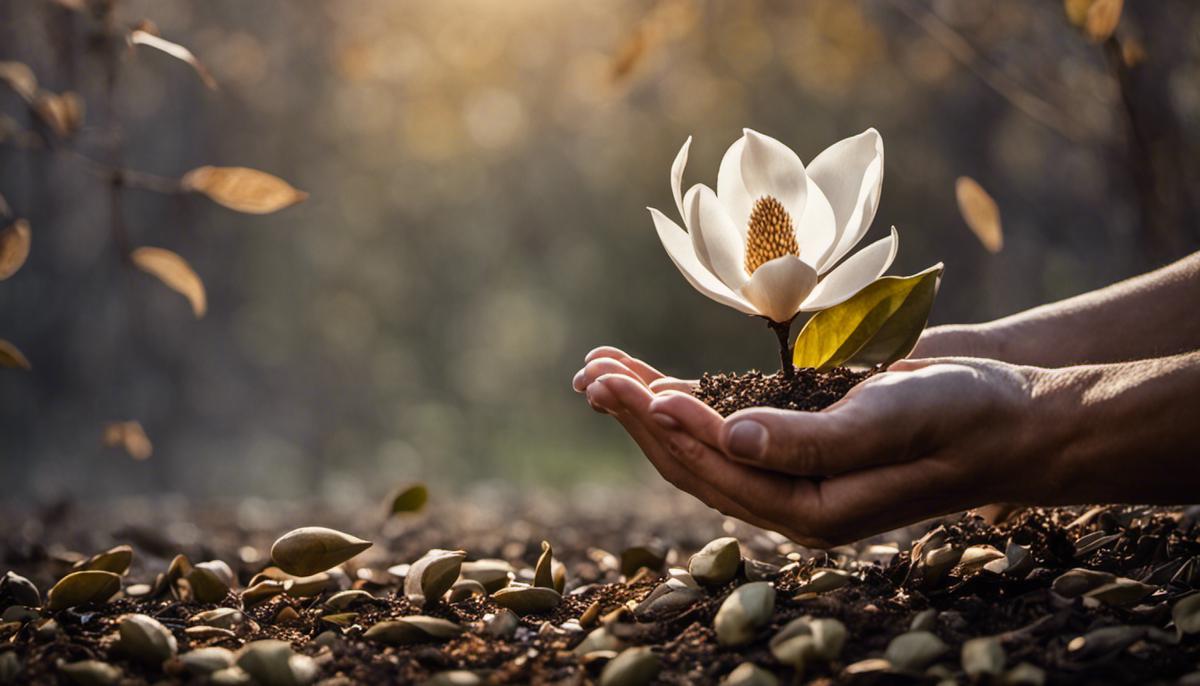
What’s more gratifying than appreciating the immense blossoms of a magnolia tree? Nurturing one from the tiny hull of a seed. Deep into the magnolia enthusing journey, there’s more than meets the eye in harvesting and preparing magnolia seeds for planting. Let’s decode the beauty of this amazing practice.
Harvesting the seeds is an enriching practice, marred only by the need for a keen eye for timing. Your venture begins in mid-September as the magnolia’s cones transform from green to a distinct red, irresistably beckoning birds for a feast. To beat our feathery friends, look for cones that have begun to open up, revealing the bright red seeds within.
While harvesting, put on protective gloves. The outer coating on magnolia seeds can cause mild skin irritation. Snip the cone from the tree, making sure not to damage the branch. Tap into patience and let the cone dry in a secure, cool, and well-ventilated spot until all the seeds are exposed freely.
Once the cones are thoroughly dry and opened, pick out the gem-like seeds. Rinse them gently under cold water to remove the red coating, which can inhibit germination. Cleaned seeds are easier to handle and have a higher success rate when it comes to sprouting.
Next, let’s dive into the stratification process. Nature’s way of ensuring a seed doesn’t germinate until conditions are optimal. For magnolia seeds, this process involves chilling the seeds for some time. Tuck the seeds into a sealed plastic bag with a lightly moistened mixture of equal parts peat and perlite.
Now, sit back and play nature’s waiting game. Place the bag in a refrigerator set at about 40 degrees Fahrenheit for three to four months. Don’t forget to maintain slight moisture in the mixture during this period to prevent the seeds from drying out.
Eagerly awaiting the arrival of spring? Turn those chilly winter blues into a time of anticipation! When the fear of frost is past, remove your seeds from their chilly rest and prepare them for their new home.
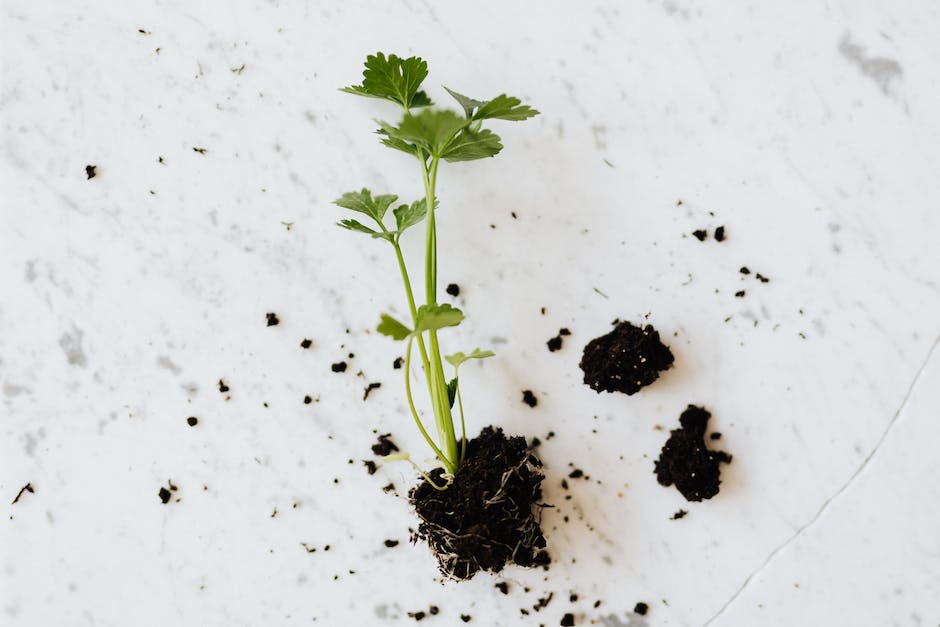
Plant each seed in a 4-inch pot filled with a good quality soil mix. Cover them lightly, about 1/4 inch deep. They should nestle in snuglybut not too deep in the soil. Place the pot in a warm, well-lit area, but not direct sunlight, and keep the soil evenly moist (but not water-logged).
Once the seedling displays a few pairs of true leaves, it’s ready to move outdoors! Gradually introduce the plant to outdoor conditions before transplanting it into a larger pot or in the ground.
There we have it! The fascinating sequence of harvesting and preparing magnolia seeds for planting! The thrill of watching these unique beauties grow from humble seeds contributes to the joy of magnolia nurturing! Life indeed, is more beautiful in bloom!
Planting and Germinating the Seeds
The Journey Continues: Germinating Magnolia Seeds To Thriving Magnolias
Having obtained the knowledge on magnolia seed harvesting and the overall process which leads up to planting, let’s dive into the captivating world of successful germination and cultivation of the much-coveted Magnolia tree.
Once the stratified and prepared seeds are planted in nutrient-rich potting soil, the journey truly begins. Keep in mind, germination for magnolia seeds can take anywhere from one to six months, requiring not only patience but consistent care and an optimal environment for growth.
Starting off with watering, key here is moderation. Achieving a balance between moisture and drainage, aids in preventing the seeds from rotting or drying out. The soil should be damp to the touch, but certainly not waterlogged.
When it comes to temperature, most magnolia seeds thrive in temperatures between 70 to 85 degrees Fahrenheit. A warm area in the house or a heat mat can ensure these conditions are met. Additionally, placing your pots under the fluorescent lights can simulate the spring temperatures conducive for the germination process.
While seeming insignificant, the pot’s cover plays its unique role in this process. To create a greenhouse effect, a simple plastic wrap can be placed over the pots. This retains moisture and heat and significantly augments the germination process. It’s crucial though, not to completely seal the pots as this could cause harmful fungal growth.
As the seed germinates and sprouts, it’s essential to monitor growth diligently. The young seedling is tender and could face threats from various outdoor elements. They should remain indoors, under your watchful eyes, until they grow into vigorous seedlings capable of supporting themselves.
Don’t overlook the power of good quality, nutrient-rich soil for your seedlings. Choose a potting soil with a high organic matter content or make your own mix. A mixture consisting of loam, peat moss, and organic compost can work wonders for the seedlings’ development.
Getting the magnolia seedlings acclimated to an outdoor environment is a slow and calculated process. Too quick a transfer can result in shock to the plant, consequently impacting future growth and vitality. Begin in late spring by bringing the plants outdoors for a few hours each day, gradually increasing their time outside.
At an appropriate time, usually when the seedling has a few sets of leaves, consider transplanting it to a larger container or directly to your garden. Prioritize a location that promotes good drainage and receives ample sunlight. Remember, while magnolias relish the sun, they would also appreciate a bit of afternoon shade.
Finally yet importantly, cultivate patience. Watch life beget life as the magnolia seeds you tended with love blossom into radiant and stunning magnolia trees. Remember, this journey is not just about reaping the fruits of your labor, but also appreciating the process and the lessons embedded within. Happy gardening!
Navigating the Seedling Stage and Transplanting
The journey to transform a magnolia seed into a towering spectacle of nature’s choreography is entering its most critical phase: the delicate seedling stage. Energy must be invested in ensuring seedlings have the best environment for growth; their survival will pivot on the level of care they receive during this stage.
Firstly, the one element seedlings crave more than anything else is light. Seedlings need a generous supply of sunlight, up to 14 to 16 hours per day. As they thirst for long hours of daylight, consider supplementing natural light with fluorescent lamps or specialized grow lights. It’s essential to observe your seedlings carefully and adjust light exposure accordingly to prevent legginess – a sign they’re reaching for the light, indicative of unmet needs.
A crucial consideration is to maintain an optimal temperature environment of around 70°F. Exceeding this may trigger premature growth, while dipping below may stunt the seedling’s development. A great way to fulfill this requirement is through a heat mat that can consistently provide warmth, especially during the chilly months.
Moisture management during the seedling phase is key to preventing the onset of diseases like damping-off. It begins with a well-draining, sterile seed-starting mix that keeps the seedlings moist but not waterlogged. Use a mister or a small watering can to delicately quench their thirst, ensuring the soil is merely damp, but never soggy.
Your little magnolia seedlings also need a steady diet of diluted, balanced fertilizer to support the essential growth happening during this fragile stage.
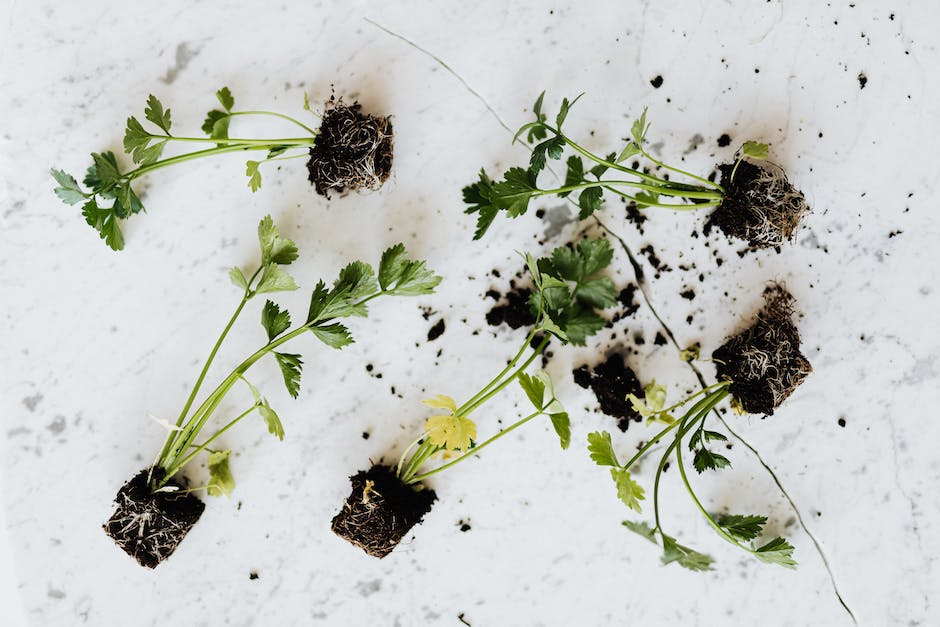
When the moment for transplantation arrives, it is to be handled with the utmost care. Start by watering your seedlings well, about an hour before transplanting to ease the shock. Select a cool, cloudy day for the operation if possible—the less sunny, the lesser is the stress.
While removing the seedlings, handle them gently by their leaves and never by the stem, which is extremely fragile. Tweak the grip if necessary, for harming the leaves is less catastrophic than damaging the stem. Make a hole in the newly prepared spot, place the seedling in it, then backfill the hole and firm the earth lightly around the base. Water immediately to settle the soil around the seedling’s roots, ensuring a seamless transition to its new dwelling.
Post-transplantation care involves keeping a keen eye on the weather. At the first sign of inclement weather or frost, consider protective measures like floating row covers or temporary plastic cloche. Remember, it takes about a week or two for the transplants to recover from the move and begin new growth, so a spike in watering needs in the initial weeks is to be anticipated.
In this fulfilling journey of seed to magnolia tree, attention to the minutiae, from maintaining optimal light, temperature, and moisture levels to the tender care during transplantation, will pave the path to horticulture success. Soak in the gratification as your once-small seedlings bloom into flourishing magnolia trees, deepening your connection to nature one day at a time.
Ultimately, fostering a magnolia tree from a humble seed requires vigilance, patience, and a deep respect for the process. Each step, from harvesting the magnolia seeds at the optimal time, cleaning and priming them for germination, to planting and diligently nurturing them through every growth stage, is instrumental in molding a healthy, thriving tree. Successful transplantation into a larger pot or a final positioning in the ground is the gratifying culmination of this process, signifying that you’ve given your magnolia the best possible start in life. Each time you behold your magnificent magnolia, swaying gracefully under the open sky, remember the journey you both traveled, from a small seed to a mighty tree. Embrace the mark you’ve made on the landscape and the continuous learning experience that gardening provides.


