
Guide to Propagate Plum Trees from Seed
Embarking on the journey of growing your very own plum tree can be a rewarding endeavor. It all begins with understanding the basic fundamentals and nuances. In this text, we will endeavor to unfold the process and techniques involved, right from choosing the right seed to seeing your sapling blossom into a full-grown tree. You will be equipped with knowledge about the best practices for preparing your soil and planting that well-chosen seed. The post-planting phase, which encompasses germination and ongoing care, will also be analysed comprehensively. So, whether you are a hobby gardener or ardent fruit-lover, this information will entrench your understanding and streamline your efforts towards growing your very own plum tree from a seed.
Choosing the Plum Seed
A Novice’s Guide to Propagating Plums: Choosing and Preparing the Perfect Seeds
Begin With Correct Seed Selection
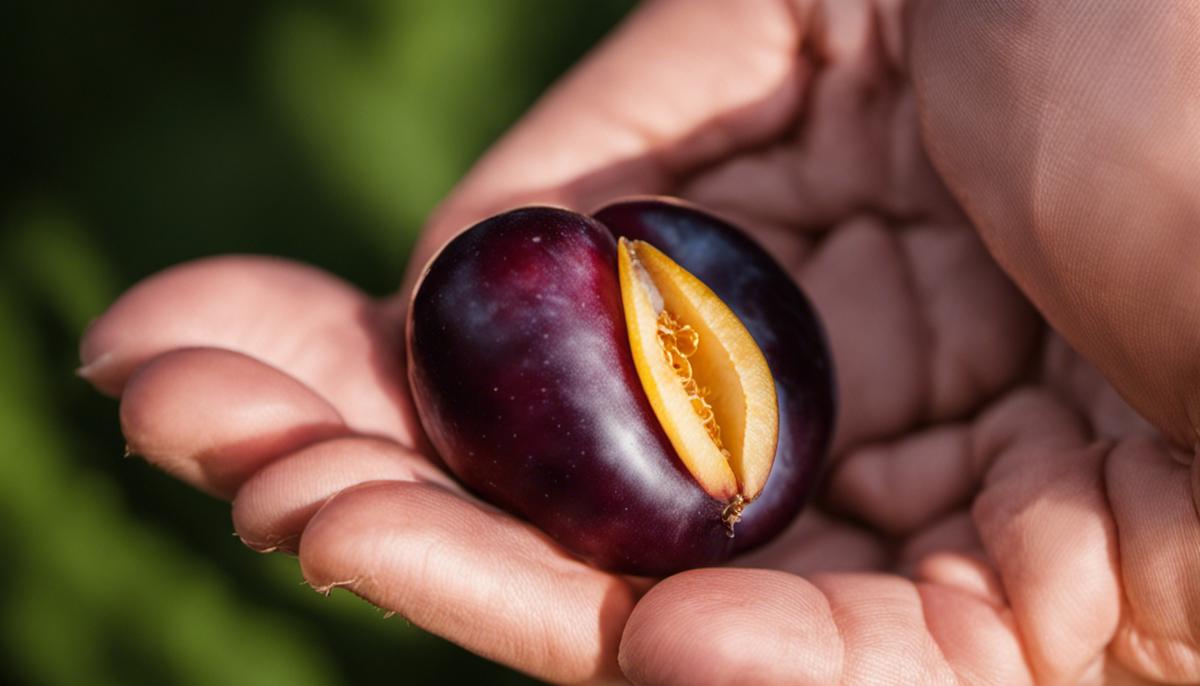
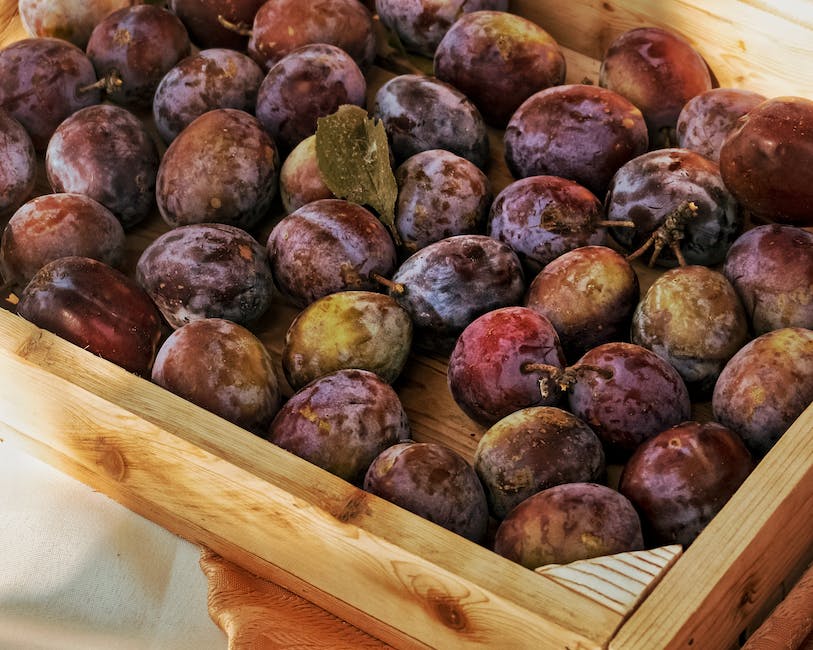
Choosing the right plum seeds is an exciting start to a rewarding propagation journey. The first step involves selecting the species of plum that resonates with your individual taste and evokes childhood memories of fruity adventures. Types differ in terms of their specific soil and climatic requirements, and of course, in their flavor profiles. Popular options include European plums (Prunus domestica) and Japanese plums (Prunus salicina). Choose a healthy, ripe fruit from a well-performing tree, ideally in late summer or early fall.
Harvesting and Extracting Plum Seeds
Once ripe fruits are selected, cut around the equator of the plums and gently twist halves to reveal the coveted seed. Carefully remove the seed with a soft, non-metal tool, like a spoon or a wooden pick, to prevent it from being damaged. Rinely the pits thoroughly under cold water to remove all pulp remnants, which if left, may cause fungal issues for your future saplings.
Preparing the Seeds: A Process Called Stratification
In nature, plum seeds, like many other fruit seeds, undergo a process called stratification, which simply means experiencing chilling temperatures. This helps the seeds break dormancy and activates the sprouting phase come spring. Luckily, the humble home refrigerator provides an ideal setting for this faux winter hibernation.
Seeds can be lightly wrapped in a damp paper towel then placed inside a sealed plastic bag. Aim to mimic the cool, humid conditions of winter by keeping your refrigerator between 34-41°F (1-5°C). Patience is a virtue at this stage as the seeds require 6 to 10 weeks of this chilling treatment. Keep an eye on your seeds throughout this time, checking that the towel remains damp, and for any mold.
Removing the Hard Shell
After the chilling period, you’ll remove the hard outer shell. A vice or a sturdy pair of pliers are perfect for this task. Using slow, steady pressure, carefully crack the shell, taking care not to damage the seed within. This process, or scarification, gives your seedling an extra boost in germination and adds to the thrill of propagation. Remember, safety is paramount! Wearing protective gloves and eye wear will keep any sudden seed breakages from causing harm.
And Now, We Wait
With your prepared seeds now ready, they should be planted immediately in their chosen plant pots or garden beds. A depth of approximately 2-3 times the size of the seed is perfect, with water and occasional love being the only sustenance required. Natural germination can then take anywhere from a few weeks up to several months, offering us the chance to bask in the glory of successful propagation as our plum sapling finally pokes its head above soil, ready to make its mark on the world.
In the world of propagation, plum seeds provide a fantastic starting point for novices and an enjoyable seasonal activity for seasoned horticulturists. Remember, growing trees from seeds is a test of endurance, resilience, and patience; but the reward – trees bearing delicious plums – is well worth the wait!
Preparation of Soil and Planting
Achieving Success with the Soil and Careful Seed Planting: A Guide to Nurturing Plum Seeds into Seedlings
Understanding the distinct needs of plum seeds during their initial stages of growth is definitely a key factor for a successful plum cultivation hobby. Armed with information on the right way to pick seeds and prepare them, the next crucial steps involve setting the scene for these seeds to sprout and take root. This is where soil preparation and planting come into play.
A primary portion of the sweet success of growing plum trees is dependent on the soil in which one chooses to plant them. Plums aren’t too fussy about soil types, but they do prefer well-drained soil with a pH between 5.5 and 6.5, which is just slightly acidic. To create an optimal growing environment, consider adding organic matter like compost or well-rotted manure into your garden soil. This pumps up the fertility quotient and improves the soil texture, increasing its capacity to hold moisture and nutrients that are essential for the seeds to sprout.
Just as important as the soil is the depth at which the plum seeds are planted. Here’s a rule of thumb to follow: the hole should be deep enough to accommodate the seed and still allow about 2-3 inches of soil to cover it. On average, a 3-inch hole should suffice. When placing the seed into the hole, make sure the pointed end is up. This is where your seedling will sprout, and its orientation matters.
Once the seed is nestled comfortably in its hole, loosely backfill the hole, taking care not to compact the soil too tightly. This is to ensure that the tiny plum sprout can easily break the surface when it’s ready.
Now that the seed is in its new home, it’s time for its first drink of water. Give the planted area a good watering – it’s important to kick-start the germination process. Thereafter, make sure to provide regular waterings. The key here is maintaining the soil’s moisture without saturating it. Plums, like most stone fruits, are not fans of waterlogged conditions which can lead to root rot— and no hobbyist wants that.
Lastsly, let us remember the vital role of patience in planting plum seeds. Nature has her own time clock, and rushing her is seldom fruitful. Keep the soil moist, watch out for pests, and before long, the arrival of the hearty little plum sprouts will signal the start of yet another cycle in this rewarding journey of plum cultivation. And isn’t that what makes this hobby so engaging, gratifying, and worth every moment invested?

Seed Germination and Care
What a journey it’s been discussing the process of germinating plum seeds! But, the moment you’ve been waiting for doesn’t end with just planting your seeds and watching them sprout. No, indeed, as the excitement has only just begun! It’s time to delve deeper into maintaining these precious seedlings and ensuring a successful growth environment, all embodying the magnetism of plum cultivation.
Firstly, one essential ingredient for the promising growth of your young plum sprout is adequate exposure to sunlight. Plum trees, in their natural habitat, have a preference for full sun exposure. These fledglings need at least six hours of sunlight per day to perform photosynthesis effectively. So, place your pots or containers in a sunny spot in your home or greenhouse.
The soil temperature is another aspect to be considered – a sensor or thermometer becomes handy for this task. Plum germination ideally takes place under soil temperatures ranging from 70 to 85 degrees Fahrenheit; this warmth hastens the germination process while cooler temperatures slow it down.
Maintaining soil quality is equally vital. Regularly test your soil pH level, ensuring a slightly acidic to neutral range, ideally between 6.0 and 7.5. High alkaline soils tend to hinder nutrient absorption resulting in stunted growth.
Fertilizing may be necessary to supplement nutrients that may not be provided sufficiently by the soil. However, be cautious not to overdo it. Use an all-around garden fertilizer rich in phosphorous around the base of your plum seedlings every spring to stimulate root growth, fruit production, and overall plant health.
Proper distance between your plum saplings can also be a game-changer. Crowded plants compete for sunlight, space, and resources, which can adversely affect their growth. A recommended distance of 20 feet between plum trees can ensure each has ample room to grow and access sunlight equally.
Prevention of pest attacks is another pivot that determines the survivability of your little plum warriors. Regularly monitor your seedlings and take a proactive approach against any signs of insects or disease. A common pest among plum trees is the aphids – tiny pests that suck the sap of young leaves and stems. If you spot any, use appropriate organic pesticides or introduce natural predators like ladybugs.
Up till now, the journey of cultivating plum trees from seeds may seem like a challenge with lots to remember. However, the satisfaction gained in watching the fruit of your efforts grow into majestic plum trees is worth every bit of it! As time passes, these small steps will become second nature, and you’ll bask in the joy of your flourishing plum orchard, a testament to the skill and knowledge you’ve gained in this wonderful hobby of plum cultivation. Celebrate each improvement, learn from each setback, and above all, keep nurturing your green thumb.
Plum cultivation isn’t just about growing trees; it’s a nurturing hobby that fosters growth within us too. Each sprout, each bud, each fruit is a reward affirming that every small step of effort counts. With the right blend of knowledge, diligence, and enthusiasm, you’re all set to have a thriving plum collection, reaping sweet fruits of wisdom and satisfaction from your hobby!
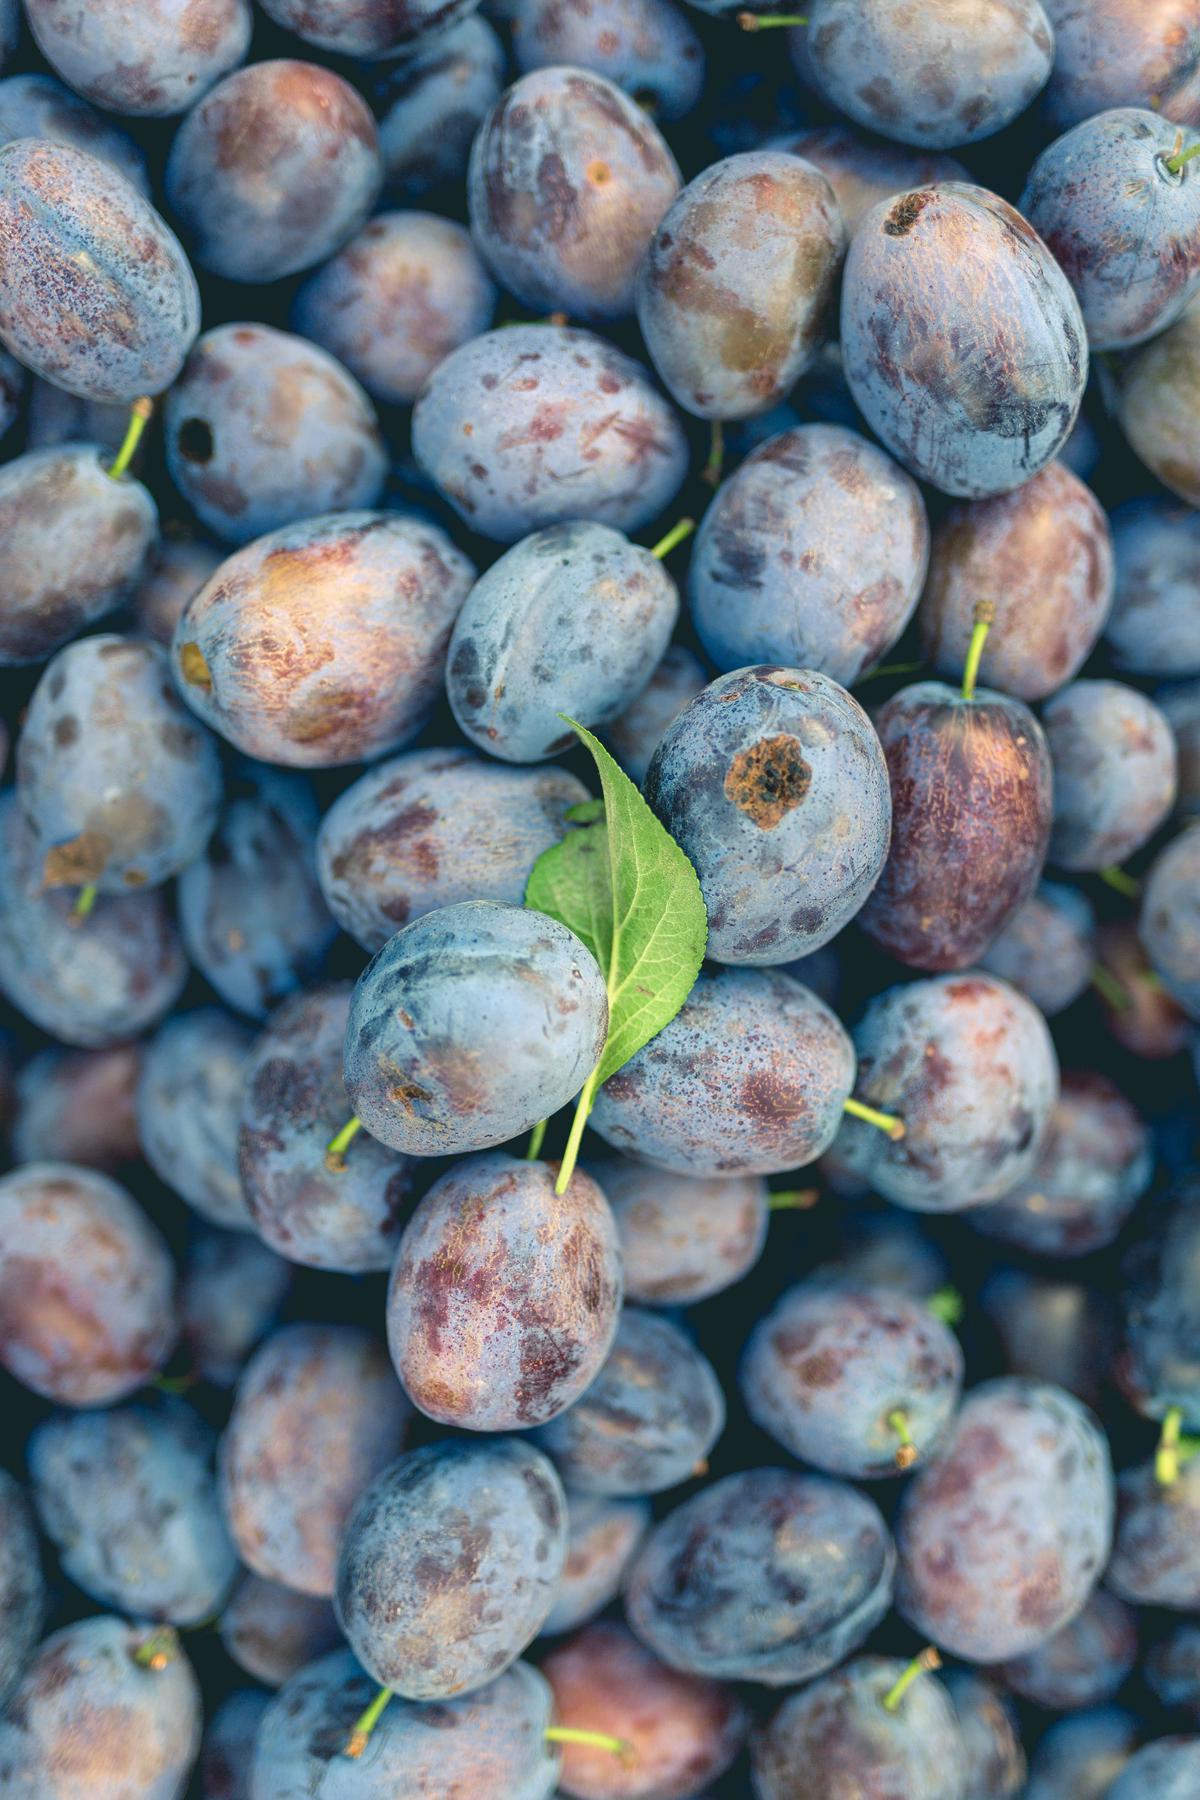
Photo by martenbjork on Unsplash
Moving forward, the knowledge gained about selecting the best plum seed, preparing the soil, and planting, along with understanding the germination process, will be indispensable tools in your gardening journey. By nurturing these seeds with time, warmth, moisture, and patience, they’ll transform into beautiful blossoming plum trees. Always remember that each plum tree you grow from a seed is essentially a unique individual with its own set of characteristics. The joy these trees bring, as they bear their first fruits, is profound and immeasurable. So, get started on this fulfilling journey of propagating plum trees from seed, and experience the gratification that accompanies the fruits of your dedication and toil.


