
Guide to Saving Pumpkin Seeds for Planting

In the world of gardening, one of the most rewarding experiences comes from harvesting your own crops from seeds you have saved and nurtured. Among these crops, pumpkins stand out with their vibrant colors, diverse varieties and usability in various culinary delights. The process of saving pumpkin seeds for planting involves selecting a suitable pumpkin, carefully extracting and cleaning the seeds, and finally, properly drying and storing them. This text will guide you through these steps, helping you gain the knowledge necessary to ensure successful pumpkin growth from your saved seeds.
Selecting Suitable Pumpkin for Seed Saving
The Art of Selecting the Perfect Pumpkin for Seeding: An Enthusiastic Guide
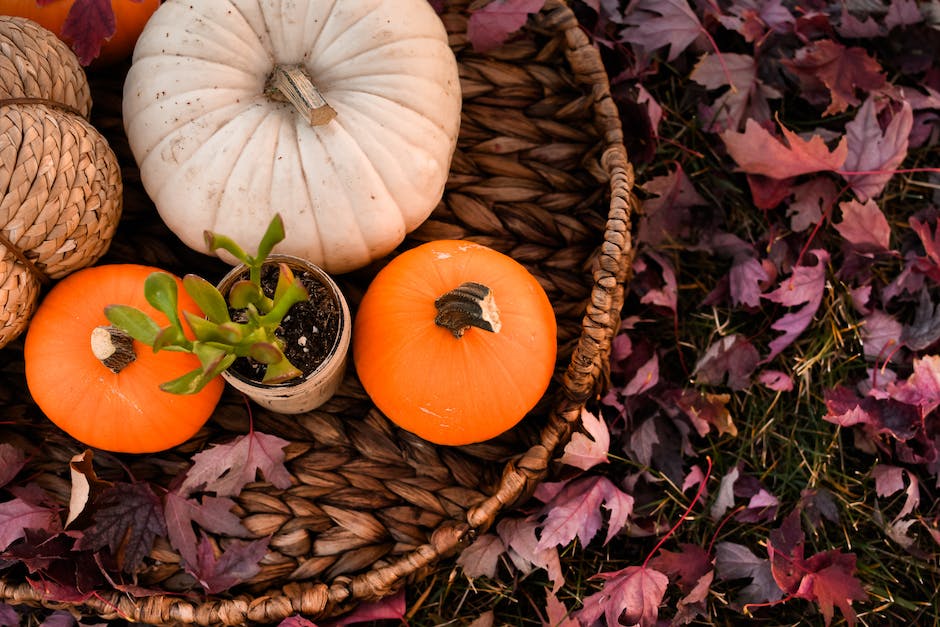
Pumpkin carving, pie baking, and pumpkin-themed decorations are fall classics, but an oft-overlooked aspect of pumpkin-hobbying is seed saving. Picking the perfect pumpkin for seed saving can take your gardening to the next level. Imagine growing your very own pumpkin patch from seeds salvaged from your previous harvest! Here’s the enthusiastic hobbyist’s guide on making that dream a reality.
First off, why not start with noting that it’s essential to select open-pollinated pumpkins for seed saving? Unlike their hybrid counterparts, open-pollinated pumpkins will produce offspring that are true-to-type. This means the younglings will inherit the characteristics of the parent plant, keeping the lineage intact. Consider varieties such as Cinderella, Jack-O-Lantern, or Sugar Treat, which are all open-pollinated masterpieces.
Next step: Examining the pumpkin. The demeanor of a pumpkin tells a lot about its seed-saving potential. Look for a mature pumpkin with hard, unblemished skin. Some indications of a mature pumpkin include an intense, consistent color all over and a dull-sounding thump when tapped. Avoid pumpkins with signs of rot, insects, or disease as they could negatively impact the quality of the seeds.
Remember that size doesn’t necessarily translate into quality when it comes to pumpkin seeds. Smaller pumpkins often carry seeds that are just as viable as those found in larger pumpkins. So don’t shy away from the little guys!
Now that the perfect pumpkin is in hand, it’s time to harvest the seeds. Start by cutting off the top of the pumpkin and using a sturdy spoon or ice cream scoop to scrape out the seeds. Rinse the seeds under cool water to wash away any remaining pumpkin flesh or strings.
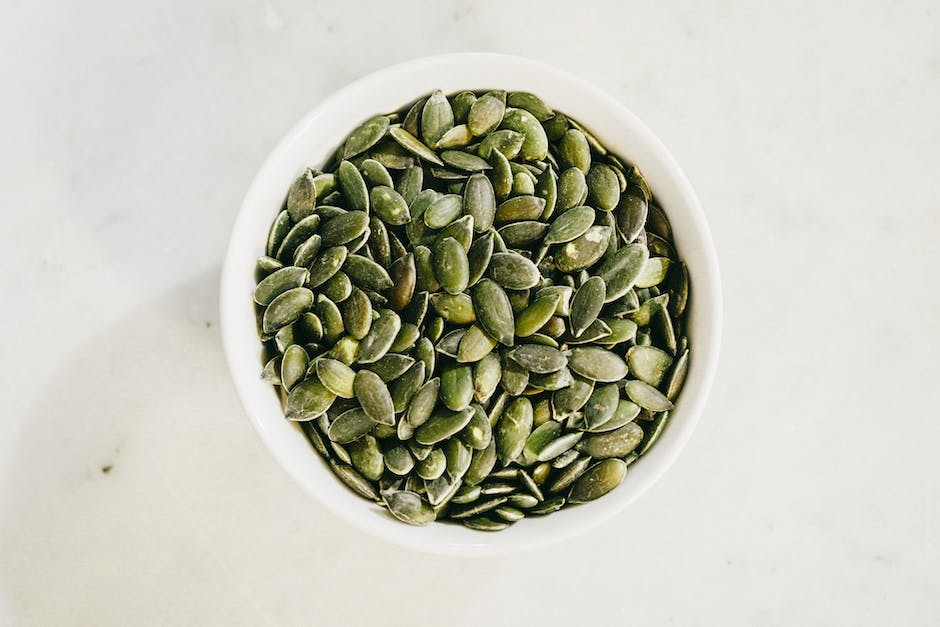
Tip: Healthy seeds are crucial for successful future growth. Therefore, examine the seeds and set aside those that seem healthy and viable. Successful seeds will appear large, plump, and have a thick, hard casing.
The final step is the storage of these incredible life-bearing seeds. Dry them out for a week or two in a cool, dark room on a non-stick surface. Stir them every few days to ensure even drying. Once dry, store them in a cool, dark place (a jar in the fridge works great) until it’s time to plant a new generation of pumpkins.
So there you have it! Harvesting and saving your pumpkin seeds is an exciting adventure that extends the joy of pumpkin season into the following year—and perhaps even for generations. It’s the hobby that keeps on growing. Happy seed saving!
Extracting and Cleaning Seeds
The Perfect Method for Preparing Pumpkin Seeds for Your Garden
Once you’ve successfully harvested your pumpkin seeds and have assessed their health and viability using our previous tips, you’re just a few steps away from having a garden ripe with your treasured variety of pumpkins. The next crucial phase is extraction, cleaning, and preparation of the seeds for future planting, and believe us, it’s not as daunting as it sounds!
Right out of the gate, let’s address the extraction process. The ripest, healthiest, and potentially fruit-bearing pumpkins tend to hold their seeds inlet, in a semi-dry state. Slice open your carefully chosen pumpkin with a sharp serrated blade, then gently scoop out the pulp. Try using a sturdy spoon or ice-cream scoop. Remember, don’t dig too deep. Your main goal here is to isolate the seeds from the pulp without damaging them.
We now move to the cleaning aspect. The seeds are usually nestled amongst stringy pulp and need a good, thorough cleaning to maximize their planting potential. Submerge them in a large bowl of warm water. The pulp will start to break apart and float, allowing the seeds to separate and sink to the bottom. Repeat this process until you’re left with pumpkin seeds on their own. Drain them and place them on a clean and dry dish towel, which will absorb any remaining water particles.
One often under-emphasized step in preparing your pumpkin seeds for planting is ‘curing’. Curing is essentially a seed drying process aimed at ensuring longevity and fortifying the seeds for unproblematic propagation. Air-drying is recommended as the best approach for pumpkin seed curing. Spread the cleaned seeds out on a sheet of newspaper or kitchen paper in a well-ventilated, cool and dry location. Avoid drying them in direct sunlight or in an oven, as these methods can significantly reduce their germination rate. Leave the seeds to dry for about a week. By-end, they should be hard and well-cured, ready for storage or planting.
Lastly, a vital detail to this process is to consistently check on the seeds during the drying phase. Turn them over every couple of days to ensure they’re evenly dried and not sticking to the paper. If any seeds show signs of mold or fungal growth, discard them immediately to prevent contamination of your healthy stock.
And there you have it – the right method to extract, clean and prepare pumpkin seeds for planting. So, why not start your venture into this delightful hobby using these simple steps? With patience and time, your garden will be bursting with the bright orange hues of the beautiful pumpkin!
Drying and Storing Pumpkin Seeds
Moving on from harvesting, assessing, and cleaning pumpkin seeds, we dive into the essential process of drying and storing, a phase that can easily seal the fate of the plant-to-be.
First off, the drying phase begins once the pumpkin seeds are free of pulp and drained. For those in drier climates, airdrying is usually sufficient. A solid approach is to spread the seeds out on a baking sheet or any flat surface, placing it in a room that’s dry and well-ventilated. Sunlight is not necessary, in fact, it might even be detrimental, so choosing a relatively dark, but airy place is ideal.
During the drying period, remember to turn the seeds over, gently, on a daily basis. This is just to make sure all sides of the seeds get a chance to dry evenly, stopping them from sticking to your drying surface. This step needs your sharp observation because you must remove any seeds that show signs of mold or fungal growth immediately. These could potentially ruin the entire batch of seeds if not removed promptly.
Drying time can vary widely based on the humidity in your location. It can take anywhere from a week to a month! Don’t be tempted to speed up the process by using heat, as this could end up damaging your seeds, nullifying all your hard work up to this point. A great sign that your seeds are dry enough for storing is when they break rather than bend. A small test of trying to break a seed can tell you if they’re ready or not!
Once you’ve successfully navigated the drying process, it’s time to shift focus to storage. You can store the dried pumpkin seeds in envelopes, jars, or bags. The one thing about all these options is that they should be moisture-free. A neat trick is to label the storage with the pumpkin variety and the date, especially if you’ve taken seeds from different kinds of pumpkins. And just to be sure, you could put silica packets in your storage containers to avoid any sort of moisture-related disasters.
Now, you might be wondering where to store these containers. Well, your fridge is a great choice, as seeds stored in a cold (not freezing), dark, and dry place sprout the best. But be careful about those temperature fluctuations induced by repeated fridge door opening and closing. A better bet might be a dedicated mini fridge or a root cellar if you have one.
And there you have it! The tale of preserving pumpkin seeds from harvest to storage. Now, these seeds are all set to sleep through winter, waiting to be awakened in the spring and make their transformation into a bountiful harvest. Remember, every pumpkin bearing your treasured seeds springs from careful preservation through these steps. Yes, it’s nourishment for the body, but it’s also nourishment for the soul, planted and harvested by your own hands. So, go forth and store those pumpkin seeds right, the pumpkin patch of your dreams awaits!
With the right understanding and techniques, saving pumpkin seeds for planting can be a fulfilling endeavor. It all starts by identifying the ideal pumpkin, right through to the extraction and thorough cleaning of the seeds, followed by the crucial step of correct drying methods and storage conditions. Once mastered, this process offers a sustainable and cost-effective way to grow your own pumpkins, be it for their delicious produce or simply for the pleasure of seeing these joyful symbols of autumn grow in your own garden. Preserving this eons-old gardening tradition not only connects us more intimately to the life cycle of the plants we grow, but also paves the path towards a more self-reliant and eco-friendly lifestyle.


