
Guide to Transplanting Your Aloe Vera Plant
Aloe Vera, a popular houseplant renowned for its medicinal and decorative properties, requires a certain level of understanding and care for successful cultivation. While it’s relatively easy to grow this succulent, knowledge about its essential needs such as sunlight levels, appropriate temperature, and the right type of soil, play a considerable role in ensuring its good health. This also becomes vital when the plant needs to be transplanted, an activity that calls for attention to detail and a systematic process. Along with this, knowing the correct post-transplant care methodologies can help the aloe vera plant adjust to its new environment efficiently.
Understanding Aloe Vera Plant Needs
The Perfect Environment for Aloe Vera: How to Cultivate Your Green Thumb
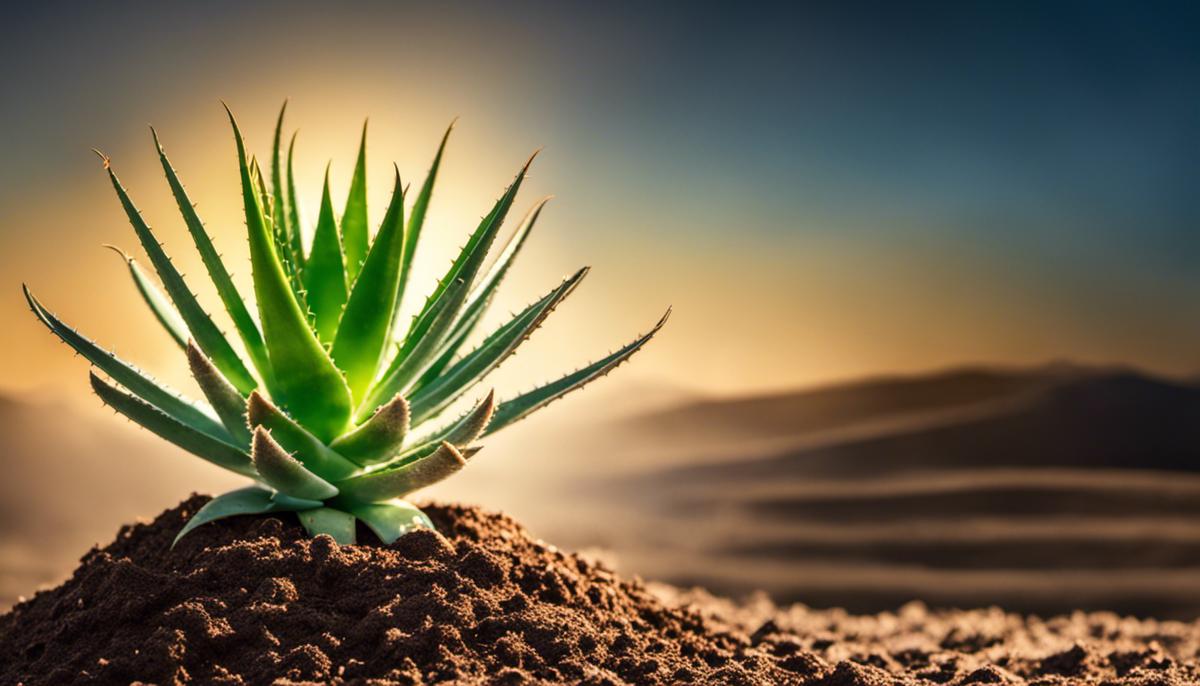
Thriving in warm, dry climates, Aloe Vera is truly a wonder plant. More than just an attractive succulent, it’s versatile and packed full of uses: from medicinal, cosmetic, to ornamental, Aloe Vera is quite the green superhero. But, as with every superhero, Aloe Vera has its perfect environment where it best flourishes. If you’re interested in raising a verdant army of these tough and adaptable plants, here’s the nitty-gritty facts about how to create the ideal conditions for the growth of an Aloe Vera plant.
First off, let’s pay attention to the light. Naturally designed for desert climates, Aloe Vera loves to bask in the bright sunlight. Place your Aloe Vera on a sunny windowsill facing South or West where it will receive ample light for at least six to eight hours each day. Nevertheless, this does not mean harsh, direct sunlight all day long. While the Aloe Vera is hardy, overly persistent rays can lead to leaf scorch, producing browning or wilting leaves. Protecting these precious plants from mid-day summer sun would definitely help keep them at their best.
Next up, humidity. Aloe Veras are capable of storing large amounts of water in their leaves, enabling them to survive in low humidity, arid conditions. Compared to rainforest residents or temperate garden flowers, they’d rather stay out of heavy humidity zones. Excess water can lead to rotting, so keeping them in check with a dry environment is key to their survival.
The soil types for Aloe Vera are essential to know too. Poor draining soil can lead to stagnant water and eventually root rot- a complete no-no for these tropical desert dwellers. A loose, sandier soil mix that drains well and dries quickly is ideal. A combination of cactus potting soil and coarse sand works superbly, while you could also add some perlite or pumice for extra drainage.
Let’s talk temperatures. Bearing their desert heritage, Aloe Veras can handle hot temperatures up to 80-85°F in the day. However, they do appreciate cooler night temperatures and can withstand dips down to 50°F. Moreover, they aren’t frost-friendly. If frost or freezing temperatures are forecasted, it’s time to move your Aloe inside!
Last but not least, watering. Aloe Vera plants can withstand periods of drought, thanks to their water-storing capabilities. Watering them heavily but infrequently is preferred. Wait until the soil has completely dried out before watering it again, usually every 2-3 weeks. And in winter, cut down on watering to once a month.
There you have it: the perfect recipe to create the ideal conditions for the growth of Aloe Vera. Remember, every plant has its personality and may need slight adjustments to these general guidelines. Happy gardening and here’s to the health and happiness of your Aloe Vera plant!
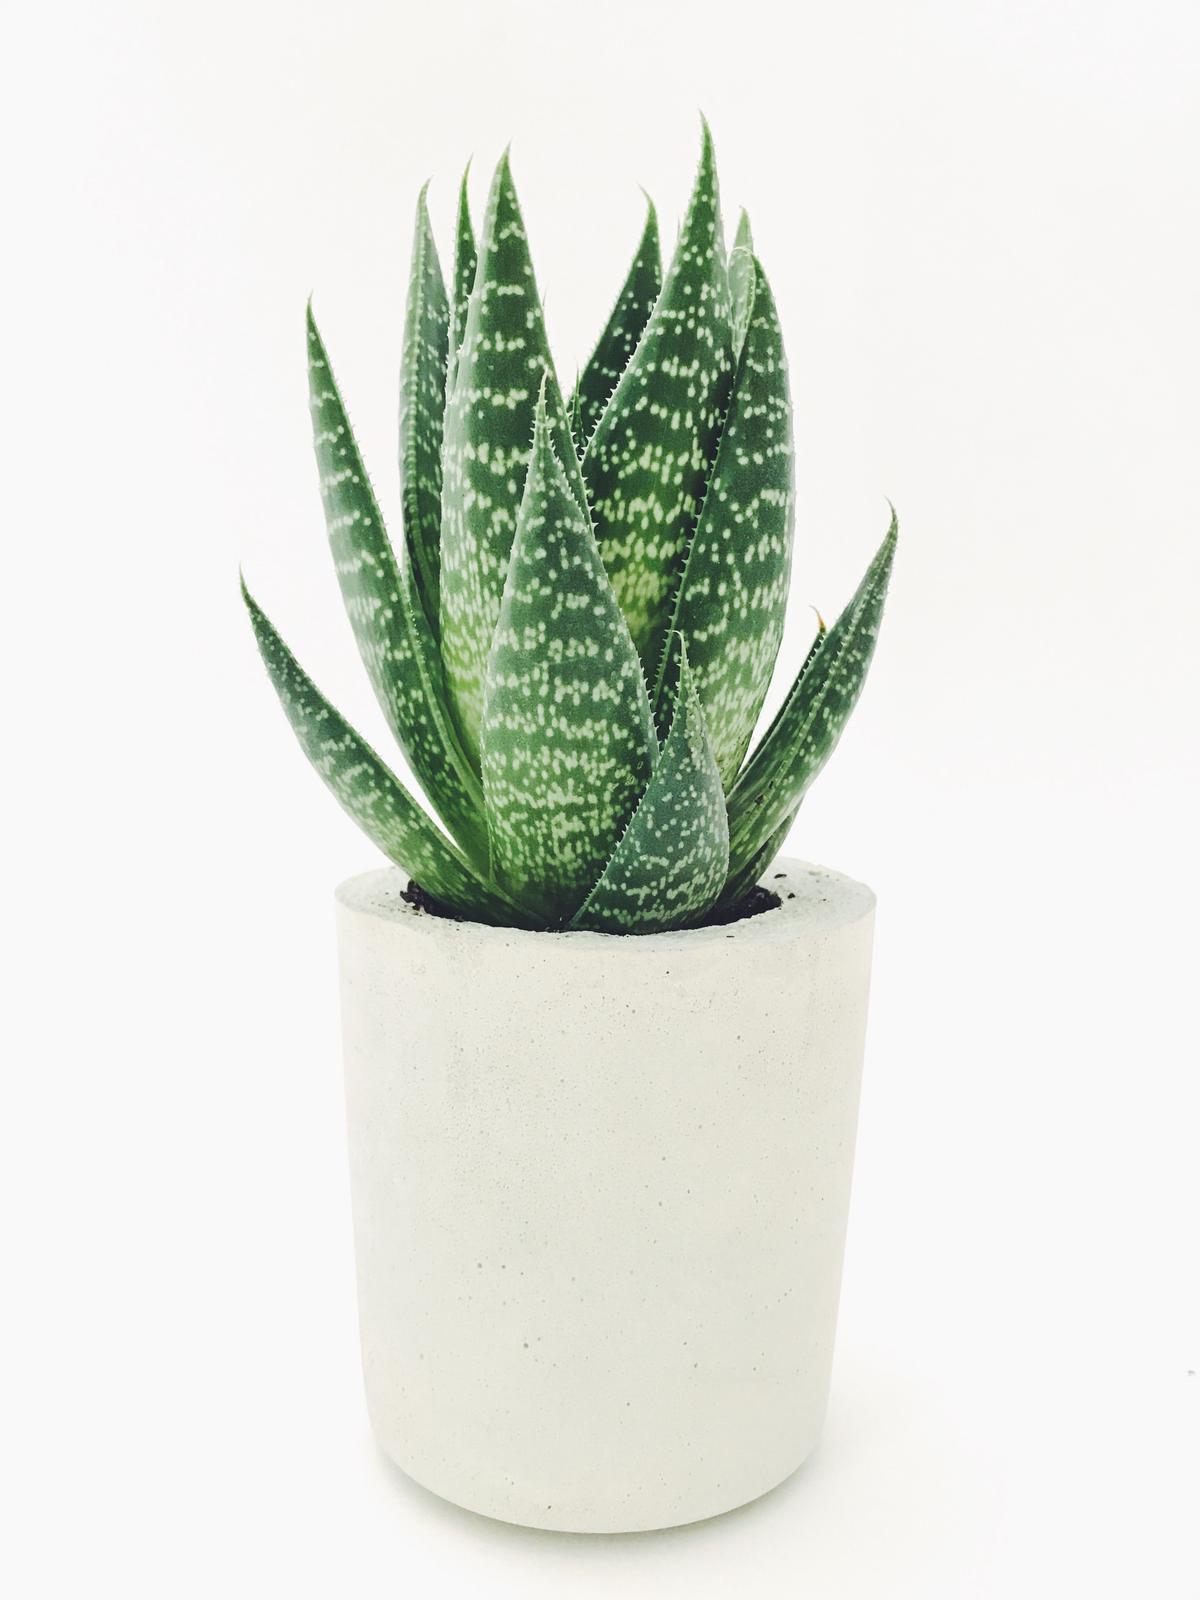
Photo by stephanieharvey on Unsplash
Transplanting Process
The Art of Aloe Vera Transplantation – How to Make Your Own Green Empire
Transplanting your favorite succulent, the aloe vera, is indeed an underappreciated gardening art! Sure, we have already covered the nitty-gritty details of aloe vera care; from optimal lighting, watering norms, desired soil texture, to the preferred temperature. But now, let’s delve into an exhilarating facet of aloe vera cultivation – the transplant process.
Why transplant, you ask? Well, for starters, your aloe vera plant is a fan of space. Once it gets crowded in a pot with its pups (the cute name for its offshoots), it’s time to give them some room to grow. Plus, it’s an exciting way for you to multiply your green kingdom!
Let’s dive in!
Step One: Gather Your Supplies.
The perfect transplant endeavor starts with the right tools – clean containers, a sharp knife or pruning shears, a well-draining soil mix as discussed prior, a newspaper or work cloth, and a little bit of patience.
Step Two: Time it out.
Transplanting is most successful when done in warm weather. This allows the plant to recover quickly. Aloe vera, with its hardiness, won’t mind if you displace it just after it has finished blooming.
Step Three: Remove the plant.
First things first, let’s get this plant out gently! Position your fingers around the plant’s base, turn the pot upside down, and with a gentle shake, get it out. Some patience and maneuvering may be needed here if the plant is held tight.
Step Four: Permit these Pups to Prosper.
Remember us mentioning the pups? They are your new prospective aloe vera plants! Suppress any attachment feelings and divide these pups from the parent plant using the clean knife or shears. Ensure each pup has a couple of roots to increase its survival odds.
Step Five: Let the Healing begin.
Now here’s a thing only succulent enthusiasts might know – before planting these pups, air dry them for a day or two. This allows any cuts to callus over and prevents possible infection.
Step Six: Planting.
Re-Planting is the real prize! Pour the well-draining soil mix into the new pot, insert the pup, and surround it with more soil. Don’t bury it too deep, just enough to hold it steadily.
Step Seven: Wait, Wait and Water.
Holding back from inundating with water is crucial for successful transplantation. Give it a good week or two before watering. This gives the aloe time to recover from any transplant shock and to establish their roots in the new soil.
And Voila! You’ve graduated into a green-thumbed aloe vera transplanting enthusiast! No need for accolades, though – the joy of cultivating your own aloe vera empire will be reward enough! Happy Gardening!

Post-Transplant Care
“Mastering the art of transplanting Aloe Vera plants may appear daunting at first, yet their steadfast nature and high adaptability make the procedure relatively straightforward. With the foundation covered about Aloe Vera’s sunlight and watering requirements and the ideal soil specifics, let’s dive straight into some direly needed guidance post-transplantation.
Post-transplantation, one of the felicitous practices is to position the newly transplanted Aloe Vera plant in a relatively calm environment – somewhere the conditions like temperature and light intensity remain reasonably consistent. Kindly note that a newly replanted Aloe Vera has been through an adjustment period and doesn’t require any added stress from changing external conditions.
To sincerely take care of your newly transplanted Aloe Vera plant, resist the natural urge to water immediately after transplanting. This essential pause before watering gives the plant time to heal the damage caused during the transplanting process. Waiting can be anywhere from several days, even for over a week depending on the health and strength of the plant.
When it’s time to water the transplanted Aloe Vera, adopt a tender manner. Moisture is appreciated but over-watering may lead to root rot. Aim to moisten the soil adequately, but stop before it becomes waterlogged. Also, during the waiting period, keep an eye on the health of the plant. Healthy, transplanted Aloe Vera should rebound quickly and show signs of new growth. However, if the plant shows signs of distress – wilting, browning tips, or a yellowing leaf, it may indicate the need for changes in care.
During changes in the season and temperature, Aloe Vera may require additional care. For instance, during winter, the watering needs of your Aloe Vera plant may change. It would be more prudent to reduce the frequency of watering as this is a dormancy period for the plant.
As the Aloe Vera continues to establish itself post-transplantation, ensure to perpetually monitor and reassess the plant’s needs. The frequency and quantity of water, light exposure, and temperature all might require readjustments.
Transplanting and caring for Aloe Vera plants in your home can be wonderfully-rewarding. Merely following these points and adjusting as per your plant’s individual needs can ensure that your Aloe Vera flourishes post-transplantation. Here’s to your successful transplantation journey with the ever-green Aloe Vera!”
The process of transplanting an aloe vera plant, though appearing simple, involves a series of careful steps and attention to the needs of the plant both before and after the transplantation. From choosing the right soil, adjusting the sunlight levels and temperature, to following the correct transplanting process, every step holds its significance. Post-transplant care is equally important as it ensures that the plant can continue to adapt and grow healthily in its new home. With this understanding, you can assure the longevity and flourishing growth of your aloe vera plant and appreciate its benefits in your everyday life.


