
Harvesting Corn: Unveiling the Optimum Time
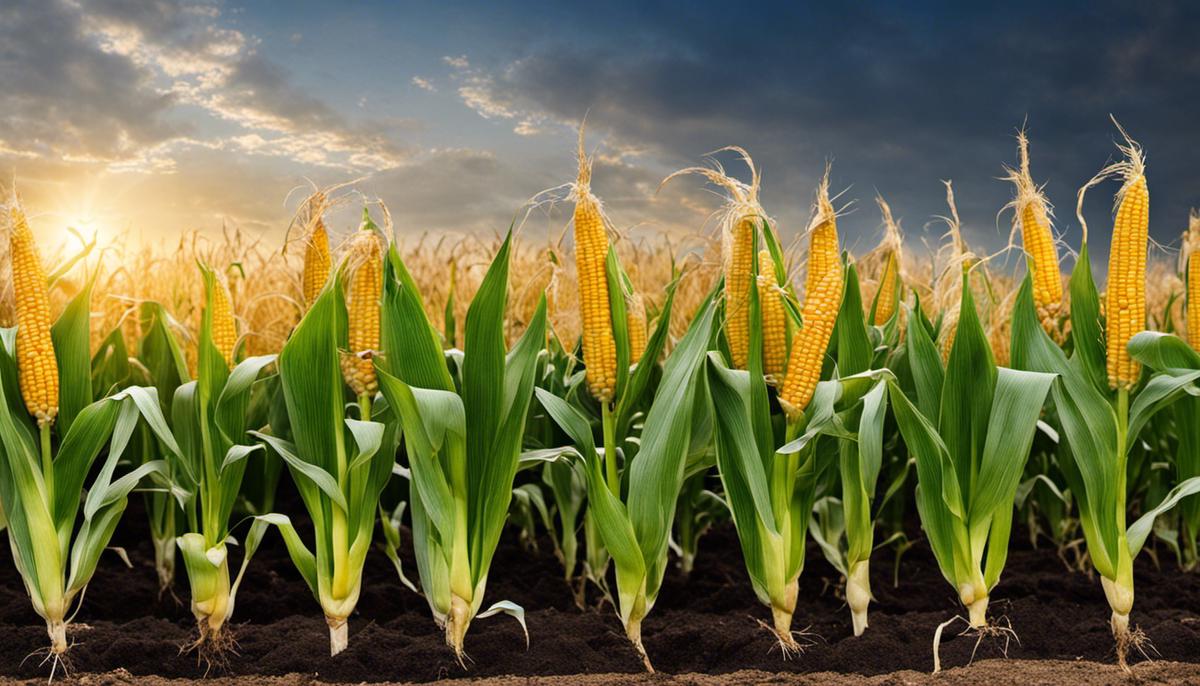
Harvesting corn at the right time is an art that requires an understanding of the corn plant’s life cycle, from the point of germination to maturity. Planting the seeds serve as an initial part of the journey, but attaining optimal yield goes beyond the germination stage. It is imperative to identify the visual cues that signify the state of corn readiness for harvest, such as the dentist of kernels, a significant change in the silk’s color, and the drying of the husk. More so, no harvest process is complete without a proper testing of the corn’s moisture content, which should ideally revolve around 15-20 percent. These are the key factors, among others, in determining the right time to harvest corn, allowing farmers to get the best out of their planting effort, minimizing waste, and maximizing yield and profitability.
Understanding Corn Plant Life Cycle
Welcome, fellow corn-aficionados! If you share our passion for the golden grain that has been humanity’s sustenance for millennia, strap in! Grab a notepad, pen or tablet, because we’re embarking on a journey through the fascinating life cycle of a corn plant.
First call: Germination.
Once our chosen kernel is buried approximately 1 to 2 inches below the soil surface, the dance begins! Between 60 to 95 degrees Fahrenheit is the ideal soil temperature range, with anything above or below potentially resulting in sub-optimal germination. In about 7 to 10 days post-planting, the radical (primary root) emerges, closely followed by the coleoptile – the protective sheath sheltering the first leaves.
Our second stop: Seedling stage.
Establishing a strong root system is the name of the game at this juncture, typically manifesting in six to eight leaf stages. To ease future identification, remember this – corn leaves roll out ‘like a scroll’ and they’re arranged in pairs opposite each other on the stalk.
Next, we witness the magnificence of the Vegetative stage!
Watch out for the ‘V-Stages.’ They cover the development from emergence to tasseling – when hairlike projections grow at the top of the plant. Here, nitrogen, potassium, and phosphorous needs peak – get those fertilizers ready!
Arriving now at the Reproductive stage.
The corn’s maturity culminates in this phase, starting at pollination and ending at physiological maturity. Here’s a cool fact: the plant’s gender is fluid, with the tassel at the top being the male flower, and the ear with the silks being the female flower! Make sure to encourage cross-pollination for a bountiful harvest.
But hold on – Pregnancy period!
Also known as grain fill period, it’s when the ‘baby kernels’ mature. There are four stages: The blister, milking, dough, and dent stage. Remember, time and temperature are of the essence to ensure kernels achieve their full potential size and weight.
Finally, we reach the Black layer stage.
When a hard, black layer forms at the kernel’s base, you earn the green light for harvest. The kernels’ moisture content should be around 30% at this stage, drying down further in the field for optimal storage or processing.
And there you have it, folks! The enthralling, cyclical saga of a corn plant’s life, from the humble, hidden kernel to the golden globe gleaming in the summer sun. Could any hobby be more satisfying than guiding those tiny kernels to soar reach their full, silken-tasseled potential? Surely not! It’s a journey every corn enthusiast should experience at least once. So, why not start today? Happy Planting!
Identifying Maturity Signs for Corn
Revealing the Corn Harvesting Secrets: How to Know When Your Corn is Mature and Ready for Harvest
For all you ardent corn growers out there, mastering the art of harvesting may appear a bit like playing detective, always on the lookout for subtle cues from your crop. You’ve successfully navigated through the phases of germination, seedling, vegetative, and reproductive stages. You’ve patiently endured the waiting game of the pregnancy period, and crossed the black layer stage. Now, you stand poised at the pivotal time of harvest. The big question must be: ‘How can you discern when your corn is mature and ripe for the picking?’ Let’s dive right into unraveling this mystery!
Inspect the Husk: This is the first tell-tale sign. When the husk turns brown and starts drying out, it’s an indication that the corn might be ready for harvest.
Look at the Silk: The silk on your corn can also be a significant indicator of maturity. Once it turns dark brown or black and becomes dry and brittle, that’s another clue that your corn might be ready for harvest.
Check the kernels: A hands-on approach involves manually inspecting the kernels to ensure they are ripe. Pull back part of the husk on a corn ear and puncture a kernel using your thumbnail. A ripe corn will produce a milky liquid. If it simply punctured and did not release any liquid – it is still immature.
Use the days-to-maturity approach: Each corn variety generally has a specific number of days to maturity listed on the seed packet. This is a great way to get a general idea of when your corn should be ready, but always cross-check it with current growing conditions as actual maturation can vary.
Experiment with a taste test: Although it may seem unconventional, this hobby sometimes calls for a lack of convention! If the kernels look plump, try a taste test. Ripe corn is sweet and juicy.
Remember the ‘dent’ stage: Typically, field corn (used for livestock, dry corn products) undergoes a ‘dent’ stage where the kernels shrink and dent inwards. But if your corn variety is sweet corn (the usual pick for home gardens), you want to harvest before it reaches this stage, just when kernels are plump, juicy, and sweet.
Spot the Starch Line: For those with field corn, there’s something called the ‘milk line’ or ‘starch line’ to guide you. As corn matures, a line of hard starch forms at the crown of the kernel and progresses towards the corn cob’s base. Once the starch line is halfway down the kernels, it generally indicates that corn is at peak nutritional value for silage.
While it may seem like a complex task, the beauty of being a true corn enthusiast lies in learning to understand and navigate these stages effectively. So, gear up and ready those corn knives for an abundant corn harvest! A wealth of golden, mature corn could be just a few early mornings away!
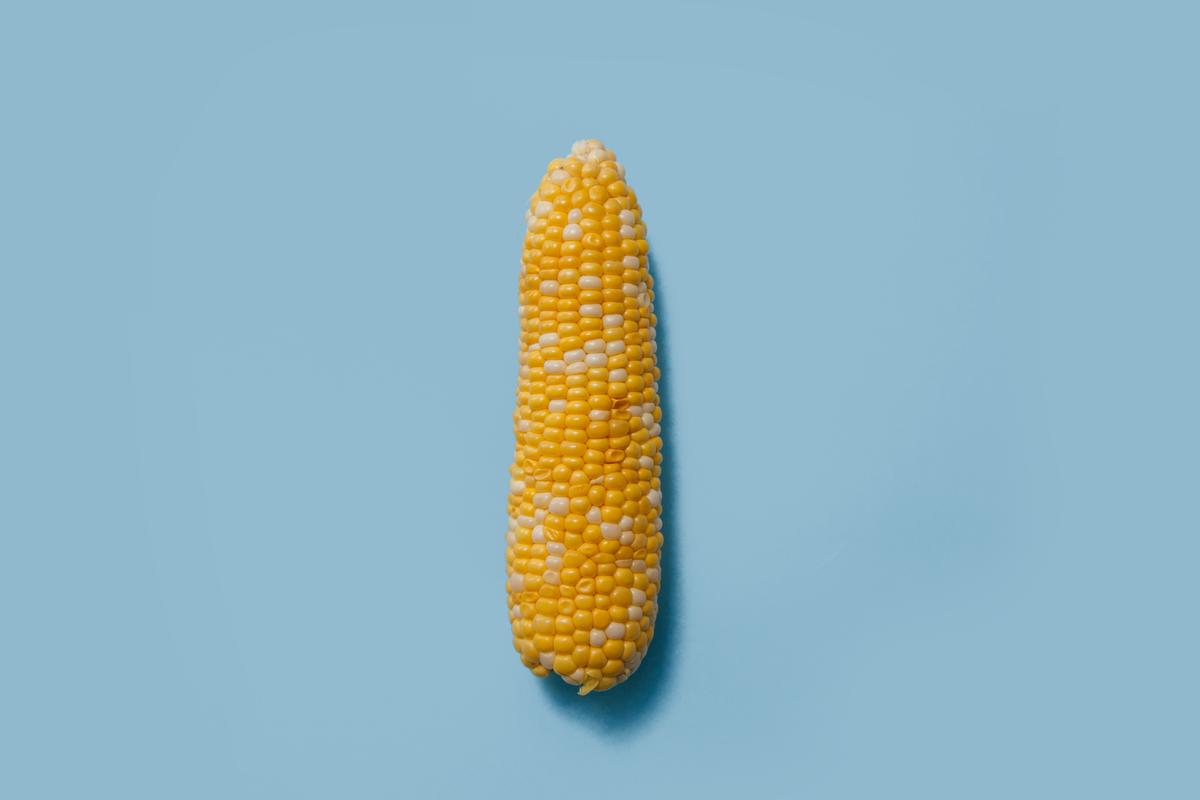
Photo by charlesdeluvio on Unsplash
Testing Corn Moisture Content for Harvest
The Essential Guide to Corn Moisture Testing
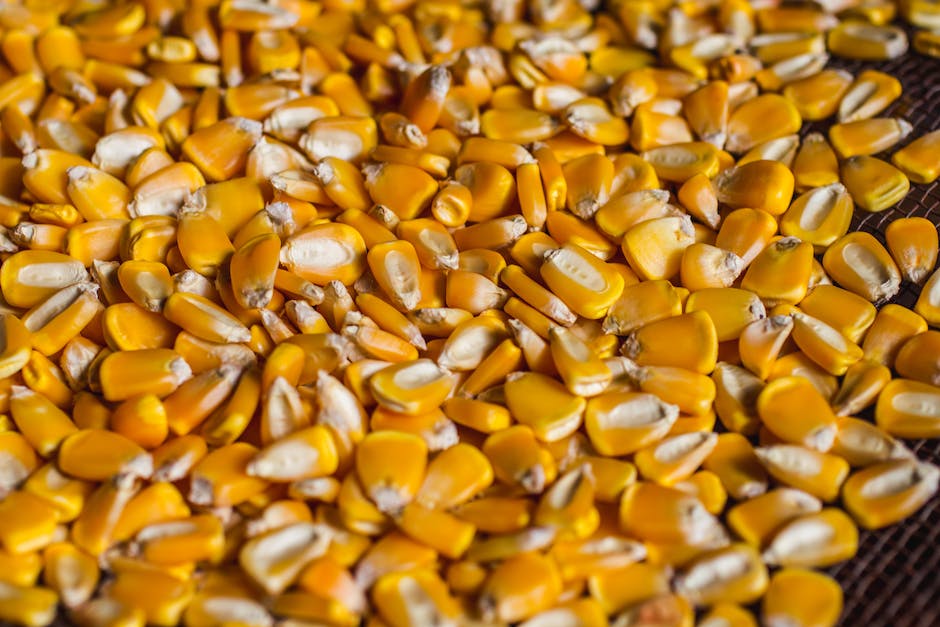
Understanding the intricate process of testing the moisture content of corn is an art form. It involves precision, timing, and persistence. A crucial phase often overlooked is the Physiological Maturity stage. This occurs when the corn kernel is 30%-35% moisture, presenting the optimum situation for harvest. However, not everyone has a moisture meter handy. Let’s reveal some valuable tips on how you can accurately monitor your corn moisture without a conventional moisture meter.
Firstly, make sure you’ve reached the correct stage – the “milk line” or the line separating the liquid milky starch and the solid starch, should no longer be visible. This signals the corn has dried up enough to reach an appropriate moisture level.
To further confirm if your corn has reached the correct moisture levels, examine the kernels. A method that proves advantageous is employing the “break and squeeze” test. This entails breaking a kernel apart and squeezing the inner contents. If a milky substance still emerges, moisture content is still high. However, if it breaks into a dry, crumbly texture, the moisture content is likely at a level ideal for harvesting.
Be mindful of the weather too – weather conditions play a significant role in this process. Sunny, warm weather aids in the drying process, whereas wet, cool conditions will slow it down considerably.
Another unconventional yet proven method is attempting the “bending” method. This involves picking a corn kernel and trying to dent it with a fingernail. If the kernel easily dents, the corn is still too wet. Yet, if it’s hard to dent, chances are it’s ready.
Additionally, consider the overall reaction when placing the entire kernel under pressure. If the kernel pops open when squeezed, this could be an indicator that it’s not sufficiently dry.
Now, for an unorthodox but effective method comes the ‘popcorn’ test. This involves actually popping a kernel like popcorn. If the kernel pops, it’s a strong sign that it is too dry and has exceeded ideal moisture levels.
Lastly, try conducting the ‘oven test’. This involves drying out a small, properly weighed sample of corn in your oven at 103 degrees Celsius for 72 hours after which reweigh it. The difference in weight signals the amount of moisture lost.
Accurately testing the moisture content of your corn might seem like a complex, daunting task. However, with these methods, you can really get to know your crop and ensure that the corn you’ve work so hard on cultivating reaches its full potential for quality and yield. Undeniably, every kernel matters!
With knowledge of the corn plant life cycle, the ability to discern signs of maturity, and skills for testing moisture content, one can accurately determine the best time to harvest corn. This harvesting timing optimization goes a long way in ensuring the highest possible yield and the best quality of corn. Drawing from this knowledge, farmers can make sound decisions, avoid wastage, and amplify the profitability of their corn farms. The importance of these factors cannot be overstated in the successful cultivation and harvesting of corn. Indeed, shaping the future of corn farming relies heavily on these core skills, promising a rewarding and sustainable harvest for every season.


