
How to Grow a Plum Tree from Seed: A Guide
There’s something incredibly rewarding about growing your own fruit tree right from the seed. Plums are an especially great choice for beginners, offering a sweet, juicy reward for patience and care. This guide will assist you on a journey to cultivate your very own plum tree. We’ll start with seed selection and preparation, discussing the importance of a ripe plum for your seed source, and diving into the processes of cleaning and stratifying the seed. Then, you’ll be directed step-by-step through planting and germination, covering vital information on planting depth, use of proper potting soil, watering frequency, and timing. Lastly, we explore the subtle art of tree care and maintenance, where you will learn about efficient watering schedules, optimal sunlight exposure, beneficial pruning techniques, and effective pest prevention to nurture your tree to maturity.
Seed Selection and Preparation
The Art of Plum Seeds: Surefire Tips for Selecting and Prepping Them for Planting
Before from its majestic bloom to its luscious fruit, there’s much to love about the plum tree. Yet, as any seasoned grower will tell you, it all starts with one tiny, essential piece: the seed. Choosing the right plum seed for planting is just as vital as how you prepare it. This article covers essential strategies on selecting and prepping the precious plum seed, paving the way for a plum-loaded future!
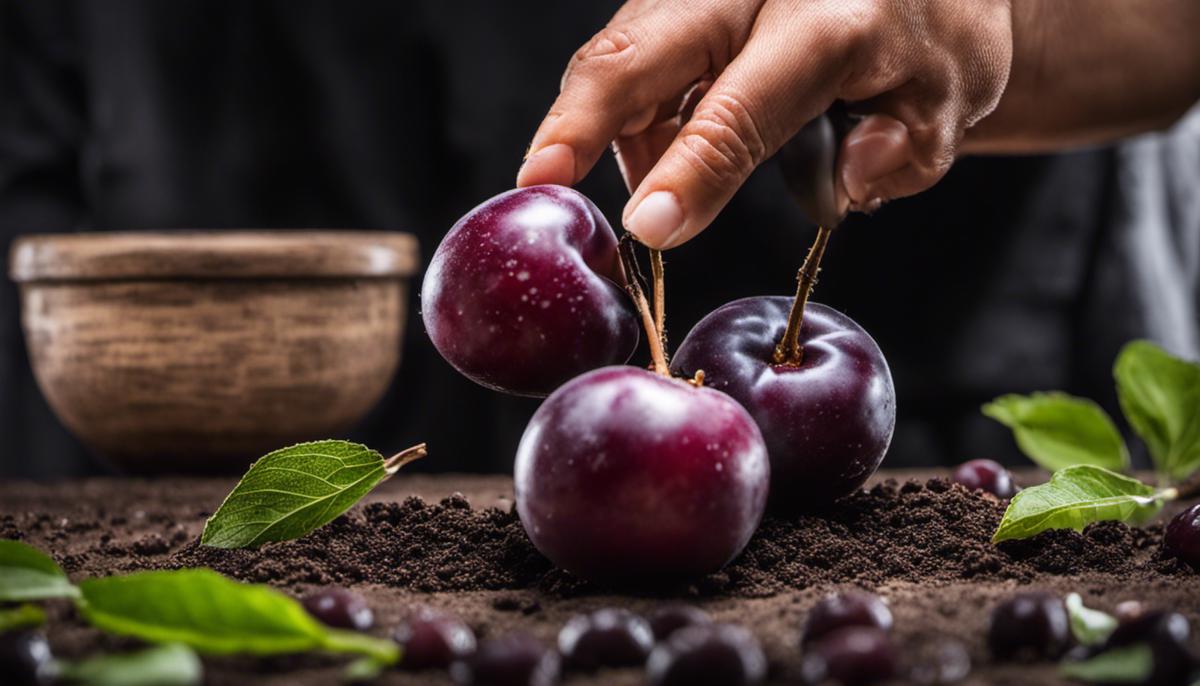
In selecting your plum seeds, it’s crucial to understand that quality supersedes quantity. The first step is obtaining seeds from a local grown plum tree. Why local? The familiarity with the environment gives the seeds a higher survival chance. When indulging in your next plum, save the seeds, but remember, not all seeds are created equal. Choose plump and firm seeds without any signs of damage or disease.
Now, let’s talk about careful preparation. The journey from a tiny plum seed to blooming plum tree is intricate but highly rewarding. First and foremost, dry your plum seeds meticulously post extraction. Use a cloth or paper towel to gently remove any residual flesh. Then, air-dry the seeds for a few days until there’s no exterior moisture.
As a winter-emerging fruit, plum seeds need to undergo stratification to induce germination. This process mimics natural winter conditions, breaking down the seed’s hard exterior and promoting internal growth. Conveniently, your refrigerator can simulate these conditions! Simply place the seeds in a sealable bag, surrounded by slightly moist peat moss or sand, and then refrigerate them for 6-10 weeks. This cold treatment will trick them into thinking they’ve gone through winter, preparing them to sprout when planted!
Now comes the planting part, and timing is key. Spring is when you should be preparing your nursery beds or pots. Loamy soil rich in organic matter works best, with an ideal pH of 6.5. Plant the seed one inch deep, ensuring it’s spaced adequately from other seeds. It’s crucial to remember that patience is a virtue when waiting for seeds to sprit. Often, it can take several weeks to a few months to see any sprouts, but the wait is worth it!
Finally, keep watch for your tiny seedlings that once were little plum seeds. Never miss a chance to hydrate them, especially in the early stages. Water consistently and adjust according to seasons and seedlings’ size. Additionally, ensure there’s plenty of sunlight to aid in photosynthesis, promoting healthy growth.
In conclusion, the journey of planting plum seeds might seem intricate, but armed with these best practices, the process becomes clear with wondrous results! So, let’s get that green thumb to work, embark on the gratifying journey of growing your plum tree, and stand back as nature takes its course! Together, we can make the world a plum-tastic place, one tree at a time.
Planting and Germination
Title: Your Complete Guide to Plum Seed Planting: Timing and Tips for Successful Germination
Discovering the art and science of planting plum seeds can be exciting and rewarding. With careful timing, you can increase the chance of germination and soon have a beautiful plum tree to show for your efforts. By now, you understand the importance of selecting local, high-quality seeds and adequately preparing them for planting. The next step in this horticultural journey is understanding when and how to plant these prepared seeds for maximum success.
Planting Timing: The Sweet Spot
The stratification process of emulating winter conditions for your plum seeds in the refrigerator has hopefully been successful. But when should you plant these winter-mimicking plum seeds? Spring is the best time to plant plum seeds – typically around late April to early May when the ground and air temperature consistently stays above 45 degrees Fahrenheit.
Take note of local weather forecasts and avoid periods of heavy rain or frost. Remember, a calm, warm day is ideal for planting. This allows the seeds enough time to take root before winter returns. This period also gives the seeds a chance to immediately sink their roots into the new, warm environment, which is crucial for successful germination.
Planting Technique: Dive Deep, Space Right
When planting the seeds, consider the depth and spacing. Ideally, plum seeds should be planted about 2-3 inches deep, ensuring that the seed isn’t too exposed to drying out, yet not so deep that it struggles to sprout. The hole you dig should be comfortably loose to make it easier for the seedling to establish itself.
Failing to provide enough space can stunt growth, cause competition for nutrients, and increase the chance of disease transmission. Therefore, the optimal spacing is about 20 feet apart if you are planting more than one seed. This provides plenty of space for the growing plum trees to spread their branches.
Nurturing: Go The Extra Mile
Watering is a critical part of caring for your plum seeds post-planting. You should irrigate the seeds immediately after planting and continue to do so every three to five days. This frequency promotes a moist environment for the seeds, which is pivotal for plum seeds to sprout.
Even after germination, remember to shield your precious seedlings from harsh weather conditions. Utilize gardening equipment such as stakes to support the growing plum tree and netting if necessary, to ward off pests.
Growing plum trees from seeds is a journey filled with trials and triumphs. Every step, from selecting seeds to seeing your first full bloom, provides an unparalleled sense of accomplishment. So roll up your sleeves and get ready to plant those plum seeds – there’s no time like the springtime!

Tree Care and Maintenance
Next on the agenda is an all-too-important topic – providing the right nourishment for your burgeoning plum tree. Plum trees, like most fruit-bearing trees, are high nitrogen consumers. Therefore, applying a nitrogen-rich fertilizer in early spring, just before new growth begins, can be beneficial. Look out for fertilizers marketed for fruit trees or roses as they typically contain high levels of nitrogen. Remember! Never over-fertilize. Too much can damage your tree. Apply lightly in early spring and again in early summer.
Pruning plays a vital part in the overall health of your plum tree. It’s best to prune during late winter when the tree is dormant. The goal is to remove diseased or dead wood, thin out overgrown areas to allow light sunlight into the center of the tree, and shortening branches to control size. Make your cuts clean and sharp to prevent any damage.
Besides, proper watering is instrumental in the growth of a healthy plum tree. While young plum trees need watering every week, mature ones require watering every couple of weeks. Always focus on deep watering rather than surface watering, as it encourages a deeper root system, making your tree more hardy and resilient.
Now, let’s discuss how important mulching is. It plays an indispensable role in maintaining moisture levels and temperature in the soil around your plum tree. Use organic mulch like wood chips, compost, or straw, surrounding the base of the tree but steer clear of the trunk.
Effective pest control can’t be overstated when caring for your plum tree. Regular inspections for pests and diseases go a long way. If a problem is detected, use an approved insecticide or fungicide, following the manufacturer’s directions carefully.
Supporting your tree as it grows is equally important. Stake young trees to provide support against strong winds or heavy fruit loads. You can remove these as the tree gains its strength.
The next step, perhaps the most exciting of all, is harvesting your hard-earned plums. Plums are ready to harvest when they give slightly to a gentle squeeze and have a deep, even color. A soft twist should easily remove them from the tree. Keep in mind, different plum varieties mature at different times, so some research specific to your type might be needed.
Lastlty, remember that every plum tree is unique, with its unique needs. Stay observant, patient, and constantly learn from experience.
With careful consideration and a lot of love, your plum tree will thrive, rewarding you with juicy, homegrown plums year after year. Care for your plum tree is more than just a process, it’s a journey! Happy gardening!
In the end, what one needs is patience, care, and a little bit of good weather. Every season will bring with it new learning and new progress for your plum tree, from the first blush of blossom to the weight of ripe fruit. Mastering the art of growing a plum tree is an ongoing journey of discovery and joy. As you progress from seed selection, move through germination, and delve into tree care and maintenance, always remember that the learning curve is part of the rewarding journey. So, enjoy each moment, observe your tree closely, and continue to learn. The fruition of this process holds the promise of rich, homegrown plums and the satisfaction of a job well done. Happy planting!


