
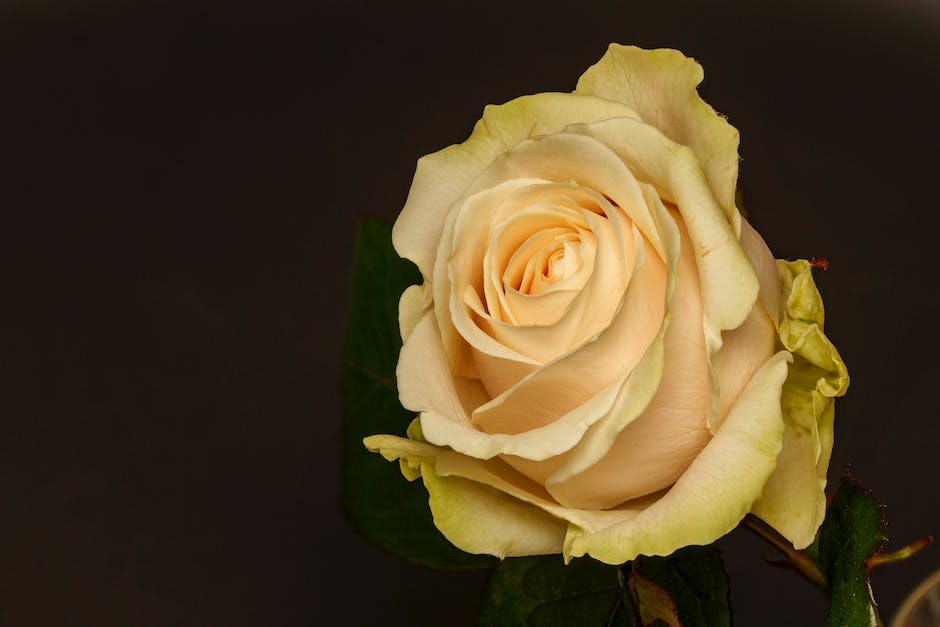
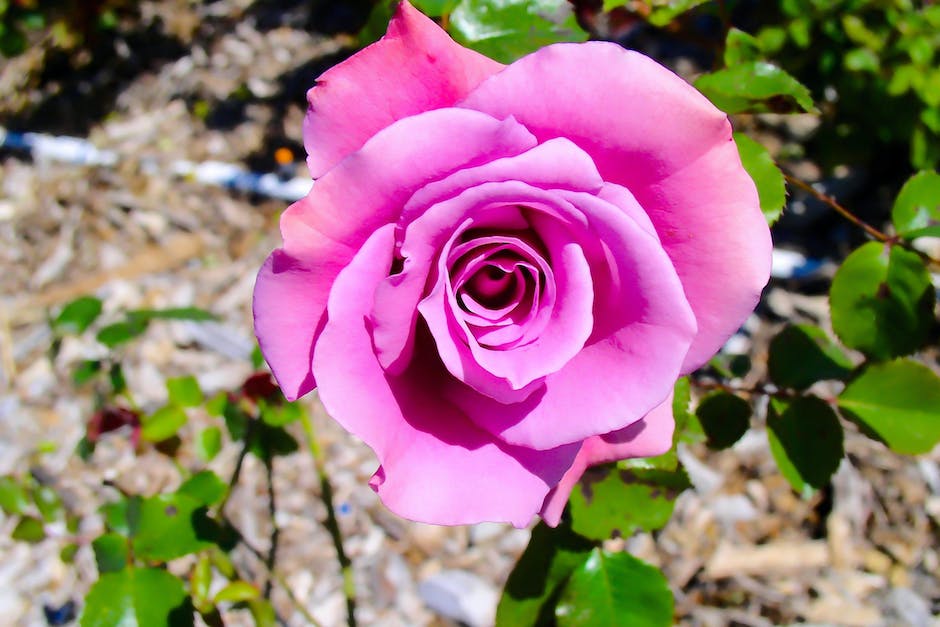
How to Grow Beautiful Roses from Seeds
Roses, with their vibrant colors and alluring fragrance, are often considered the epitome of beauty and elegance in the floral kingdom. But growing a rose from seeds can be a quite challenging yet immensely rewarding experience. This piece aims to provide comprehensive knowledge on the cultivation of roses from seeds, starting right from seed preparation, germination, through to nurturing the tender rose seedlings into blooming plants.
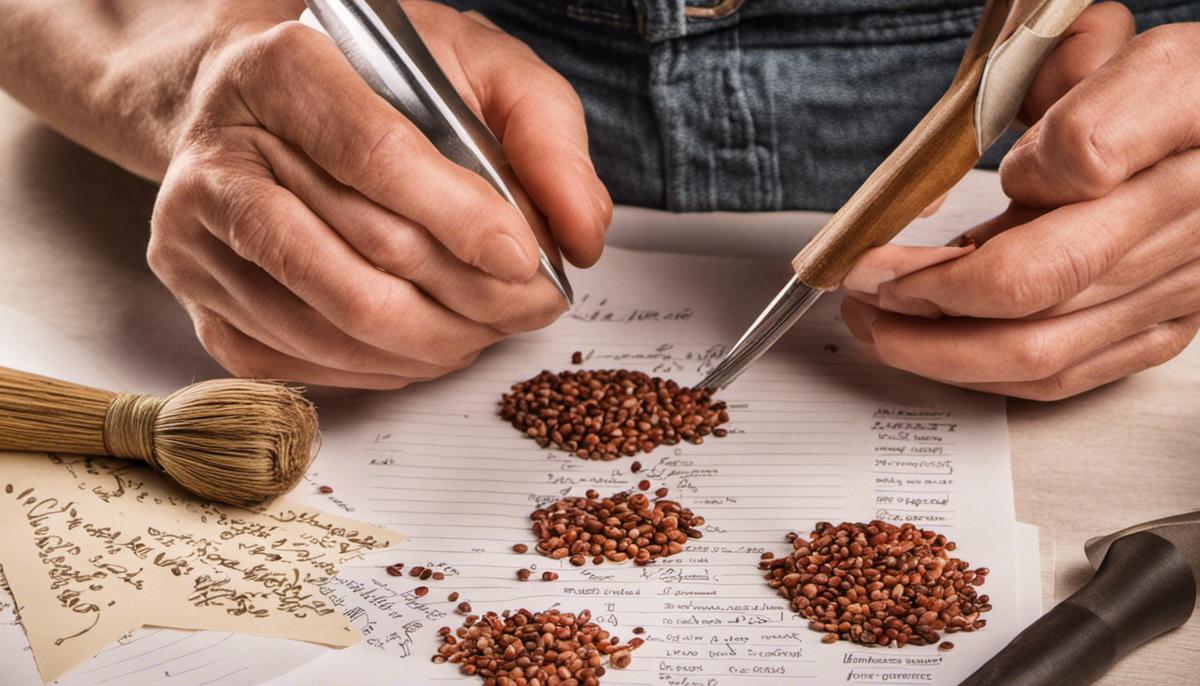
Preparation of Rose Seeds
When one embarks on the delightful journey of growing roses from seeds, preparation is key! This process brings immense joy and satisfaction, for you get to watch these majestic blooms gradually evolve from seeds into an enchanting spectacle. This article will shed light on the process of preparing rose seeds before planting.
Rose seeds, like other seeds, need specific conditions to trigger germination. It’s thrilling to foresee the array of colors that can arise from such small capsules, and equally intriguing how a bit of delicate care can turn them into magnificent blooms.
To begin, it’s advised to purchase high-quality rose seeds. This provides the foundation for potential success. Well-chosen seeds can give you a diverse array of rose types, color, form, and fragrance.
Rose seeds need a process known as ‘stratification.’ This is the simulated experience of winter for the seeds, triggering the germination process. The seeds get a period of dormancy under cold and moist conditions which breaks their internal dormancy and makes them ready for planting.
To stratify rose seeds, initially, soak them in a solution of 1.5% hydrogen peroxide and water for about an hour. This helps cleanse the seeds and prevent fungal growth. Rinse them thoroughly and then pat dry to ensure no solution residue left.
Next, place them in a ziplock bag filled with a moistened mix of sphagnum peat moss and perlite. Store this bag in the refrigerator, ensuring the seeds lightly damp, not soggy, while maintaining the temperature around 34 to 38 degrees Fahrenheit.
Monitor the seeds regularly. Keeping them in this chill environment for about 10 to 12 weeks is generally sufficient. But remember, patience, here, pays off!
Now comes the amazing part – after this ‘chilled’ stage, the rose seeds are ready for sowing. They are now eager to morph from a dormant state to an active one at the perfect moment.
Plant these prepared seeds in a good quality seed compost, pop them in a bright spot, and keep the soil evenly moist but not waterlogged. The thrill upon seeing tiny green shoots emerging from the soil surface is unparalleled!
Once noted, you’ve successfully prepared and planted your rose seeds! Now, it’s time to sit back, diligently care for the seedlings, and await your magnificent blooms. The timeline from rose seeds to blooming plants is long. Yet, the charm of nurturing a life from seed and watching it blossom into a stunning rose is its own reward.
Just like every passionate hobby, growing roses from seeds requires time, patience, and a generous dose of love. So go on, immerse yourself in the magic of growing roses from seeds! With these essential tips on preparing seeds for planting, you have set the stage for rose magic to unfold at your very own hands!

Seed Sowing and Germination
Ready to delve deeper into the wondrous world of rose propagation? Fantastic! Let’s explore some more hands-on tips and tricks to aid in successful rose seed sowing and germination.
Firstly, it’s essential that post-stratification, your seeds should be moved from cold storage directly into a warm, indoor environment without any climatic shock. Remember, consistency and care are critical, especially at this stage, when your beloved roses are at their most vulnerable.
Upon removal from the refrigerator after the stratification process, it’s best to let the seeds settle for about 24 hours in room temperature. This period should offer ample time for the seeds to acclimate and ready themselves for their new expansive home – the growing medium.
Speaking of which, the growing medium should be primed well in advance, using a mix of half sterile soil and half perlite, which provide the perfect balance between moisture control and aeration. Ensure your chosen mix is moist but not water-logged, as overwatering could lead to the demise of your tiny seeds even before they’ve had a chance to sprout.
Procure some small disposable containers or seedling trays for planting, something about 5 inches deep would suffice. Poke a few holes in the bottom for adequate drainage – we’re striving for moisture not mire, remember? Fill these containers with the earlier mentioned well-draining soil mix to about half an inch from the top.
Next comes the exciting part! Now that your little seeds have acclimated and are eager to greet their new world, gently press them into the soil mix about a quarter inch deep and cover them lightly with the same mix. Just make sure you don’t bury them too deep.
After planting, give them their first proper drink using a spray bottle or a soft water stream, maintaining that balance between hydration and drowning. Post water-party, these ‘soon-to-be-roses’ seedlings desire warmth and insist on plentiful sunlight to kick-start their journey above ground. A south-facing window would be an ideal location.
If it’s too cold outside and perhaps lacking appropriate indoor sunlight, LED grow lights are an excellent and affordable adjunct. Not only do they promote photosynthesis but also, in turn, speed up the germination process. However, keep a vigilant eye, ensuring they’re not too close to cause dehydration or too far to starve the seedlings of light.
Equally integral to successful germination is increased humidity. Covering the containers or trays with clear plastic or a humidity dome can create a mini greenhouse effect. This mechanism fosters an environment that is congenial to germination and growth.
Instructive patience is vital at this stage. While it might take two weeks, it could also take two months for the seeds to germinate. Just ensure they don’t dry out or become water-logged in the meantime.
Once your diligent care and attention garner results, and the magic moment arrives when you see fresh seedlings emerging, remove the plastic cover. Begin to water less frequently, allowing the surface to dry out a little before the next watering session. Regular ventilation will also prevent any mold formation which could ruin your new little roses.
The final fervent piece of advice? Train your eyes to recognize ‘true leaves,’ which are the leaves appearing after the initial couple or so. This is when the seedlings have genuinely established themselves. Now, you can transfer them into larger pots.
Your journey with sowing and germinating roses is adorned with adventurous patience, careful observation, and inherent pleasure. The joy of watching a seed transform into a beautiful rose is genuinely unparalleled. Isn’t it time you got your green thumbs immersed in the earth and experienced this wonder firsthand? Lay claim to your piece of horticultural heaven!
Care for Rose Seedlings
As we delve deeper into our rose-growing journey, let’s start from where we left off – caring for the germinated seedlings. These tiny beginnings of future floral masterpieces require dedicated attention, care, and love to blossom into the beautiful roses that we all admire.
Watering our seedlings is crucial, but we are not merely sprinkling some water on them. We are ensuring they get a balanced supply. You need to keep the soil lightly moist but not soaking wet—balance is key here. Being too heavy-handed with the watering can lead to root rot and may even drown your seedlings. A gentle shower from a spray bottle is the perfect way to water these buds without oversaturating them.
As hobbyists, we are aware that plants need sunlight to grow. Our rose seedlings are no different. They need exposure to indirect sunlight for at least 5 to 6 hours daily. But what if you started this project in a zone where sunlight may not be readily available? No worries, technology comes to the rescue. LED grow lights can substitute for sunlight quite efficiently. They provide the necessary light spectrum that helps the seedlings perform photosynthesis.
Following that, we’ll talk about balancing humidity. We have already understood the significance of maintaining proper hydration for our seedlings, but we must also take care of the surrounding environment. Here, we’ll use a simple trick to create a mini-greenhouse effect for our seedlings by placing a clear plastic bag or a plastic container over them. This method maintains temperature and moisture levels around the seedlings, providing an ideal environment for their growth. A bonus is that this transparent covering allows sunlight to reach the seeds too!
Patience, not just for germination but even for caring for post-germination is essential. These little living beings need time to root themselves and establish their presence. It is crucial not to rush this process. Allow them time to strengthen before any attempt is done at transplanting or repotting.
Speaking of which, when the rose seedlings have grown big enough and have developed a sturdy root system, it’s time for them to move to their new homes. Be it a large pot or a prepared spot in your garden, transition the seedlings carefully, trying to minimize distress. Take care to only handle the seedling by its leaves and never the stem, as it can bruise easily!
Use a high-quality compost or potting soil to give your new plants a comfortable lodging. Blend it with some coarse sand, peat moss, or both: this improves drainage while keeping the soil’s moisture and nutrient content balanced. Now your roses are ready to grow and flourish!
Definitely, gardening—especially rose cultivation—is not just about planting and waiting. It involves knowledge, patience, dedication, and the ability to admire life’s miracles. But when you see that first rose bloom, squirreled away from a tiny seed you once held in your hand, the reward is ineffable, unmatched by any bought bouquet. You have created life, nurtured it, watched it grow, and now it unfolds in glorious color and fragrance, all thanks to your dedication to this enriching hobby. It’s nothing short of magical, this love for growing roses.
To sum things up, cultivating roses from seeds can be a test of patience and persistence, but the sight of those first buds unfurling into vibrant blooms make all efforts worthwhile. With careful attention to each step, from seed preparation, germination, to the care of the seedlings, even an amateur gardener can be successful at it. Remember, rose plants are hardy. A bit of your loving attention and they will reward you with unmatched beauty and fragrance.


