Master the Art of Pruning Peace Lily Plants

Peace lily, known for its lush foliage and elegant white blooms, can enhance the aesthetic beauty of any indoor or outdoor spaces alike. However, to keep this tropical plant thriving and healthy, it’s imperative to understand vital aspects such as recognizing the symptoms of a dying plant, mastering the techniques of proper pruning, and grasping the post-pruning care procedures. A good grasp of these elements empowers you to combat common problems, such as yellowing leaves, browning tips and edges, and drooping stems, ensuring your peace lily flourishes year-round.
Identifying Dead or Dying Parts
The Art of Pruning Your Peace Lily: A Handy Guide for Flourishing Evergreen Allure
One of the most rewarding hobbies any green-thumb enthusiast passionately indulges in is undoubtedly caring for the tropical jewel of the indoor garden: the Peace Lily. Keeping these radiant beauties healthy and thriving is a unique journey that starts from understanding their maintenance needs. An essential part of this is proper pruning. So, let’s dive right into an enlightening exploration of how to identify the parts of your Peace Lily that need a good trim.
The first sign to look for is yellowing leaves. Leaves turn yellow when they’re older or severely stressed, indicating your Peace Lily’s desire to eliminate them. The plant is basically telling you that these leaves are not contributing to its health anymore. Not to worry though, because the leaves’ yellowing doesn’t imply that your plant is dying. It typically is a natural progression of the life cycle, much like shedding in animals.
Next up, look out for brown tips or browning along the edges. This sign often results from a lack of humidity. Peace Lilies are native to tropical rainforests where the humidity is high, so when the tips or edges go brown in your home or office, consider it a plea for more moisture. The plant is trying to conserve water by killing off these extremities. Treating brown tips involves raising moisture levels, but still, brown parts are best removed using a clean, sharp pair of pruning shears.
Another indicator is wilted or droopy leaves. Though Peace Lilies are dramatic when they need watering and do bounce back quickly, consistent wilting could mean something is awry. If the leaves are wilting even after watering, it’s best to give them a good prune. The plant might be struggling to hydrate all its leaves, creating a clear indication for some pruning action.
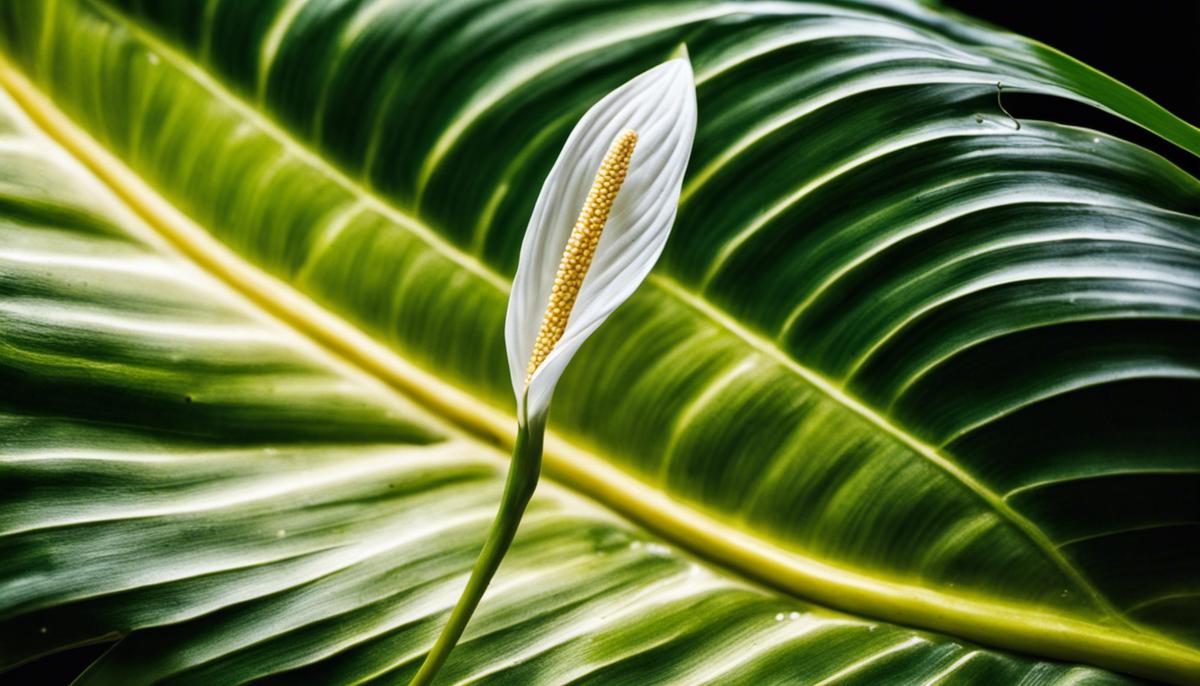
Last but definitely not least, let’s talk about flowers. The bloom-time of a Peace Lily is a delightful experience, but it eventually comes to an end. Once the flowers start to fade or turn green, it’s a clear sign that they’re spent. Carefully prune these faded blooms to allow the plant to channel more energy into producing lush green foliage and new blooms rather than maintaining older, unnecessary parts. The rule of thumb here is to make sure that your cuts are clean and sharp to prevent damage to the plant.
Now remember, even though pruning might seem daunting, it’s a vital part of maintaining the health and luster of your Peace Lily. Once you’ve familiarized yourself with these signs, you’ll be a deft hand at helping your plant thrive. So, don’t hesitate to pick up those shears and give your beloved Peace Lily the tender loving care it needs for a long, blooming life. Happy Pruning!

Photo by lensinkmitchel on Unsplash
Proper Pruning Techniques
Discovering the Joy of Pruning: Revive Your Peace Lily in a Few Steps
One of the biggest delights in horticulture is nurturing and caring for a peace lily. While we’ve already addressed the common indicators of a distressed plant, such as yellowing leaves, browning tips, wilted or droopy leaves, and faded or green flowers, it’s important to delve into the beauty and necessity of pruning. Understanding how and when to prune a peace lily can greatly enhance its health and longevity while also reigniting its dazzling charm.
Pruning, contrary to common belief, isn’t a daunting prospect but rather an uplifting one. Put simply, it’s an act of love, a tool in the kit of every aspiring green-thumb setting out on this beautiful botanical journey. However, pruning a peace lily requires following a method to ensure you’re nurturing it the right way.
Firstly, gathering the right tools is the cardinal rule of pruning. All you need are sharp, sanitized shears or scissors. The importance of cleanliness cannot be understated; dirty tools can introduce pathogens, which can cause infections that are detrimental to your plant.
Secondly, timing is of the essence. While peace lilies are relatively hardy, it’s usually best to perform any significant pruning in the spring or early summer. This gives the plant time to recover and bloom during its natural growth cycle.
The primary rationale behind pruning a peace lily is to remove the spent flowers, or, as they are commonly called, deadheads. These detract from the plant’s aesthetic appeal and drain energy that can otherwise be diverted to healthy new growth. To prune a spent flower, trace down the stalk to the plant’s base, and carefully snip it off without damaging nearby leaves or blossom.
In addition, removing any dead or yellowing leaves can dramatically improve the peace lily’s health and appearance. An essential element of this process is making diagonal cuts. Cutting in this manner optimizes regeneration and creates a smooth transition from the healthy section to the cut area, thus promoting vigorous growth.
Remember, less is more when it comes to pruning. Yes, you’re eager to see your peace lily flourish, but too much pruning can cause stress to the plant. A good rule of thumb is to limit yourself to pruning no more than 20 percent of the plant at any given time.
Expanding your botanical knowledge and honing your skills with practices like correct pruning techniques can truly elevate your enjoyment of this captivating hobby. Even more so, it can help ensure your peace lily continues to be a source of serene beauty in your environment. Remember, the peace lily isn’t merely a plant – it’s a journey, an experience, and a reflection of your commitment to nature’s unbounded bliss.

Post-Pruning Care
Nurturing Your Peace Lily: Post-Pruning Care
Peppered across living rooms, offices, and patios alike, the peace lily’s lush leaves and distinctive white blooms paint the picture of a thriving, vibrant plant-life. As a peace lily caretaker, post-pruning care presents an essential phase in maintaining this vitality. The nurturing journey with your potted friend doesn’t end after the clip-clip of the pruners, so let’s dive in on what comes next!
Watering is fundamental for your peace lily, particularly after a pruning session. Water thoroughly but infrequently, only when the top inch of the soil feels dry to the touch. These tropical natives cherish damp but not waterlogged soil, so ensure proper drainage to avoid root rot.
Regulating temperature takes precedence following pruning. Keep your peace lily comfortable by maintaining indoor temperatures between 65 and 80 degrees Fahrenheit. An ambient temperature will work wonders in uplifting its spirits and encouraging new growth. Be mindful of its spot within the home – away from both direct sunlight and dark corners, as moderate, indirect light serves peace lilies best.
An often overlooked aspect of peace lily care is humidity. These lovely plants thrive in high humidity environments. Consider placing a humidifier near your plant or grouping it with other moisture-loving plants; this fosters a beneficial shared atmosphere. Alternatively, try misting their leaves with distilled water – your peace lily will thank you with robust growth!
Fertilize post-pruning? Absolutely! But, remember, less is often more with peace lilies. Use an organic, mild houseplant fertilizer at half strength, applying it no more than once a month, preferably during spring and summer. Overuse of fertilizer can lead to a build-up of salts that harm your plant, so exercise caution and moderation.
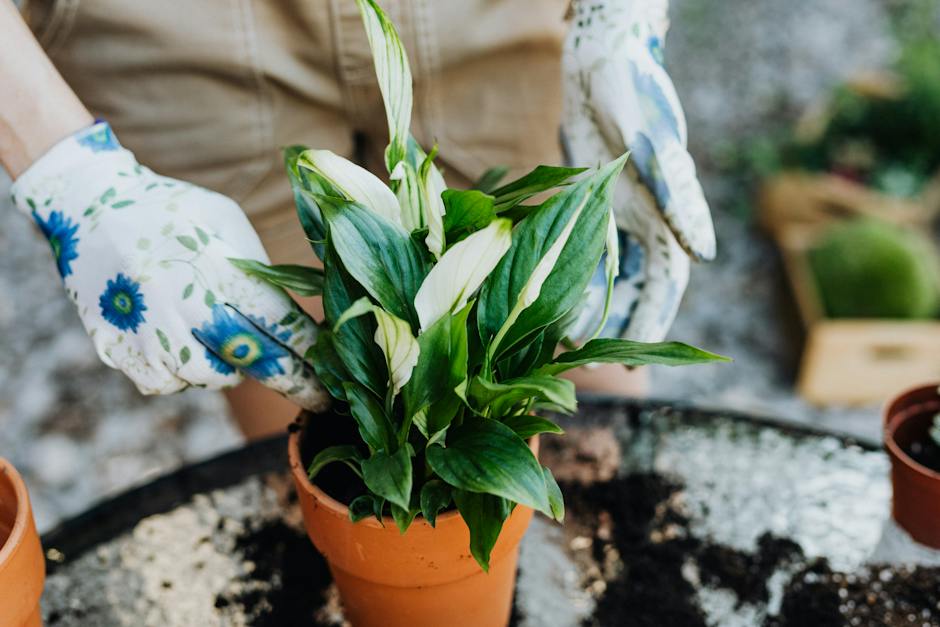
Finally, let’s talk about repotting. The best time to repot your peace lily is usually in the spring, offering it fresh soil to bolster growth. Yet, if a post-pruning examination reveals tightly-wrapped, congested roots, it’s better to repot sooner than later. Choose a container slightly larger than the current one, using high-quality potting soil to give your peace lily a cushioned, nutrient-rich setting.
Rest assured, your peace lily will appreciate the attention and dedicated care you offer. Keep up this diligent endeavor and watch as your beloved peace lily flourishes, rewarding your efforts with vibrant leaves and continuous blooms. May your peace lily thrive, silently, beautifully whispering tales of your commitment to the profound journey of horticulture. Happy gardening!

Photo by lensinkmitchel on Unsplash
Evidently, with the right knowledge and tools, maintaining the health and vibrancy of your peace lily is not as daunting as it might initially appear. Understanding how to identify and respond to signs of ill-health, coupled with mastering the art of pruning, is half the journey to ensure you have a vibrant plant. Not just this, effective post-pruning care in terms of apt watering, light, and temperature management, along with regular fertilization, further guarantees that you don’t just sustain but help your peace lily plant thrive. With these tips in hand, you can now admirably care and take pride in your successfully nurtured peace lily.


