
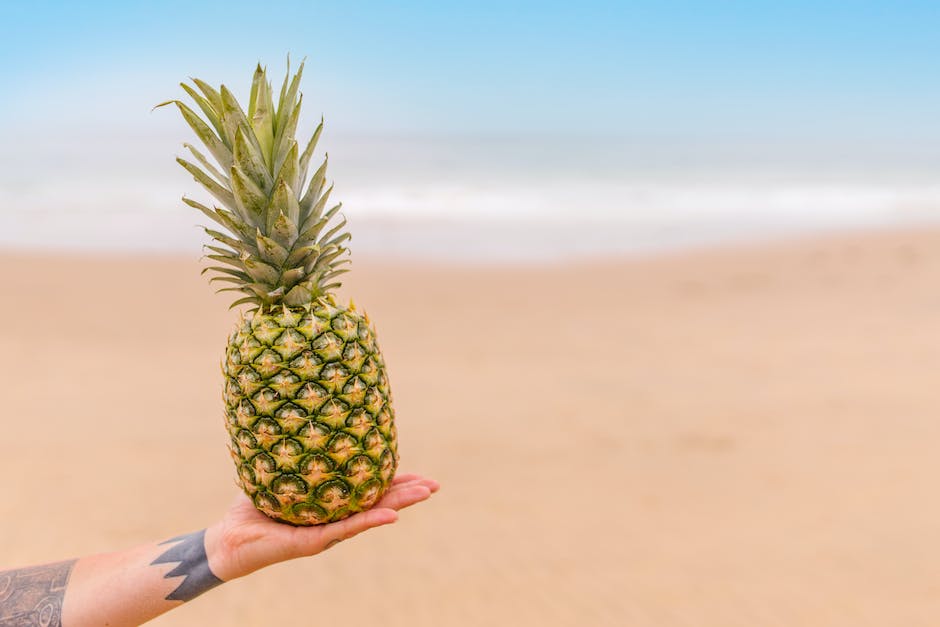
Mastering Pineapple Propagation: A How-To Guide
Who would have guessed that the succulent pineapple fruit you enjoy could be the gift that keeps on giving? Believe it or not, the top of a pineapple can be rooted and grown into a whole new plant, and it’s easier than it sounds! This guide aims to provide detailed, easy-to-follow steps for those interested in the process, beginning with the crucial step of pineapple top removal. This process, when done correctly, ensures maximum health and vigor for your future plant. After this, we delve into the interesting process involving root formation techniques that stimulate growth and root development. Lastly, we tackle the aftercare of the pineapple top once roots are formed, residing on crucial plant care aspects that include repotting, watering, sunlight exposure, and fertilization. Embrace the journey of turning a simple pineapple top into a thriving plant, and perhaps even fruiting a pineapple of your own.
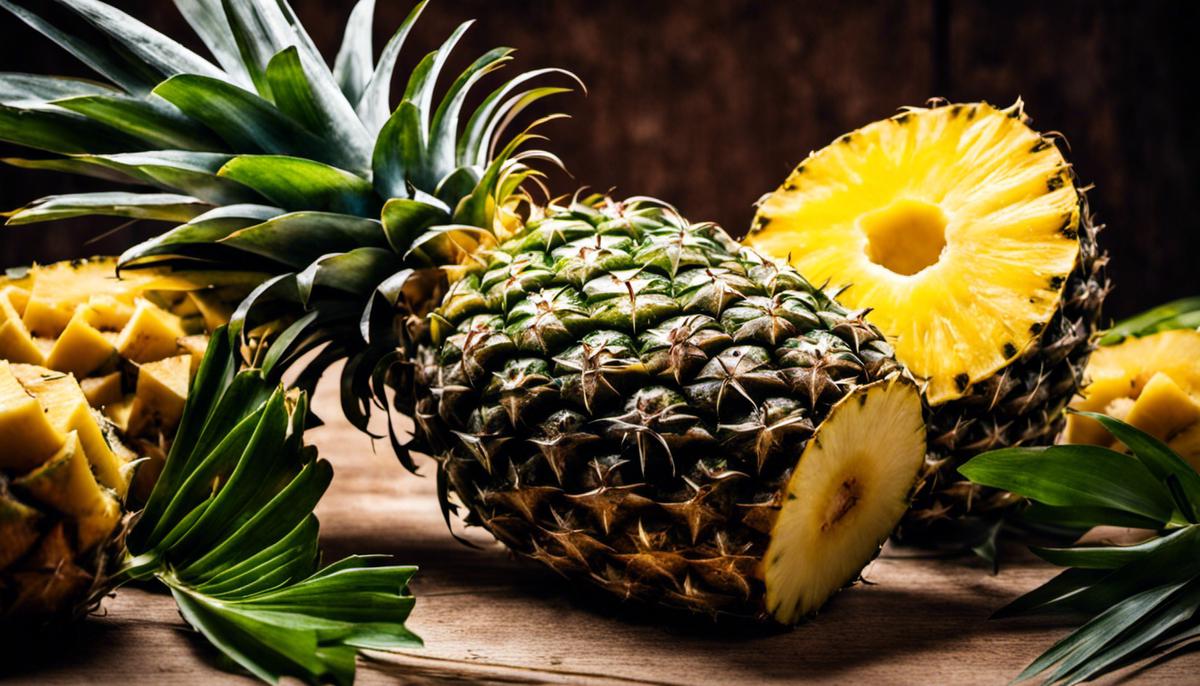
Pineapple Top Removal
Becoming an Ace Pineapple Peeler: How to Successfully and Safely Remove the Top of a Pineapple
Embracing the truth that “A pineapple a day keeps the worries away,” it’s no secret that pineapples hold a golden place in our hearts and our diets. With a sweet finish to an epic journey from plantation to plate, the vibrant bromeliad offers up more benefits than you’d ever reckon. The only hurdle? That pesky top that stands as a green, spiky gatekeeper between you and your tropical delight. Worry no more, fellow pineapple enthusiasts – here’s your fail-safe guide to smoothly and safely removing the top of a pineapple!
First things first, always remember, safety is paramount. Kitchen accidents happen in a flash, so let’s keep it cool, calm, and collected. Ensure you’re working with a sharp knife and a stable cutting surface to reduce the chance of any mishaps. A dull knife is indeed a dangerous knife, and shaky surfaces have no place in this journey to the pineapple’s heart.
Once all is set, here’s the step-by-step process:
- The Seizing Step: Grip your pineapple firmly, holding it horizontally with the stem side facing your dominant hand. Your pineappley friend might feel a bit stubborn, but a firm grip and a steady hand will do the trick.
- The Slicing Step: With a large, sharp knife, slice about an inch off the top of the pineapple, including the green leaves. Slice downwards at an angle, careful to avoid cutting your fingers. Reward: visual access to the juicy fruit beneath!
- The Twisting Step: If you wish to save the top for replanting or even decorative purposes, a different approach is required. Hold the pineapple body with one hand, and twist the leafy top in a clock-wise direction with the other. With a little effort, the top will come off, leaving you with a pineapple ready for the next steps of extraction.
Now that you’ve navigated through safely removing the pineapple top, you’re a skip away from having your pineapple chunks or rings. Remember, all good things to those who wait, and patience is always the key to a clean pineapple top removal.
And before you ask, of course, the pineapple’s journey doesn’t end here! We’re excited to have you continue on this fruity escapade as we delve deeper into the world of pineapples – how to perfectly slice them, their myriad of uses, and all other pineapple enlightenment! Because where’s the fun in stopping at simply removing the top? For now, though, Happy Pineapple Peeling!
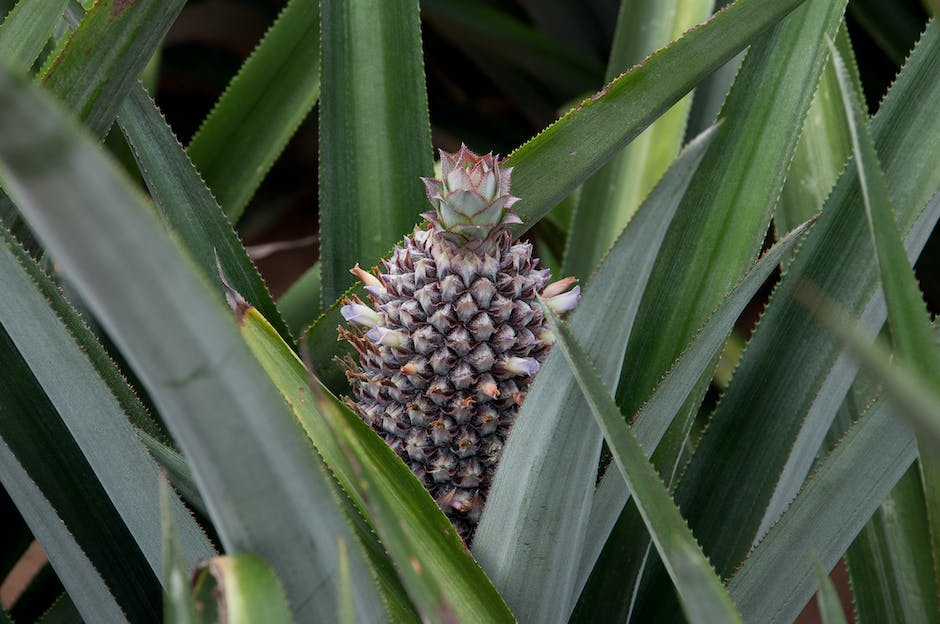
Root Formation Techniques
Want to put that pineapple top to good use?
Let’s delve into the exciting process of encouraging root formation in a pineapple top for an impressive statement plant in your garden or outdoor space.
It might sound complex, but it’s remarkably straightforward and a treat for any green-thumbed hobbyist.
Rooting in Water: The Basic Approach
Begin with the trimmed pineapple top. If any small fruit parts remain, eliminate them to prevent rot during the rooting process.
Next, is the “Peeling Back” step. This involves removing some of the lower leaves to expose up to 1 inch of the base.
You’ll notice tiny brownish bumps, these are pre-root formations, it’s an indicator of where the future roots will emerge.
Once this is done, fill an appropriate-size container with room-temperature water- just enough to submerge the exposed base of the pineapple top.
Make sure the leaves are well above the water level to prevent them from decaying.
Allow the top to exist in this environment for about 2-3 weeks.
During this time, gently refresh the water every few days to provide optimal root growth conditions and prevent any bacterial build-up.
It’s fascinating to watch as the roots start to form, sprout, and extend into the water.
Boosting Root Health: An Advanced Approach
While the basic approach is perfect for beginners, those seeking a slightly more advanced method might want to introduce root-boosting hormone.
This is a supplement derived from plants that helps roots form more robustly and quickly.
It’s a must-try for anyone hoping to accelerate their pineapple propagation journey.
To use the hormone, dip the prepared pineapple top in the root-boosting hormone before starting the water rooting process.
This allows the hormone to interact directly with the areas where the roots will sprout, enhancing their growth.
Transplanting: The Final Step
Once your pineapple top has grown roots of about 3-4 inches, it’s time to relocate it to a permanent home.
A pot filled with well-draining soil is ideal for this tropical delight.
Make sure to plant the rooted pineapple top deep enough to provide firm support but without burying the leaf rosette.
Ensure your newly potted pineapple plant gets a fair amount of sun and water it regularly but be aware – pineapple plants aren’t keen on soggy soil conditions.
It’s genuinely magical to watch this tropical fruit’s top transform into a lush, exotic houseplant.
It’s a testament to the wonder of nature, and the satisfaction of nurturing it from your kitchen scraps is just unbeatable.
Enjoy the process and happy planting!

Aftercare of Pineapple Top
Life After Roots: Nurturing Your Pineapple Plant
At this point, your brand-new pineapple plant, born out of cutting, patience, and nurturing, has a healthy cluster of roots that show its perseverance. What should the next steps be to ensure its evolution into a thriving and strong houseplant?
Start with the appropriate soil mixture for pineapples plants, which largely thrive in well-draining soil. A good mix could involve peat, perlite, and sand in equal parts. Peat maintains the necessary moisture, perlite aids in aeration and drainage, while sand provides the required compactness. This mix creates an ideal environment for root health, enabling the absorption of the essential nutrients that promote growth.
Get a spacious and well-draining pot that will house your pineapple plant. While a small pot can initially be suitable, remember, your plant will grow and its roots will spread. As a rule, give your pineapple plant room to grow, and watch it thrive.
Following root transfer, the initial weeks are the make-or-break phase for your pineapple plant. Ensure you’re adequately watering—neither too much nor too little. Getting this right can be tricky. Here’s a simple tip: allow the soil to dry out completely between each watering and then water thoroughly. Overwatering can have disastrous consequences, as it may initiate root rot—a death sentence for your plant!
A right balance of sunlight exposure is essential for your pineapple plant’s growth. Too much and it might scorch; too little, it will languish. Aim for around six hours of bright, but indirect light each day. If you don’t have a window that gives out enough light, grow lights can be a useful solution. Also, keep in mind that pineapples like slightly acidic conditions, so a pH range between 4.5 to 6.5 is optimal.
Lasty, consider the advantages of periodic fertilizing. A slow-release, balanced (like 10-10-10) or slightly higher in potassium could work wonders for your plant. Used once every few months, fertilizers provide the extra nutrients a pineapple plant needs to grow vigorously.
With appropriate care, over the course of a year or two or maybe a little more, believe it or not, your humble pineapple top will metamorphose into a stunning plant, shiny, sword-like leaves and all. It is not just a gardening adventure but a test of resilience and patience, reflecting on a journey that is equally rewarding and fulfilling. Happy planting!
From understanding the careful art of removing the pineapple top to exploring the techniques of root stimulation and aftercare, the adventure of growing a pineapple plant can be as rewarding as it is educational. The beauty of these steps is not just in the practice itself but also in the reflection of our continuous capacity for growth, transformation, and renewal, even from the most unexpected sources like a pineapple top. By following the guidance outlined, you are bound to see the miraculous process of nature in growing your very own pineapple plant. This unique gardening project is truly a testament to the wonders of nature and our engagement with it. So dig in, get your hands dirty, and embark on this delightful gardening journey.


