
Mastering Tomato Seed Harvesting: A Simple Guide

Unlocking the secrets of seed harvesting can improve your gardening prowess and help to cultivate a burgeoning tomato plant from a humble seed. This knowledge imparts not only a sense of self-sufficiency but also offers an intimate understanding of the natural cycle of plant growth. The focus of this discourse orbits around three critical aspects: identifying ripe tomatoes for seed harvesting, understanding the seed extraction methods, and mastering the art of seed drying and storage.
Identifying mature tomatoes for seed harvesting
Marvelous, magnificent tomatoes! Packed with flavor, brimming with color, and quintessential for summer gardens. Now, here comes an interesting part, seed harvesting. This not only saves budgets for gardeners but also makes one part of history by passing down generations of delicious tomatoes. Understanding when a tomato is ripe enough for seed harvesting requires a keen eye and understanding of a few signs. But fear not, this comprehensive guide is designed to aid gardeners, seasoned and novices alike, to master this nifty task!
To begin, selection is of utmost importance. Opt for a healthy, disease-free tomato plant and select one of its best tomatoes. This will likely produce a robust next generation and ensures the future of the tomato lineage.
Now, how to discern if it’s the right time? Here we go folks, time for some tomato wisdom.
- Firstly, color is the leading cue. Once a tomato is past the bright red stage and starting to dim, it’s typically ripe enough for seed harvesting. Some delightful varieties turn black, orange, yellow, even purple when ripe! So, bear in mind to know your tomato variety. For those magically multi-colored tomatoes, observe a deepening of the current color.
- Texture is a reliable indicator too. A ripe tomato ready for seed harvesting feels heavy for its size and has a slight give when gently squeezed. It’s neither rock-hard nor squishy — think of it like testing a peach or avocado!
- Surprisingly, aroma also plays a key role. Sniff the tomato. No kidding, really. Sniff it. A sweet, earthy scent indicates ripeness, each tomato variety having its unique aroma profile. Lack of or faint smell may signal it’s not quite ripe yet.
- Finally, if the tomato comes off the vine with a gentle twist, consider it likely ripe. If it resists, let it bask in the sun for a while longer.
Once a tomato passes these tests and is deemed ripe for seed saving, the next step is to scoop out the seeds, rinse them, dry them, and store them in a cool, dry place.
To conclude, remember, practice is key. Soon enough, you’ll find yourself effortlessly spotting that perfectly ripe tomato for seed harvesting. Happy gardening, tomato whisperers!

Seed extraction process
Mastering the Art of Tomato Seed Extraction – The Essential Steps
For those of us who have a love relationship with tomatoes, the pleasures offered by this versatile plant are by no means limited to the fruits alone. The joy of fostering a whole new generation of tomato plants from their humble seeds may surprise you! And, once you’ve got the hang of the process, you’ll feel a sense of delight by the cycle of growth you’re tapping into.
Equipped with the knowledge to select the right tomato and carefully harvest it, we’ll now delve into the heart of the matter: the steps involved in extracting those precious seeds. So, let’s roll up our sleeves, tomato enthusiasts, and let’s get taking those next steps!
Firstly, you’ll need a good working area. Choose a flat space, clean, and cover with some newspaper to catch any spills or rogue seeds. The kitchen counter usually does just fine, provided you’re not trying to multi-task with the evening meal!
Having carefully harvested the tomato, cut it in half across its equator – like how you would slice an apple, not from stem to bottom. This will give you the best view and access to the major seed cavities brimming with an abundance of seeds.
Next, we’ll delve into those cavities. It’s a bit like scooping out the innards of a pumpkin – albeit on a smaller scale. Sure, this might feel a tad messy—nature isn’t always neat and tidy, after all—but that’s part of the joy! You’re directly interacting with the magic of life unfolding.
The sensation might be squishy at first, but not to worry! Use a teaspoon to scoop out the gelatinous middle, seeds and all, and deposit it onto a clean bowl. This gooey mixture might not look it, but is a treasure trove of future juicy tomatoes.
Persistence is key in the next part. Let the gooey mixture sit on your counter at room temperature for about three days—it’s a part of the process known as fermentation. This step sounds complex, but essentially, it’s letting nature do the work. Cover the bowl with a cheesecloth or coffee filter, and secure it with a string or rubber band.
Day by day, you’ll notice changes. A foamy mold layer will form. This is actually a good thing – it’s nature’s signal that the seeds are dislodging from the gooey gel that encases them. Mold is vital – it consumes the gel coating around each seed, a coating that contains an inhibitor that would otherwise delay germination.
On the third day, fill the bowl with warm water. The viable seeds will sink. Discard floating seeds and the moldy layer – they are not going to give you those juicy tomatoes we crave. Repeat this process several times until ‘what remains are clean, viable, heavier-than-water seeds’.
Scoop out these seeds, place them onto a clean dishcloth or paper towel and let them dry completely at room temperature. It usually takes about a week. Don’t rush this part; a thoroughly dried seed is a happy (and viable) seed. Spread them out as much as possible to allow air circulation.
Finally, move these dried seeds into an envelope. Don’t forget to label it with the tomato variety and date of extraction.
Now you’ve completed the glorious cycle from fruit to seed, ready to sow when the time is right. You’ve tapped into nature’s rhythm, journeyed with it, learned from it, and come out the other side with newfound knowledge about the inner workings of your beloved tomato plant.
As devoted tomato enthusiasts, we are practicing an ancient art that connects us to the gardeners who came before us and impacts those who will come after. Now, isn’t that something to savor along with your next juicy, homegrown, perfectly-ripened tomato? Happy gardening, fellow seed savers!
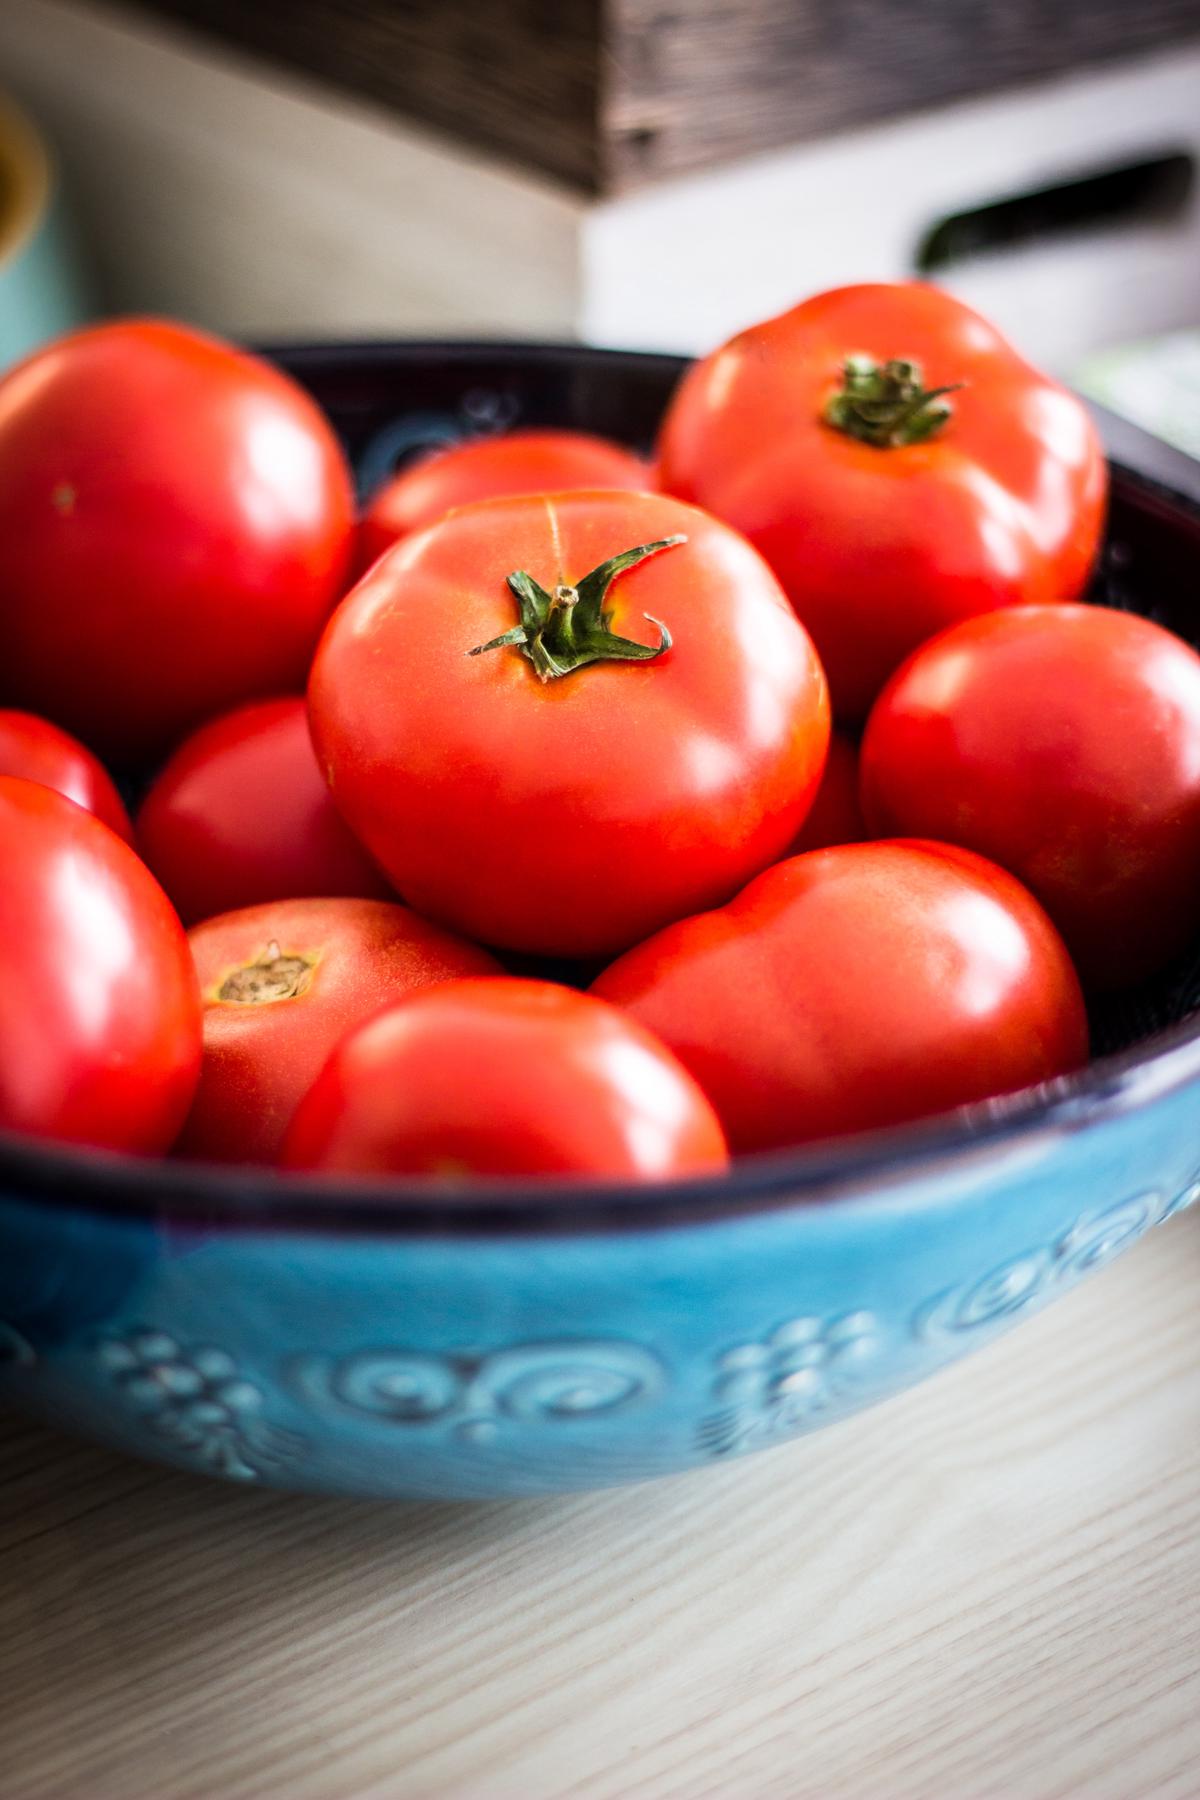
Photo by omeganova on Unsplash
Seed drying and storage
Drying and storing tomato seeds is an art form, a science, and a labor of love. It’s not enough to harvest the seeds, one needs to handle them with the utmost care to ensure their viability and health. We’ve discussed the steps of picking a ripe tomato, cutting it open, scooping out the seeds, and letting them ferment. Now, let’s delve into the final stages of the process: drying and storing.
Before drying, it’s important to clean the harvested tomato seeds. After the fermentation process, we face the key task of ridding the seeds of the moldy layer and floating residue that resulted from decomposition. This cleaning phase is an essential step. It involves skimming off the top mold layer and removing any seeds floating in the water. These seeds are usually not viable, so discarding them helps to maintain a worthy batch of seeds.
The final rinse is equally important. Use a fine-mesh strainer to ensure no seed gets wasted. The slightest agitation of tap water should help rinse off residual gooey mass and separate the resilient seeds. At this stage, it’s not uncouth to use your fingers to help dislodge lingering gel residue. Once rinsed, lay the seeds on a ceramic or glass plate – metallic surfaces may instigate a reaction with the seeds.
Moving on to drying, spread the tomato seeds evenly over the plate, making sure that they do not clump together. Clumped seeds can result in inconsistent drying and may promote fungal growth. The seeds should be kept at room temperature in a well-ventilated area without exposure to direct sunlight. Patience is key as this drying process may extend from one to two weeks.
Feeling the seeds can help assess when they are completely dry. A fully dried seed would not bend; instead, it would break when pressure is applied. However, remember, premature pressure tests can damage the seeds, so be cautious.
Let’s talk about storing. Make sure to label and date the seeds immediately after drying. One might think they could recognize a tomato seed anytime, but it’s surprising how memory fades with time. Place the dried seeds in airtight containers like envelopes or jars. Always store in a cool, dark place. Proper storage conditions are crucial to maintain seed viability – tomatoes seeds typically retain their germination potential for up to six years when stored properly.
As we close, it’s worth stating that every tomato seed saved is a step toward preserving the diversity of our food crops. It can be a deeply fulfilling experience, not to mention a cost-effective one. And perhaps the greatest reward of all is biting into a juicy homegrown tomato, born from a seed that you yourself have harvested, dried, and stored. While it may seem meticulous, each step is vital to ensuring future generations of healthy, vibrant tomatoes. These tomatoes aren’t just vegetables, they are a legacy.

After assimilating the knowledge of identifying ripe tomatoes for seed harvesting, understanding the careful process of seed extraction, and abiding by optimal seed drying and storage practices, you are well-geared to embrace seed harvesting. This enables your venture into a more organic, sustainable way of life not limited to your taste buds’ contentment with homegrown tomatoes, but echoing the satisfaction that stems from nurturing your own plants from seeds. This indeed is nature’s lovely way of giving back to every small act of care and diligence.


