
Nurturing Your Fig Tree: Guide to Growing from Cuttings
Imagine transforming a small slice of nature’s wonder into a flourishing backyard attraction; that’s the beauty of growing a fig tree from a cutting. This journey unravels in various phases: selecting and preparing your fig cutting, planting, and ultimately caring for the growing tree. Acquiring the knowledge to identify healthy branches ideal for cuttings, understanding the best time to make those cuts and the preparation process that follows, sets the foundation for successful fig tree cultivation. Together, we explore the secrets of the right soil mix, pot size, and cutting positioning, along with the appropriate watering and light conditions required for your new fig tree’s optimal growth. Our exploration doesn’t end there. We further delve into essential care and maintenance protocols encompassing watering, fertilizing, pruning, and managing potential diseases or pests that your fig tree may face.
Selecting and Preparing Fig Cuttings
The Fine Art of Selecting and Preparing Fig Cuttings
Passionate about fig propagation? Wonderful, you’re in the right place! Choosing to propagate fig trees from cuttings is an exciting venture, allowing us to multiply our favorite varieties and share the joy with others. However, selecting and preparing a fig cutting is a delicate process that requires some insider know-how. Ready to dive in? Let’s go!
First things first, the ideal time to take fig cuttings is in late winter or early spring. Dormant cuttings tend to root better, plus this timing sets them up perfectly for the growing season ahead.
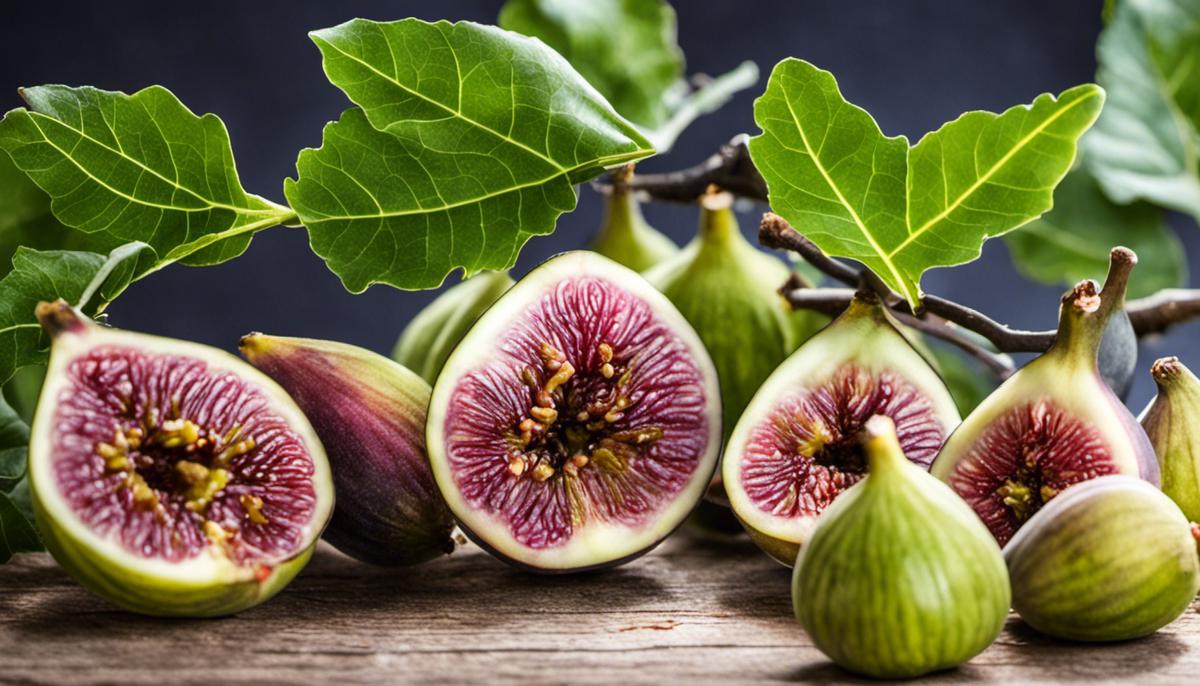
Selecting the Perfect Cutting.
Selecting a great cutting is the lifeblood of successful fig propagation. The best fig cuttings are typically about eight to twelve inches long, with a stem diameter similar to a pencil. Choose stems that are firm and healthy. Bright, springy wood, not hardened, rough old wood, does the trick every time.
Don’t shy away from cuttings with leaf nodes, those small bumps along the stem. They have the potential to become shoots or roots themselves! Additionally, any cutting should be from growth from the last season to ensure the best rooting chances. When it comes to fig cuttings, it’s always better to aim for quality over quantity.
Preparing Your Cutting Like a Pro.
Now that we have chosen our perfect fig cutting, we must prepare it like a true garden enthusiast for propagation. The process, while a bit meticulous, is well worth the effort. Get those garden gloves ready!
Begin by trimming the cutting to a clean, 45-degree angle cut just above a leaf node on the top end. This tips the cutting towards producing new leaves. On the lower end, give it a flat, 90-degree cut. Not only does this help distinguish top from bottom, but also stimulate root growth from the leaf nodes.
Next, remove all leaves from the cutting. Don’t worry, they’ll grow back once the cutting roots. Leaving leaves would divert precious resources to keep them alive instead of encouraging new root growth.
Once you’ve prepped your cutting, it’s time to push it into sterile, well-draining potting mix, ensuring at least two leaf nodes go into the soil. Pat the soil gently around the base, secure the cutting, and voila! You’re all set. Remember, rooting can take anywhere from 2 to 6 weeks, so patience is your new best friend!
Remember, the joy of this hobby isn’t just rooted in the fruits harvested but also in the process itself. So, take your time, enjoy each step, and share the fig-love.
Happy Propagating, fellow fig fanatics!

Planting Fig Cuttings
Moving onto the next stage of fig propagation, we will deal with the positioning and maintenance of planted cuttings. Once you have your cuttings nestled in their potting mix, locate a spot where your fledgling plants can nest. Look for a location with indirect sunlight. Direct exposure to harsh rays can drastically damage tender shoots, leading to fruition failure.
Next, to assist this process further, we suggest setting up a mini greenhouse environment. This can quickly be executed with a simple plastic bag. Loosely place a clear bag over your potted cuttings and secure it with a rubber band or string. The bag should not touch the cutting or soil but form a dome around the pot. This makeshift greenhouse holds in moisture while allowing diffused sunlight for photosynthesis.
While your cuttings are in their rooting phase, remember the golden rule: “Moderation is key.” It’s especially true when it comes to hydration. Overwatering can trigger root rot—an arch-enemy of fig propagation. Touch the top soil to gauge its moisture levels. If it feels dry, it’s time for a gentle sprinkle. Conversely, if it is soggy or wet, give it more time to dry out. Maintaining this balance ensures robust root development.
Taking a step further into maintenance, checking periodically for signs of growth is essential. A green stub or tiny leaves sprouting signifies your cutting has successfully rooted and is now on its way to becoming a fig tree. Should you see darkening or wilting of the cutting, it may suggest issues like overwatering or inadequate sunlight, calling for necessary adjustments.
As crucial as proper care, there coexists the key element of pest and disease prevention. Most fig cuttings may face fungal or bacterial infections, or are vulnerable to critters like aphids and spider mites. Keeping an eye out for such complications and ensuring frequent inspection and immediate remedy are paramount for successful fig propagation.
Finally, brace yourself for transplanting. When you see new growth on your cutting, it means the roots are established, and it’s time to move it into a larger pot or outdoors, depending on your growing conditions. Post transplantation, continue your diligent care and patiently wait for the magic to unravel as the cutting grows into a full-fledged fig tree.
When you’ve reached this concluding stage, celebrate your success! Remember, each fig propagation journey is as unique as the hobbyist undertaking it, encircling trials, errors, and inevitably, growth. As you advance in your fig propagation journey, you acquire more than just a beautiful fig tree, but a wealth of knowledge and a deepened connection with nature.

Fig Tree Care and Maintenance
As fascinating as planting and nurturing fig cuttings can be, your horticultural journey doesn’t end there. Once your stem cuttings have rooted, it’s time to switch gears to the next phase of growth. In this part of the fig propagation hobby, we’ll dive into post-rooting care and maintenance, ensuring that your fig tree thrives and flourishes.
A pivotal aspect of raising healthy fig trees is identifying an ideal location. Once your cuttings have rooted, they need plenty of natural light. Avoid direct, scorching sunlight and opt for a spot with bright but diffused glare. This light schedule will foster your fig’s growth without damaging its tender leaves.
Following this, envision your home as a mini greenhouse. This is easy to achieve by placing a clear plastic bag over the planted cutting. This technique maintains humidity levels, replicating the environment most conducive to your fig cutting’s growth.
Needless to say, watering forms a fundamental part of fig care. Yet, while your fig cutting needs hydration, there is a fine balance to be achieved. Overwatering can damage the delicate roots and lead to root rot. Striking a balance is key here; keep the soil consistently moist, never soggy.
While nurturing your fig cuttings, be vigilant in checking for signs of growth. A burst of new leaves is often the first indication that your plant is doing well. However, don’t get disheartened if progress seems slow; every plant grows at its own pace, showcasing its unique rhythm and pattern.
Fig cuttings, while resilient, are not immune to pests and diseases. Fungi, insects, or irregular growth patterns should be addressed promptly. Leveraging organic solutions can ensure your fig cuttings stay bug-free and healthy.
Once your fig cuttings have sufficiently grown, they need more room, and it might be time for pot graduation! Transplanting, when done correctly, can give your fig tree the space it needs to spread out and grow further. Remember, the same rule applies when selecting a pot as when selecting a cutting: quality prevails over quantity. Opt for one that is sturdy, with excellent drainage.
Post-transplantation, your responsibility doesn’t dull. Continual care and attention are required to nurture and coax your fig cuttings into full-grown trees. Remember to rotate the pots occasionally, ensuring evenly distributed sunlight.
Last but not least, delight in your success and cherish your unique journey in fig propagation. The journey of nurturing a fig tree from a simple cutting into a lush, fruit-bearing entity provides immense satisfaction. So, as you watch your fig tree grow, remember to grow along with it, savoring each moment of this wonderful, green adventure.

Growing a fig tree from a cutting is like telling a story of life, abundant with lessons of patience, nurturing, and persistence. It begins with a simple cut, an unassuming branch, and the promise of growth. From selecting the right cutting to planting and caring for it meticulously, every step is a testament to the beauty of creation. Ultimately, it results in a flourishing fig tree, a sight to behold in any backyard. As the seasons change and as you watch your fig tree grow tall and strong, remember that success lies in your attentiveness to the minutest details- from the soil mix used to the way you prune your budding tree, and to how diligently you protect it from potential diseases or pests. The journey from cutting to a full-grown fig tree promises a rich, rewarding experience, allowing us to connect deeper with nature and her bountiful gifts.


