
Planting a Japanese Maple Seed: A Beginner’s Guide
Japanese Maple, a stunningly beautiful tree known for its vibrant foliage, is more than just a sight to behold. Its cultivation can be a fulfilling endeavor if you understand the nuances of its biology and needs. This guide will provide you a detailed walkthrough on how to successfully plant a Japanese Maple seed. Beginning from preparing the seed for germination through careful stratification, to choosing the right soil and planting location, providing the best soil conditions, pH level, light and temperature is integral. Finally, the actual planting and care for the sprouting seed will be elucidated, touching upon planting depth and distance, watering, and growth monitoring. Absorbing this information will equip you with the requisite knowledge for nurturing a Japanese Maple seed to a thriving sapling.
Preparation of the Japanese Maple Seed
Title: Your Guide to Preparing Japanese Maple Seeds for Planting
There’s something incredibly satisfying about being part of the growing cycle of a tree from the very beginning. Japanese Maples, with their striking, crimson-red leaves, add a unique touch of elegance and beauty to any landscape. Yet, before that beauty emerges, there’s work to be done. Here’s how to properly prepare a Japanese Maple seed for planting.
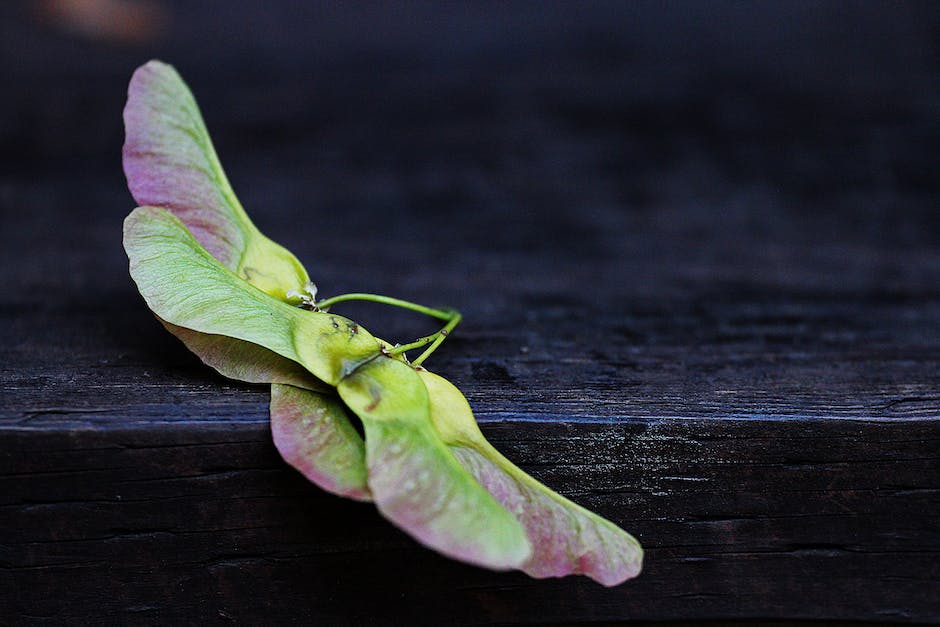
1. Harvest:
- Seeds are typically harvested from the mature Japanese Maple trees in the fall. The perfect time to collect these is when they turn completely brown and can easily be plucked from the tree.
2. Cleaning:
- Cleaning is an essential step to get rid of seed husks and leaves. Rinse the seeds under lukewarm water then place them on a towel to dry.
3. Stratification:
- Japanese Maple seeds require a pre-chilled, moist stratification period for germination. This process simulates the winter dormancy period. Mix the clean seeds with moist sand or peat moss in a sealable plastic bag. Close the bag, then store it in the refrigerator (not freezer) at a temperature of about 33-41°F for 90-120 days.
4. Checking:
- Be sure to check the bag weekly for mold. If it appears, open the bag to let it air out for a few hours and replace the molding peat moss with a fresh batch.
5. Soaking:
- After the chilling period, soak the seeds in warm water for 24 hours. The step rehydrates the seeds and preps them for germination.
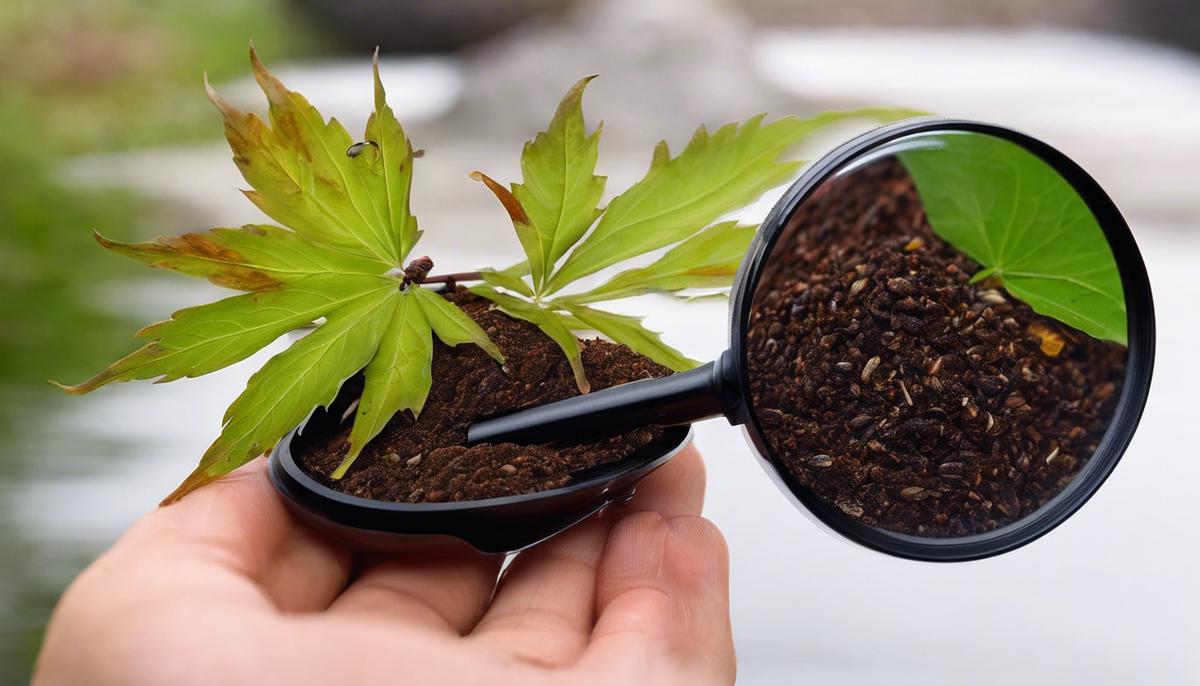
6. Planting:
- Choose a container with good drainage. Fill it with a garden soil mix and place the seeds on the soil surface. Lightly cover the seeds with approximately 1/2″ of soil. Ensure that the soil stays moist but not waterlogged.
7. Germination:
- Place the container in a sunny location where the seeds will receive sunlight for a significant part of the day. A south-facing window works well inside. Germination should begin after 2-8 weeks of consistent warmth and moisture.
8. Transplanting:
- Once the seedlings have developed their second set of true leaves, it’s safe to transfer them into individual pots. Using a regular potting mix, plant them deep enough to cover the root ball completely.
Remember, the growth rate of a Japanese Maple is relatively slow, so patience, as put when embarking on this exciting journey, is the utmost requirement. Enjoy the process, and soon enough, your efforts will bear the delightful, dazzling reward of mature Japanese Maple trees.
Choosing the Right Soil and Planting Location
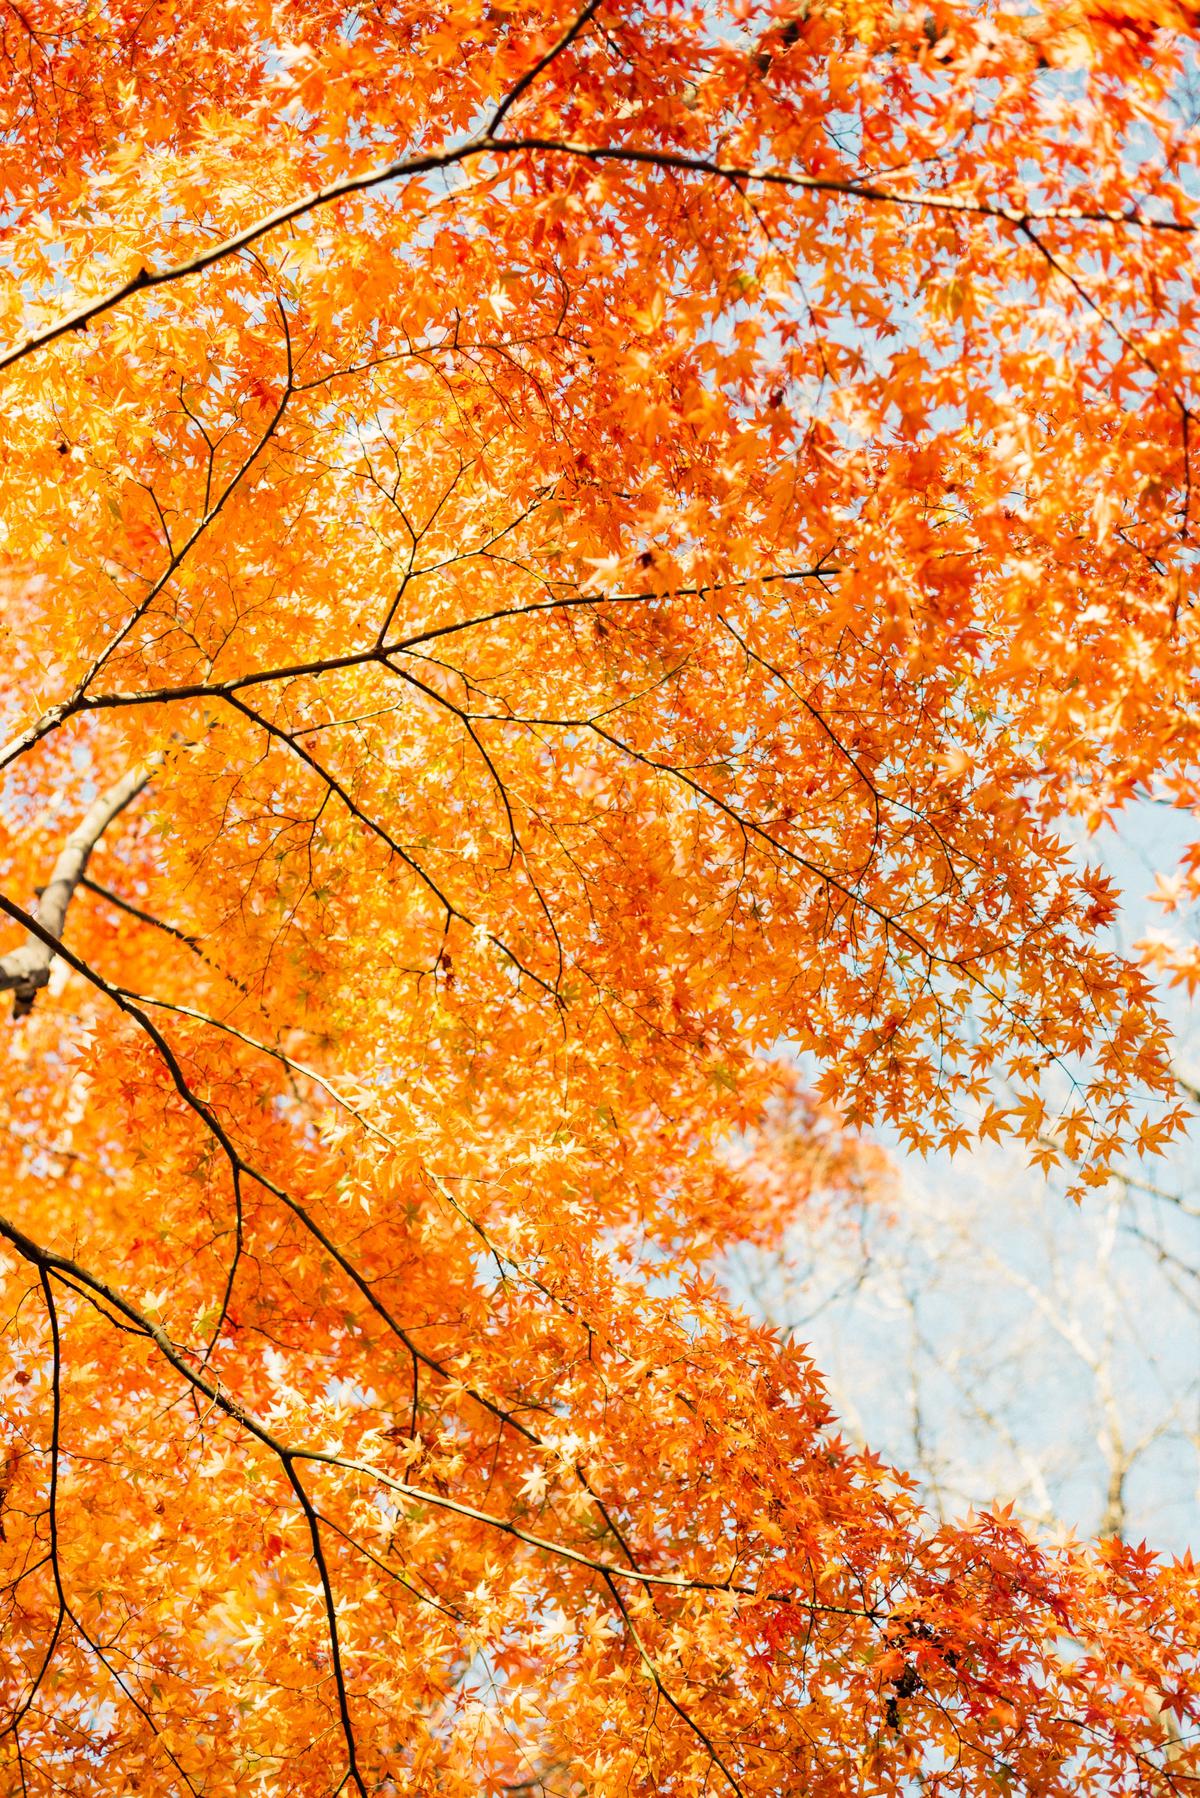
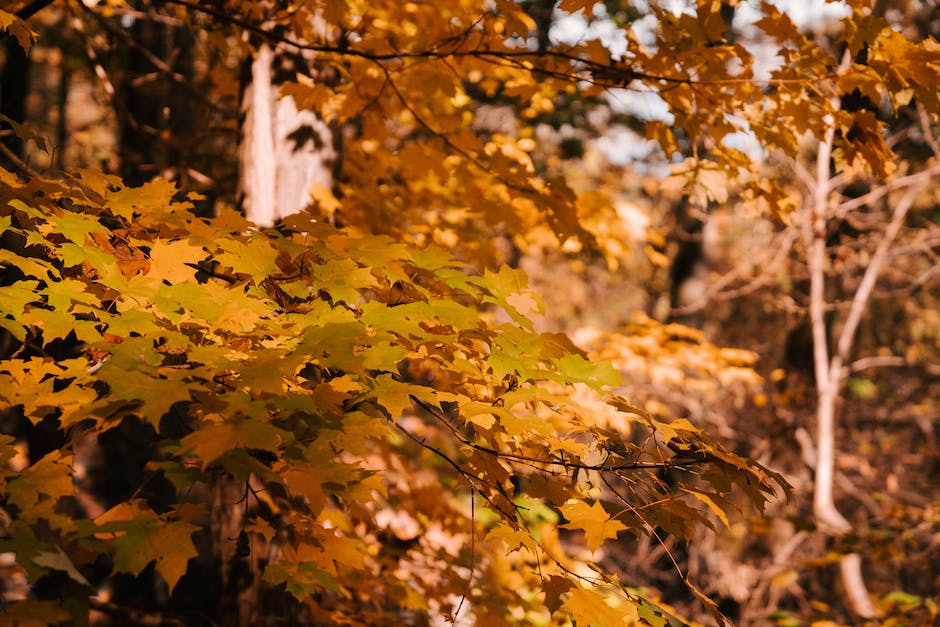
The quest for successfully growing a Japanese maple from seed doesn’t quite end with germination and transplantation; the location selected for setting up this majestic tree and the soil conditions provided are integral for fruitful growth too. This hobby of nurturing the Japanese maple, noted for its attractive, pendulous leaf structure and remarkable autumn color variation, can be invigorating when we get the location and soil part of it right!
Imagine owning a Japanese maple that transmutes into a brilliant, fiery spectacle every fall. Yes, that can be yours if these trees are given an optimum location and soil conditions perfect for their growth. So, let’s get into specifics!
The prime location to plant a Japanese maple seed distinguishes between a life lived in radiant grandeur and one stunted in growth. The foremost consideration is the region’s climate. Japanese maples tolerate a wide range of conditions, but they flourish in USDA plant hardiness zones 5 to 8, where summer temperatures don’t amplify past 100 degrees for long periods.
When it comes to choosing the specific spot, Japanese maples appreciate dappled sunlight, so providing a location sheltered from intense afternoon sun is recommended. They aren’t fond of strong winds either; hence find a spot safe from harsh gusts, ensuring your delicately leaved beauty doesn’t get damaged.
Now, let’s talk about the soul of plant growth – the soil. Japanese maples don’t demand extraordinary soil conditions; however, they develop notably better in certain environments. A well-draining, loose soil, rich in organic matter is the perfect stage for a Japanese maple to showcase its growth.
In terms of composition, a loamy soil – a balanced mix of sand, silt, and a small amount of clay is deemed ideal. The pH value, an indicator of soil’s acidity or alkalinity, should be slightly acidic, fall between 6.0 and 7.0. However, Japanese maples are quite forgiving and can adapt to soils with pH extremes at both ends.
Before planting, consider integrating a modest quantity of organic compost into the soil, delivering additional nutrients for the young seedling. Keep in mind to avoid planting it too deep; the root flare (where the trunk tapers and widens to form roots) should be visible, just above the soil surface.
You may wonder about the frequency of irrigation for these royal species. Well, Japanese maples prefer consistent moisture, so be vigilant to prevent the soil from drying out, particularly during the first couple of years. However, do make sure to avoid waterlogging, which can lead to root rot.
Planting a Japanese maple seed and watching it grow into a picturesque multi-season focal point can be enormously satisfying. But remember, every plant is unique and may not react the same way to identical inputs.
So, don’t shy away from experimenting a bit. Most importantly, relax and enjoy the journey of growing your very own Japanese maple! After all, half the fun of any hobby is the trial and error aspect, and learning how to succeed even when met with challenges. So have fun, and happy gardening!
Planting and Caring for the Japanese Maple Seed
Allow us to dive right into the magic of growing Japanese Maples from seedlings to full-fledged beauties. As a metaphorical gardener holding your hand, let’s figure out the art of caring for the seedlings after they’re safe and sound in their individual pots.
Temperatures play a vital role in the success of your Japanese Maple. It is best to maintain temperatures between 65-85°F, making it favorable for the seedlings to grow. While it breathes well in heat, it becomes crucial to ensure the seedlings aren’t exposed to an environment too hot. It doesn’t need blazing sun, but gentle and indirect sunlight helps it thrive.
Now that the temperatures are set perfect, it’s equally pivotal to be attentive to its thirst cycle. Water deeply to ensure the entire root system is saturated. A good rule of thumb is to water once a week, perhaps a little more if the conditions are exceedingly dry. It’s necessary to maintain a balance. The soil should neither be waterlogged nor dust dry. Mulching around the base of the tree without touching the trunk or below the graft helps retain moisture and regulate soil temperature.
Pruning is an essential part of caring for your Japanese maples, particularly during their early years. Removing dead branches and allowing more light into the canopy aids in the flourishing of your tree. However, also acknowledge the beauty in the irregular growth patterns of these trees. Patience really is key here.
While a healthy diet is essential for us humans, it’s just as important for your Japanese Maple tree too. A well-balanced slow-release granular Japanese Maple fertilizer in early spring gives the needed nourishment, promoting lush foliage and enhancing the distinctive colors.
Now, pests and diseases are some uninvited guests that could ruin the party. Watch out for pests like Aphids and caterpillars which, if noticed early, can easily be treated with an organic insecticide. Also, be vigilant in looking for signs such as leaf scorch or dieback as they could be indicative of Verticillium Wilt, a deadly disease for these maples.
Nonetheless, remember every tree, like a child, has their own personality. What works for one might not work for others. So observe, experiment, learn, and most importantly, enjoy this beautiful journey of tending to your Japanese Maple tree. After all, isn’t the love for these little green wonders what brings us together on this platform?
Through this guide, you have gained a deeper knowledge of the steps needed to plant a Japanese Maple seed. Now, you are aware of the detail-oriented preparation necessary for germination, the careful consideration needed in selecting the perfect soil and planting location, and the vital tips for planting and caring for your Japanese Maple seed. It’s time to immerse yourself in the magical world of cultivating your own Japanese Maple tree, adding beauty and grace to your surroundings. Remember that patience and persistence is key, but the end result will certainly be worth the effort. Now, take that seed and let your gardening journey begin!


