
Pumpkin Potting: How to Grow Your Own Halloween Decor
Pumpkin potting is a fun and creative way to decorate for Halloween. Instead of simply placing pumpkins on your porch or in your yard, why not take it a step further and create a beautiful display by potting them? This unique approach allows you to showcase your creativity and add a touch of elegance to your Halloween decorations. Whether you’re a seasoned gardener or just starting out, pumpkin potting is a great way to get into the Halloween spirit and create a stunning display that will impress your friends and neighbors.
Key Takeaways
- Pumpkin potting is a fun way to decorate for Halloween.
- Choosing the right pumpkin is important for successful growth.
- Preparing the soil is essential for healthy pumpkin growth.
- Best practices for planting pumpkin seeds can lead to optimal germination.
- Watering and fertilizing are crucial for keeping pumpkins healthy and happy.
Choosing the Right Pumpkin
When it comes to pumpkin potting, choosing the right pumpkin is crucial. There are many different varieties of pumpkins, each with its own unique characteristics. Some pumpkins are better suited for carving, while others are better for cooking or decorating. It’s important to consider what you want to use the pumpkin for before making your selection.
If you’re looking for a pumpkin that is easy to carve, go for a variety with a thin skin and a large cavity, such as the Connecticut Field or the Howden pumpkin. These pumpkins are perfect for creating intricate designs and can be easily hollowed out. On the other hand, if you’re looking for a pumpkin that is better suited for cooking or baking, go for a variety with a dense flesh, such as the Sugar Pie or the Cinderella pumpkin. These pumpkins have a sweet flavor and are perfect for making pies, soups, and other delicious treats.
When choosing a pumpkin for potting, look for one that is symmetrical and free from blemishes or soft spots. The stem should be intact and firmly attached to the pumpkin. Avoid pumpkins that have been bruised or damaged, as they may not last as long once potted.
Preparing the Soil
Preparing the soil is an essential step in ensuring healthy pumpkin growth. Pumpkins require well-draining soil that is rich in organic matter. Before potting your pumpkins, it’s important to prepare the soil by removing any weeds or debris and loosening it with a garden fork or tiller.
Once the soil is prepared, you can add organic matter such as compost or well-rotted manure to improve its fertility. This will provide the pumpkins with the nutrients they need to grow and thrive. Spread a layer of organic matter over the soil and mix it in thoroughly using a garden fork or tiller.
Planting Pumpkin Seeds
| Planting Pumpkin Seeds Metrics | Values |
|---|---|
| Seed Depth | 1 inch |
| Seed Spacing | 2-3 feet apart |
| Germination Time | 7-14 days |
| Days to Maturity | 90-120 days |
| Optimal Soil Temperature | 70-90°F |
| Optimal pH Range | 6.0-7.0 |
| Watering Needs | 1-2 inches per week |
| Fertilizer Needs | High in phosphorus and potassium |
| Pest Control | Handpick or use insecticidal soap |
| Disease Control | Rotate crops and use fungicides |
Planting pumpkin seeds is an exciting part of the potting process. To ensure optimal germination, it’s important to follow a few best practices. First, soak the seeds in water for 24 hours before planting. This will help to soften the seed coat and promote faster germination.
Next, create small holes in the soil, about 1 inch deep and 2-3 feet apart. Place one or two seeds in each hole and cover them with soil. Water the seeds thoroughly after planting to ensure good seed-to-soil contact.
It’s important to note that pumpkins are warm-season crops and require a minimum soil temperature of 60°F for germination. If you live in a cooler climate, you may need to start your seeds indoors and transplant them outside once the soil has warmed up.
Watering and Fertilizing
Proper watering and fertilization are key to keeping your pumpkins healthy and happy. Pumpkins require regular watering, especially during dry periods. Water deeply, making sure to saturate the root zone. Avoid overhead watering, as this can lead to disease and rot.
In addition to regular watering, pumpkins also benefit from regular fertilization. Use a balanced fertilizer with equal amounts of nitrogen, phosphorus, and potassium. Apply the fertilizer according to the package instructions, taking care not to over-fertilize, as this can lead to excessive vine growth and poor fruit development.
Managing Pests and Diseases
Pumpkins are susceptible to a variety of pests and diseases, including aphids, squash bugs, powdery mildew, and downy mildew. It’s important to monitor your plants regularly and take action at the first sign of trouble.
To manage pests, you can use organic insecticides or insecticidal soaps. These products are safe for use on edible crops and can help to control aphids, squash bugs, and other common pests. It’s also a good idea to remove any diseased or infested leaves or fruits and dispose of them properly to prevent the spread of disease.
To prevent powdery mildew and downy mildew, make sure to provide adequate air circulation around your plants by spacing them properly. You can also apply a fungicide labeled for use on pumpkins to help prevent these diseases.
Harvesting Your Pumpkins
Knowing when to harvest your pumpkins is important to ensure that they are at their peak flavor and quality. The signs to look for vary depending on the variety, but in general, pumpkins are ready to be harvested when the skin is hard and cannot be easily punctured with a fingernail. The stem should also be dry and brown.
To harvest your pumpkins, use a sharp knife or pruning shears to cut the stem about 2 inches above the pumpkin. Avoid pulling or twisting the pumpkin, as this can damage the stem and lead to rotting.
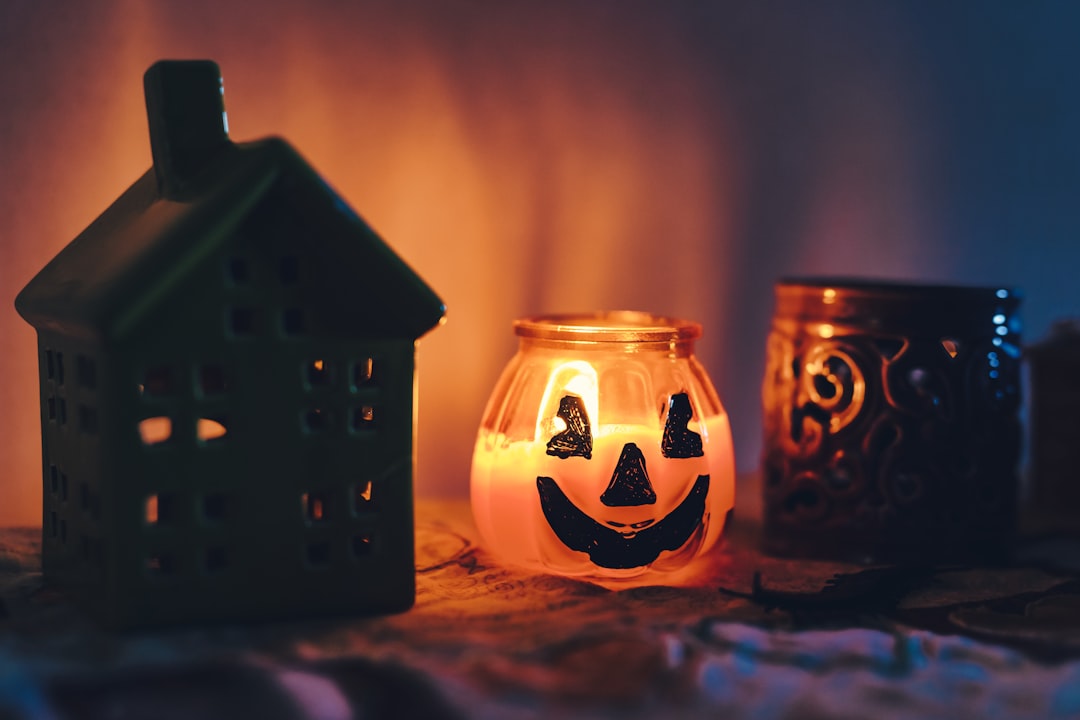
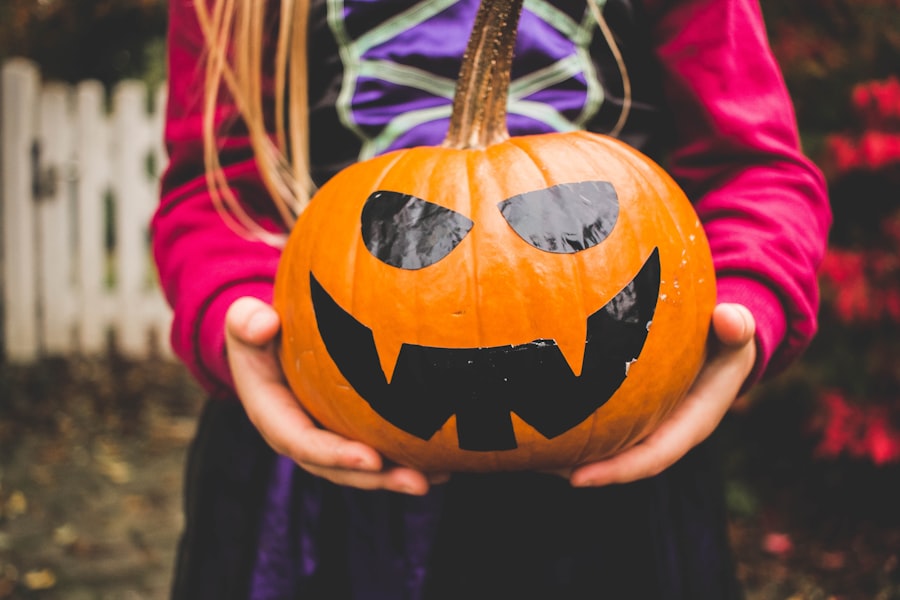
Carving and Decorating
Once you’ve harvested your pumpkins, it’s time to get creative with carving and decorating. Carving pumpkins is a classic Halloween tradition that allows you to create spooky or whimsical designs. Use a sharp knife or pumpkin carving tools to carefully cut out the top of the pumpkin and remove the seeds and pulp. Then, use a stencil or your own imagination to create a design on the pumpkin. Once you’ve finished carving, place a candle or LED light inside the pumpkin to illuminate your design.
If carving isn’t your thing, there are plenty of other ways to decorate your pumpkins. You can paint them with acrylic paints or decorate them with stickers, glitter, or other embellishments. You can also stack pumpkins of different sizes and colors to create a unique and eye-catching display.
Preserving Your Pumpkins
To make your pumpkins last longer, there are several preservation methods you can try. One popular method is to coat the pumpkin with a mixture of water and bleach. This helps to kill any bacteria or mold spores on the surface of the pumpkin and prevents rotting. Simply mix one part bleach with ten parts water and spray or brush it onto the pumpkin.
Another method is to apply a thin layer of petroleum jelly or vegetable oil to the surface of the pumpkin. This helps to seal in moisture and prevent dehydration. Be sure to apply the petroleum jelly or vegetable oil evenly and wipe off any excess.
You can also try drying your pumpkins by placing them in a cool, dry place for several weeks. This will cause the pumpkin to shrink and dry out, preserving it for longer. Keep in mind that dried pumpkins are not suitable for carving or cooking, but they can be used for decorative purposes.
Pumpkin potting is a fun and creative way to celebrate Halloween and add a touch of elegance to your decorations. By choosing the right pumpkin, preparing the soil, planting the seeds, and providing proper care, you can grow healthy and beautiful pumpkins that will impress your friends and neighbors. Whether you prefer carving or decorating, there are endless possibilities for making your pumpkins stand out. And with a few simple preservation methods, you can enjoy your pumpkins long after Halloween is over. So get out there and start potting those pumpkins – it’s time to celebrate Halloween in style!
If you’re interested in learning more about planting a pumpkin in a pot, you might find this article from Lawn World helpful. It provides step-by-step instructions and tips on how to successfully grow pumpkins in containers. Check it out here for expert advice on creating your own pumpkin patch in a pot.
FAQs
What is the best time to plant a pumpkin in a pot?
The best time to plant a pumpkin in a pot is in late spring or early summer when the soil temperature is at least 60°F.
What kind of pot should I use to plant a pumpkin?
You should use a large pot that is at least 15 gallons in size and has drainage holes at the bottom.
What kind of soil should I use to plant a pumpkin in a pot?
You should use a well-draining potting mix that is rich in organic matter and has a pH level between 6.0 and 7.0.
How often should I water my pumpkin plant in a pot?
You should water your pumpkin plant in a pot deeply once a week or whenever the top inch of soil feels dry to the touch.
How much sunlight does a pumpkin plant in a pot need?
A pumpkin plant in a pot needs at least 6 hours of direct sunlight per day to grow and produce fruit.
How do I fertilize my pumpkin plant in a pot?
You can fertilize your pumpkin plant in a pot with a balanced fertilizer every 2-3 weeks during the growing season.
How do I pollinate my pumpkin plant in a pot?
You can pollinate your pumpkin plant in a pot by using a small paintbrush to transfer pollen from the male flowers to the female flowers.


