
Reviving Your Drooping Aloe Vera Plant
Aloe vera, a plant renowned for its medicinal properties, adds a touch of nature to any indoor or outdoor space. Moreover, not only is it an attractive addition to your garden or home, but it’s also incredibly resilient and easy to care for. Yet, it can sometimes seem like a mystery when our beloved aloe vera starts to droop, leaving many plant owners puzzled. This piece aims to demystify this conundrum, by detailing the care requirements including sunlight, temperature, watering, and soil preferences of aloe vera plants. Furthermore, it explores common mistakes people tend to make when nurturing these plants and how these errors can lead to issues such as overwatering, insufficient light, inappropriate soil composition, and hence, drooping foliage.
Understanding Aloe Vera Plant Needs
Cultivating Aloe Vera: Creating Ideal Conditions for Your Green Companion to Thrive
As you pore over the sea of alluring and unique indoor house plants, there’s one staple that continues to stand out — the Aloe Vera. Admired for its medicinal properties, elegance, and low maintenance, this succulent makes an ideal companion for both green-thumbed enthusiasts and beginners.
However, even though Aloe Vera is relatively easy to care for, certain conditions will encourage the plant to flourish. Want your Aloe Vera to really thrive? Then let’s get down to brass tacks on the ideal conditions necessary for cultivating everyone’s favorite succulent, the Aloe Vera!
- Lighting Conditions
- Temperature Control
- Watering Regimen
- Ideal Soil Mix
- Correct Potting
- Fertilization
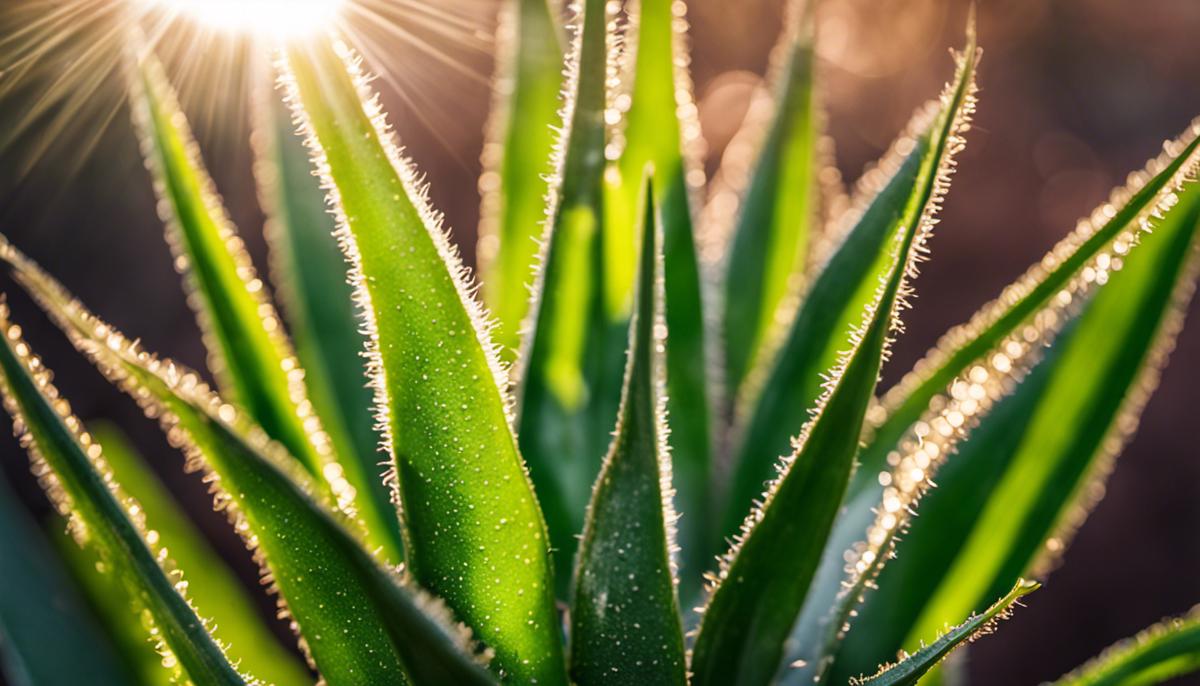
Aloe Veras are true sun lovers! These plants adore bright, indirect sunlight, thriving in eastern or southern facing windows in the home. Avoid placing them in direct sunlight, though, as this can cause the leaves to brown and dry out.
Native to Africa’s balmy climate, Aloe Vera enjoys temperatures between 55 and 80°F (13 and 27°C), making them excellent house plants. These plants don’t fare well in cold temperatures and should be brought inside if outdoor temperatures drop below 50°F (10°C).
Known for their hardiness, Aloe Vera plants require minimal watering. Overwatering can lead to root rot – a sure death sentence for these greens. The ‘soak and dry’ technique is a winner here. Fully soak the soil and then let it dry out completely before watering again. Remember that in the colder months, Aloe Veras enter a dormant state and require even less watering.
Nothing less than well-draining soil will do for these succulent charms. Using a cactus or succulent mix, which tends to be more porous, giving water an easy escape route, is advisable. Combining these soils with perlite or building sand enhances drainage further.
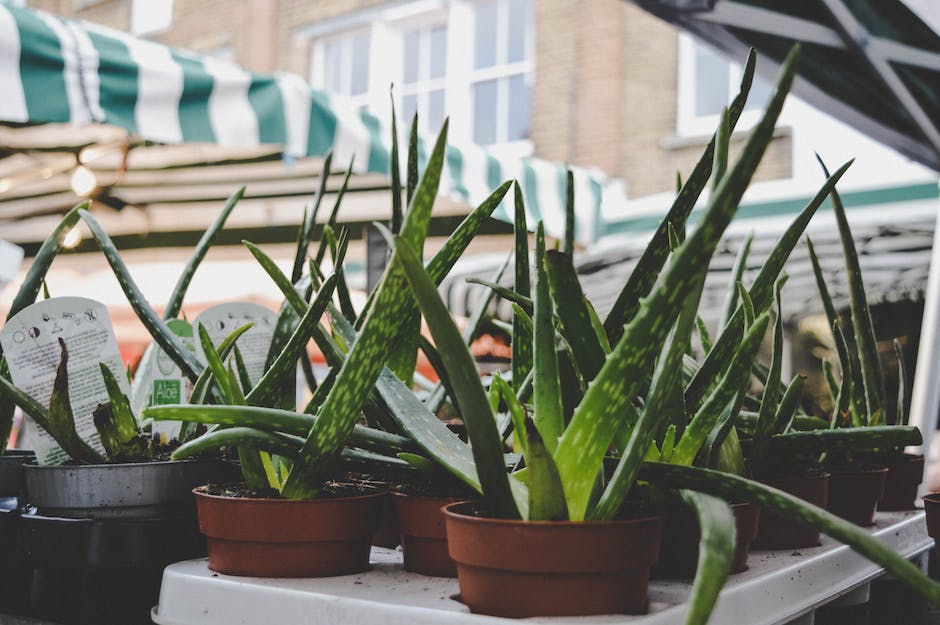
Aloe Veras prefer to be a little bit pot-bound, which makes them great for smaller apartment spaces. Choose a pot that’s wider rather than deeper, giving the roots room to spread out. Crucially, the pot must have a draining hole to prevent waterlogging.
While not mandatory, Aloe Vera plants do benefit from a little extra nutrition now and again. During the growing season (spring and summer), consider feeding your plant with a balanced, water-soluble fertilizer at half-strength, roughly every four weeks.
In conclusion, satisfying Aloe Vera’s basic needs isn’t rocket science, but attention to these specifics can make a world of difference to the plant’s health and growth output. By providing the right light, temperature, water, soil, potting, and optional fertilization, anyone can enjoy a thriving Aloe Vera plant in their home, basking in the benefits and beauty of this lush, green companion. Happy Aloe growing!
Common Problems with Aloe Vera Plants
The Exquisite Appeal of Aloe Vera: Troubleshooting Common Issues of Plant Drooping
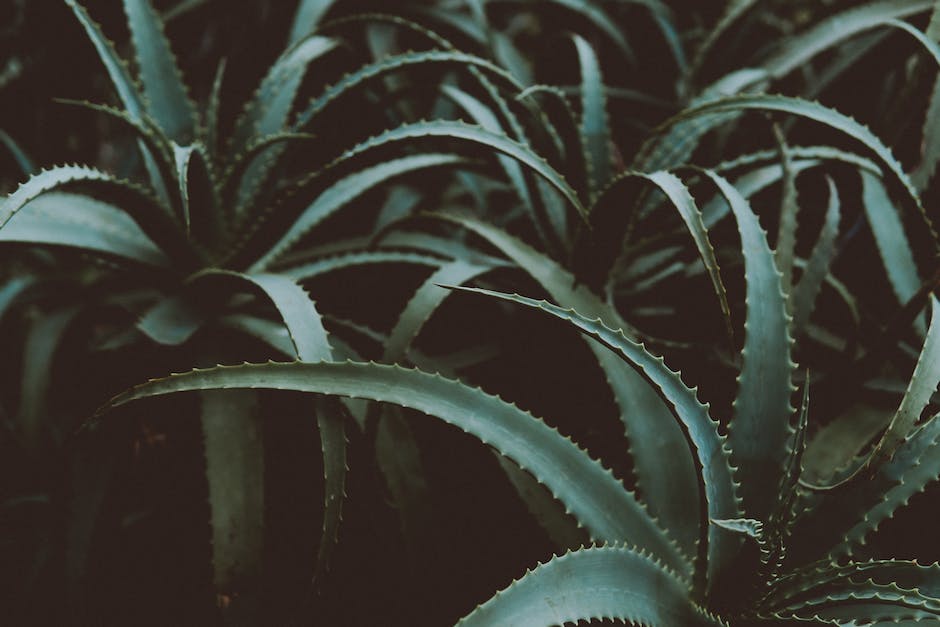
Aloe Vera, with its succulent finesse and fleshy allure, commands a distinctive place in the verdure fraternity. It not only enhances your home’s aesthetics but also holds a cornucopia of healthful benefits. However, your cherished botanical companion can sometimes wilt or droop, mirroring a disconcerting picture. But worry not! We are here to discuss comprehensive troubleshooting methods to bring your Aloe Vera back to its vibrant luster.
Root Rot
The culprit behind a majority of drooping Aloe Vera stems from root rot. This mainly happens when the plant is forced to sit in soggy or overly damp soil for prolonged periods. The waterlogged scenario robs the roots of necessary oxygen, leading to rotting, and subsequently causing your Aloe Vera to droop. Routinely check the plant’s rooting system, and if any rot is found, it needs to be trimmed off, ensuring a healthy root structure.
Pest Infestation
Next up on the list is pest infestation, a silent attacker! Mealybugs and scale insects have an affinity for succulents like Aloe Vera. They suck the sap right out, causing the plant leaves to yellow, drooping, and eventually falling off. Regularly inspect the plant for any pest activity. If your green friend is under attack, employ a non-toxic insecticidal soap to combat these pesky invaders.
Environmental Stress
Fluctuations in external conditions can cause undue stress to your Aloe Vera plant, leading to wilted leaves. These changes could be a sudden drop in temperature, change in plant location, or even a switch in the source of light. If you’ve recently moved your plant or have made any other significant changes, consider reversing them or adapting gradually to cause less shock to the plant.
Transplant Shock
Often, post-translocation, Aloe Vera plants exhibit signs of drooping. This is known as transplant shock and can occur when a plant struggles to adapt to a new pot or environment. This primarily happens due to changes in the root system during repotting. Offering the plant consistent care can fast-track its adjustment to the new home.
Truly, welcoming an Aloe Vera plant into your home is not just about bringing in some greenery; it encapsulates an experience brimming with nurturing, learning, and growth. By understanding potential hurdles like root rot, pests, environmental stress, and transplant shock, you’ll be equipped to handle any situation that can cause your plant to droop. And remember, every plant has its rhythm. Respect that, let it flourish in its pace, and revel in the catharsis that follows, an experience only a bona fide plant enthusiast knows!
Solutions to Revive Your Drooping Aloe Vera
Subject: Reviving Your Drooping Aloe Vera Plant
As avid Aloe Vera enthusiasts, we’ve gathered our plant parenting wisdom to throw you a lifeline for your drooping plant. Following our exploration of lighting, temperature control, and other cultural conditions, it’s time to delve deeper into other elements that could be causing your beloved succulent to sag.
Disease Inspection:
Aloes, with their succulent leaves and healing abilities, can sometimes fall victim to fungal and bacterial diseases. These often manifest in the form of black or brown spots on the leaves, leading to drooping. As a watchful plant parent, it’s crucial to inspect your Aloe Vera plant regularly to catch these signs early. Applying a copper fungicide, while reducing water and increasing air circulation, can gradually nurse it back to health.
Address Calcium Deficiency:
Aloes need calcium. A calcium deficiency could result in drooping leaves. You can look for a soluble calcium supplement, but remember: being heavy-handed with supplements could lead to nutrient toxicity. So, always remember: less is generally more when dealing with succulents.
Examine Underwatering Symptoms:
Yes, overwatering is the main culprit of a droopy Aloe Vera plant, but underwatering can sometimes be a silent offender too. Aloe Veras like to dry in-between waterings, but going too long without water can turn the leaves droopy and discolored. So, check if your watering regimen needs a little adjustment. A thumb rule is to water when the top 1 to 2 inches of soil dries out.
Overcome Drought Stress:
Similarly, if an Aloe Vera plant is exposed to prolonged periods of drought outside its comfort mansion (aka pot), it can exhibit drooping. To detox your plant from drought stress, water it thoroughly, ensuring that the water drains out from the bottom of the pot. Give it a few days, and you should see your Aloe revive itself.
Recognize Physical Damage:
Bear in mind that the Aloe Vera plant is pretty sensitive. Sometimes, the simple act of moving it too often around the house or brushing its delicate leaves a bit too aggressively can lead to physical damage, followed by drooping. So, lavish your Aloe with some tender loving care, making sure not to injure its leaves or roots in the process.
Revisit Your Plant’s Location:
While keeping pest infestation and diseases at bay is paramount, it’s equally crucial to ensure your Aloe Vera has the right view. Avoid areas around air conditioners, heaters, cold drafts, or direct afternoon sunlight as these can lead to drooping too.
For those passionate about their Aloes, seeing them droop can be a cause for alarm. However, knowing the root of the problem and adopting a patient, consistent approach can see your succulent bounce back to its former glory. Happy growing, fellow Aloe aficionados!
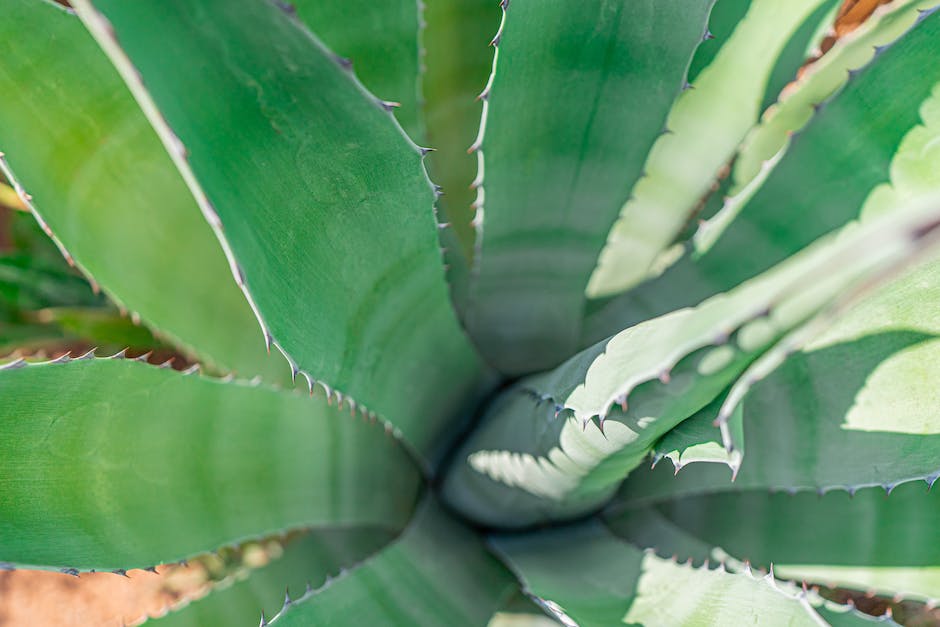
Healthy Aloe Vera, with its vibrant green exterior and plump leaves, can be a source of joy for any plant lover. Ignorance is not bliss when it comes to plant care; understanding the key issues that may affect your Aloe Vera and learning how to prevent and address these problems can ensure plant health and longevity. As you continue your journey with plant care, remember that your Aloe Vera is relying on you for its sunlight, temperature, watering, and soil needs. With a newfound understanding of these factors and a proactive approach in solving common problems, you can restore your drooping Aloe Vera and cultivate a sense of pride in your newfound green thumb.


