
Simple Steps to Grow a Plum Tree from a Seed
If you’ve ever savored the sweet, tangy burst of a freshly picked plum, then you can understand the pleasure of cultivating your own plum tree. Growing a plum tree from a seed might seem like a chore for experienced gardeners only, but with the right knowledge and a little patience, anyone can achieve this feat. This includes understanding pivotal areas like Seed Selection and Preparation, Planting and Germination, and Seedling Care and Transplanting. By learning about the various types of plum seeds available and the techniques involved in their preparation – which includes strategic soaking to boost germination – you’re on your way to planting your very own plum tree.
Seed Selection and Preparation
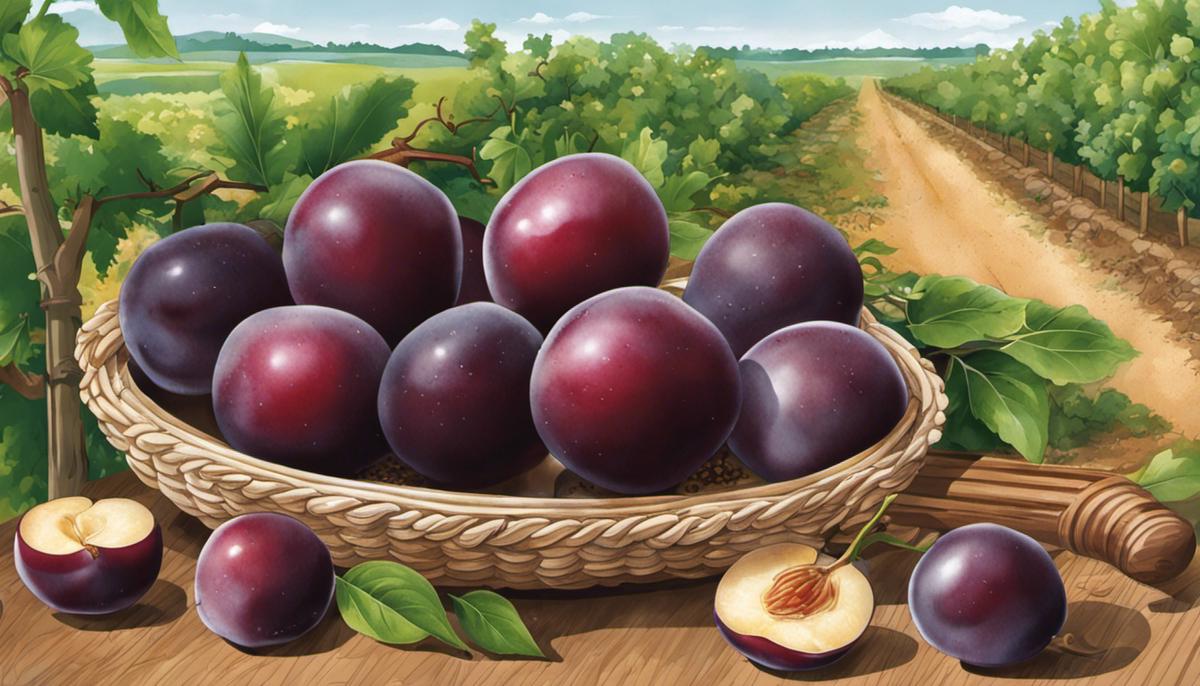
First off, let’s give a rousing cheer for the unsung hero of the garden- the humble plum!
Prunus domestica, or the common plum as it’s known to most gardeners, is one of the easiest fruits to grow from seed, making it a terrific choice for beginners and seasoned green-thumbs alike. And don’t be fooled, there’s nothing ‘common’ about the sensational flavor burst that a freshly picked plum delivers. Let’s learn how to select and prep plum seeds for planting.Choosing the right plum seed is the first step in establishing your own orchard. Don’t rush into selecting seeds, instead, opt for a deliberate and careful choice. You want to select seeds from a fruit that embodies the desirable characteristics you want in your new plum tree- things like taste, size, and juiciness.
After enjoying the succulent fruit, there’s some work to be done. Rinse the leftover plum pit under warm water until it’s free of residue. This step is essential as it minimizes the chance of mold growth during storage. And just imagine the little plum tree waiting inside, ready to burst forth with proper care!
Remember, patience is a gardener’s best friend. The plum pits need to go through a process called “stratification”, emulating winter conditions to stimulate germination. Put the pit in a ziplock bag with some lightly moistened peat moss or vermiculite. The bag goes into the refrigerator for about 10-12 weeks. Make sure to label with the date for easy tracking.
When you peek at the seeds after the chilling period and notice a crack in the shell, give yourself a high five- You have successfully stratified your plum seed! This tiny split is actually the root beginning to emerge, a milestone in the life of your future tree.
With stratification done, it’s time to move to the potting stage. While it might take some time for your seedling to grow, the sight of that first plum blossom will make it all worthwhile!
Gently place your plum seed into a pot filled with well-draining soil, about 3 inches deep, and lightly cover with soil. Give it a light watering, enough to moisten the soil. Position your pot in a sunny spot and keep the soil slightly moist, but not waterlogged.
In no time, your diligent seed prep will pay off with a lovely plum sapling stretching its leaves towards the sun, a testament to your gardening prowess.
Embarking on a plum-growing journey is not only rewarding, but it’s also a wonderful way to connect with nature. No matter how big or small your garden is, there’s always room for a plum tree. So, why wait? Start your plum adventure today, and bring that burst of flavor right to your backyard!

Planting and Germination
Following your fruitful initiation into the art of stratifying and sowing plum seeds, let’s span out into some additional layers to ensure the plum’s optimal growth.
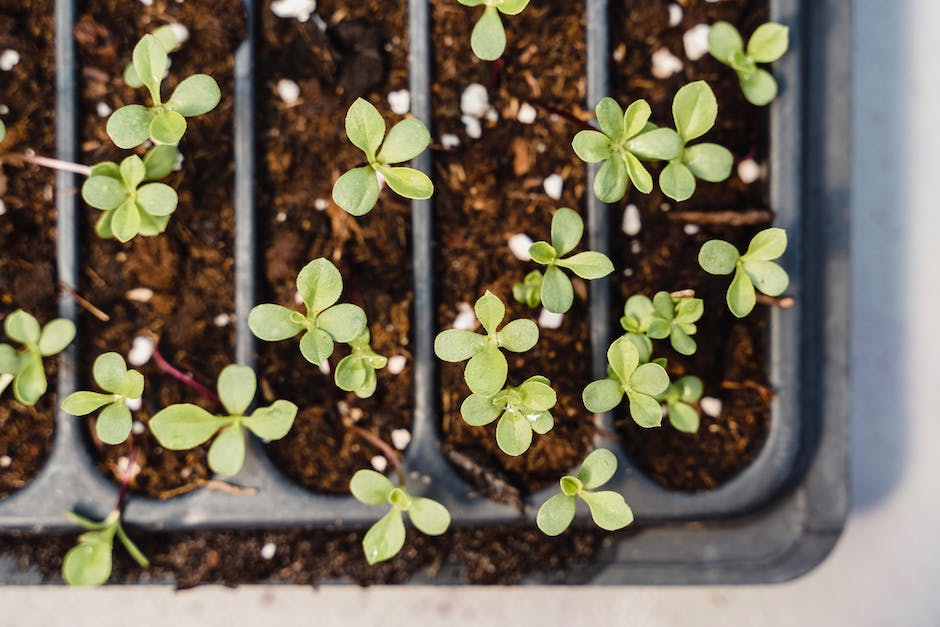
One of the first steps follows the emergence of the seedling. Keep a close eye on your fledgling plant and once the plum seedling has sprouted to roughly three inches, it’s time to transport your little protege to a larger container for better root development. A pot about a foot in diameter is an ideal home for your growing plum seedling.
Remember the rule of thirds while repotting. Fill your new pot one-third of the way with a soil mix that drains easily. You cannot go wrong with a blend of two parts loam soil, one part sand, and one part compost. The compost packs a nutritional punch while the sand ensures adequate drainage.
Place your sprouted seed in the center and fill with the soil mixture, ensuring that the topmost root or ‘root collar’ rests just above soil level. This serves dual purposes- it prevents the stem rotting caused by wet soil and also averts infestation by pests that favor damp conditions.
Mimic the plum tree’s natural habitat through your watering routine. Plums are not fans of the ‘drench and dry’ watering style. Nor do they appreciate a perpetually soggy environment. Probe the top two inches of the soil before watering. If dry, give your plum tree a thorough watering until you see water seeping out of the drainage holes in your pot.
Now you may ask- “Sunshine- How much is too much?” Plum trees bow to the sun and appreciate full sunlight for around six hours a day. Position your pot in a south-facing spot to catch those life-giving rays!
And there’s always the question of pruning those sprightly branches. During the initial years, one needs to focus on establishing a strong structure for your plum tree to support the heavy loads of fruit in its future. Trim to form the ideal ‘open center’ structure which allows for ample sunlight and airflow.
The takeaway from this is to place empathic gardening at the core of your plum growing journey. By nurturing your plant with conscientious watering, judicious pruning, and regular doses of nutrient-rich soil, your plum tree will reward you with a bountiful harvest in its season. After all, a bit of patience and lots of care will see the hard stone of a seed transform into the juicy sweetness of a plum! Now, isn’t that a beautiful transformation worth waiting for?
Seedling Care and Transplanting
Taking Care of Young Plum Tree Seedlings
Just as a seedling turning into a tree is a wonder, so is the experience of nurturing and watching a plum tree grow from the palm of your hand into a major fruit producer in your yard. Congratulations on reaching the stage of successfully germinating a plum seed! Now, let’s explore the next big milestones towards becoming the proud gardener of a flourishing plum tree: caring for the young seedlings and knowing when to transplant them.
Once a sprout emerges from the cracked seed, it’s time for its growth journey in a larger pot. This helps develop a robust root system. You’ll need a pot at least double the size of the current one. Fill it halfway with a well-draining soil mixture, like a combination of loam, compost, and a bit of sand. This will ensure an environment that balances moisture and avoids waterlogging.
The key here is the rule of thirds when repotting. The seedling should rest in the top third section of the pot, leaving the bottom two-thirds for root development. Remember, the seedling’s fragile stem should just barely skim the soil line. This placement prevents dislikeable damp conditions around the stem, which can lead to rot and infestations.
Water appropriately to simulate the natural habitat of the plum tree. In nature, the tree experiences deep watering from infrequent rains rather than daily sprinkles. Hence, water less frequently but make sure to soak the soil thoroughly each time. Monitor the soil before providing the next round of water — it should be slightly dry at the top but not completely parched.
Sunshine is the key to the plum tree’s life. Make sure the potted seedling sits in a south-facing sunny spot, getting about six hours of sunlight each day. As the plum tree is deciduous, it’s also crucial to provide chilling hours in winter for it to yield fruit in the long run.
Pruning, though it might initially seem counterproductive, is essential for helping the tree build a strong structure. It prepares the tree for future fruit bearing while also managing tree size for backyard cultivation. When the seedling reaches about a foot tall, prune a third of it. Then practice annual pruning to maintain the structure, removing weak or crossing branches and promoting outward growth.
Last but not least, nourish the young plum tree with love — and a bit of fertilizer. Composting is a great organic feeding method, providing a slow and steady nutrient supply. Introduce compost to your plum tree’s diet early on, but be careful not to overfeed!
Stepping into the adventure of growing your own fruit can seem daunting. Relax, because it’s okay to make a misstep or two in the learning process. The reward will be a flourishing plum tree in a few years, with sweet, juicy treats fresh from the branch — a truly bountiful harvest. After all, as you nurture the plum tree, it, in turn, nurtures your gardening passion. Good luck, plum gardeners!
From the intricate details of preparing the seeds and ensuring ideal conditions for their germination, to providing all the necessary care for the young seedlings and knowing when and how to safely transplant, each step is crucial in growing a healthy and fruit-bearing plum tree. Growing a plum tree from a seed is not solely about adding an ornamental plant to your garden. It’s about inviting a little piece of nature into your home that rewards you with beautiful plum blossoms in the spring and delicious fruits in the summer. So, go on, give it a try. There is more fulfillment in a home-grown plum than from any store-bought one.


