
Sprouting Success: How to Grow a Peach from the Pit
Harnessing the delicious bounty that nature offers and partaking in the art of cultivation can be an immensely rewarding experience. There’s nothing quite like enjoying a juicy peach plucked straight from your very own backyard. But how does one transition from eating peaches to growing them, specifically from the pit? The process entails a careful juggle of selectivity, preparation, cultivation, and maintenance. Starting with choosing a perfectly ripe peach to savor, and then utilizing the pit, the subtle cycle of life allows you to pull off this natural marvel. It might seem like an uphill battle at first, but with knowledge about the stratification process, along with insights into the prime conditions for planting, caring, and maintaining your peach tree, it definitely is within anyone’s reach.
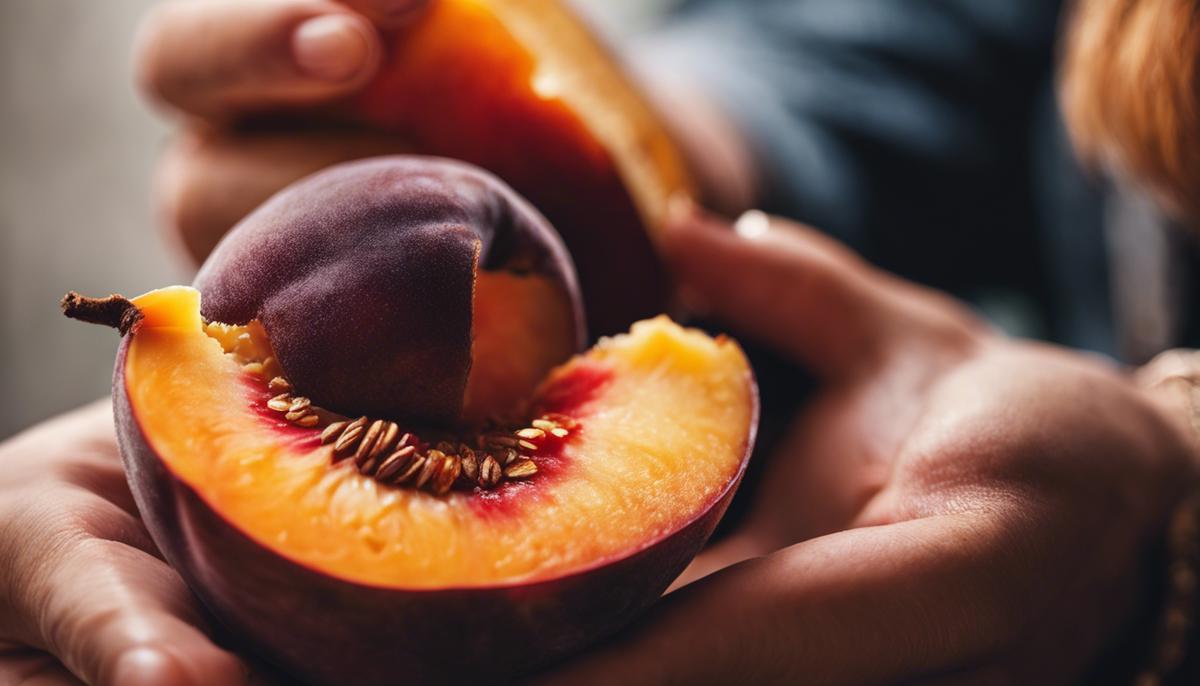
Choosing and Preparing a Peach Pit
Unveiling Your Green Thumb: Peach Pit Planting Adventure!
Planting a peach pit may seem daunting at first glance but don’t let that scare you away! It’s a process of round-the-year nurturing combined with patience, determination, and some insider knowledge. So, strap on your gardening gloves, get ready to dive into those succulent summer peaches, and let’s savor the journey together!
Step 1: Choosing the Peach Pit
Optimum peach tree growth starts with selecting the right peach pit. Look for a pit from a locally grown peach, as it’s more likely to thrive in your soil and climate conditions. Opt for fresher peaches, as their pits will carry greater vitality. Remember, the health of the peach reveals the potential of the pit.
Step 2: Drying the Pit
After excavating the pit from your fresh peach, it’s crucial to let it dry out. This encourages sprouting when replanted. Scrub off any remaining fruit from the pit thoroughly, then place it in a cool, well-ventilated location for a few days until it’s adequately dried.
Step 3: Soaking and Stratification
Once your pit is bone-dry, the magic of stratification can begin. It’s a scientific-sounding term but fundamentally, stratification mimics winter conditions to encourage germination.
Begin by soaking your pit in water for 24-48 hours. This softens the shell, encouraging the seed inside to sprout.
Next, dampen a paper towel and fold the pit into it. Place this bundle in a plastic bag and mark it with the current date. Move the bag to your fridge, specifically at a spot with a temperature between 34-42°F (1-6°C). Patience is key here, as this stratification stage can take anywhere from 6-8 weeks.
Monitor your bundle closely. Once roots sprout and reach about a half-inch long, it’s an exciting indication that your peach pit is ready for planting.
Step 4: Planting the Pit
This is where the anticipation escalates, leading your peach pit closer to its tree destiny. Use nutrient-rich soil in a pot with ample drainage, as peach trees don’t appreciate soggy roots. Bury the pit two to three inches deep, root down. Maintain your little peach nursery at a warm room temperature until you notice the first leaves – a harbinger of a successful sprout.
Step 5: Transitioning Outdoors
When the sapling reaches 8-10 inches tall, it’s ready to weather the outdoors. Choose a sunny, well-draining location with enough space for a mature peach tree. Transplant your sapling, carefully guarding the fragile roots. Water it regularly but watch for waterlogging.
Voila! In 2-4 years, you’ll have a peach tree blooming right from your pit! It’s not just about having your personal orchard, it’s about the enjoyment that comes from nurturing a life from seed to tree. Now, isn’t that peachtastic?!

Planting the Peach Pit
Step 10: Celebrating the First Harvest
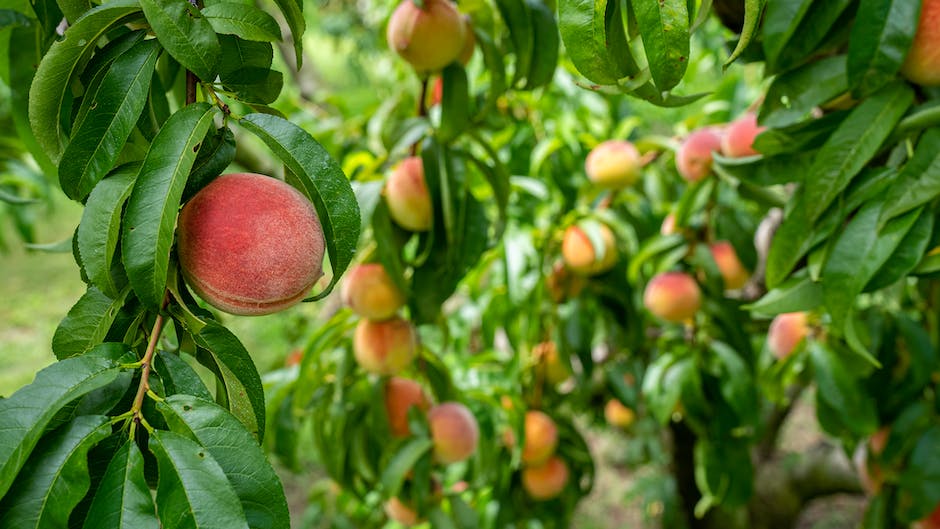
When the peach tree reaches maturity, usually between 3 to 6 years, comes along a moment that seems like straight out of a fairy tale—your tree’s first blossom. Admire the pink flowers and breathe in the delicate and unmistakable scent of peach blossoms in the morning. This signifies the onset of the first harvest, which is a special moment to savor.
Step 11: Recognizing The Right Time To Harvest
Recognizing when your peaches are ripe is key to enjoying a flavorsome yield. Generally, peaches are ready to be picked when their color is fully developed with a deep yellow hue, and they’ve lost their green undertones. A ripe peach will have just the right amount of give when gently pressed. Use a twisting motion to gently detach the fruit from the branch.
Step 12: Storing Your Harvest
After harvesting, peaches can be stored at room temperature for a few days until fully ripe. For longer storage, it’s advisable to keep them in the refrigerator. Freshly picked peaches, when properly stored, will stay fresh for about a week. Freezing is an option if you would like to preserve the produce for a longer period.
Step 13: Pruning After Harvest
Pruning promotes tree health, which is essential for peach trees, especially after harvest. Pruning regulates the tree’s size, aids in pest control, encourages the growth of more branches, and helps the tree to yield larger peaches during the next cycle. Make sure to prune only healthy branches and ones that are not producing fruit.
Step 14: Winter Prep
It’s necessary to prep your peach tree for the coming winter months. Maintain excellent hygiene around the tree by cleaning up fallen leaves and fruit. Apply a layer of shredded bark/compost as mulch around the base to insulate the tree from extreme cold. You might also want to consider a dormant oil spray to protect your tree from pests during the cold season.
Step 15: Enjoying The Fruits Of Your Labor
Growing a peach tree requires a significant amount of patience and care. There will be pest troubles, weather issues, and some growing pains. But the sight of your home-grown flawless peaches will make it all totally worth it. You can eat them fresh, bake a pie, or even create fabulous jams. Your peach tree offers nothing but sweet rewards!
So, buckle up, novice peach growers. Are you ready to embark on this gratifying journey? Enjoy the process—because cultivating a peach tree is more than just a hobby, it’s a labor of love.
Care and Maintenance of Your Peach Tree
The lush world of peach tree care often extends much beyond the initial stages of sapling nurturing and early maintenance. While those are integral steps, what truly encapsulates this wonderful hobby happens beyond that. Ensconced in this sphere of post-growth care begins the equally exciting journey – one that rewards you with the first harvest and ushers you into an ongoing rhythm of tree care and fruit enjoyment.
Plucking the first fruit off your tree deserves its own celebratory moment. It’s a testament to all the hard work and patience seeped into the growth process. However, timing is everything when it comes to harvesting peaches. Recognizing the right moment to pick your peaches is where keen observation comes into play. The perfect peach will have a warm, vibrant color with a slight softness when touched. If it separates from the tree with a simple twist, you’ve hit the jackpot!
Once harvested, maintain the quality of peaches by storing them at a cool temperature, preferably in the refrigerator. Remember, only fully ripe peaches should be refrigerated, as cooler temperatures might hinder the ripening of any remaining fruit on the tree.
An essential practice to be instilled post-harvest is pruning the peach tree. Trimming the tree right after it has borne fruit not only keeps it healthy but also sets the stage for a better yield in the subsequent years. Pruning invigorates the tree, encouraging the growth of new branches that are robust fruit-bearers.
Comes winter, it’s pivotal to gear up for seasonal prep. It’s about insulating the tree with a protective cover around its base, preventing frost from infiltrating the tree roots. Moreover, consider spraying organic antifungal solutions to prevent peach tree conditions like leaf curl, a winter-driven disease that can stunt the tree’s growth.
Finally, comes the part that makes any hobby enjoyable – savoring the fruits of your labor, quite literally! Fresh peaches off your tree make a delectable snack, they’re simply incomparable to anything that’s store-bought. What’s more, peachy concoctions like homemade jams and jellies open a whole new avenue for tree-to-table experiences.
The all-encompassing journey of growing a peach tree, from planting its seed to picking the ripe fruit, creates a fulfilling hobby that anyone can venture into. Depend less on the store for your peaches and more on your hands, heart, and soil. The only thing sweeter than the fresh, juicy fruit you harvest, is the gratifying sense of accomplishment and connection to nature. As a peach tree hobbyist, that’s a sweetness you get to taste all year round!
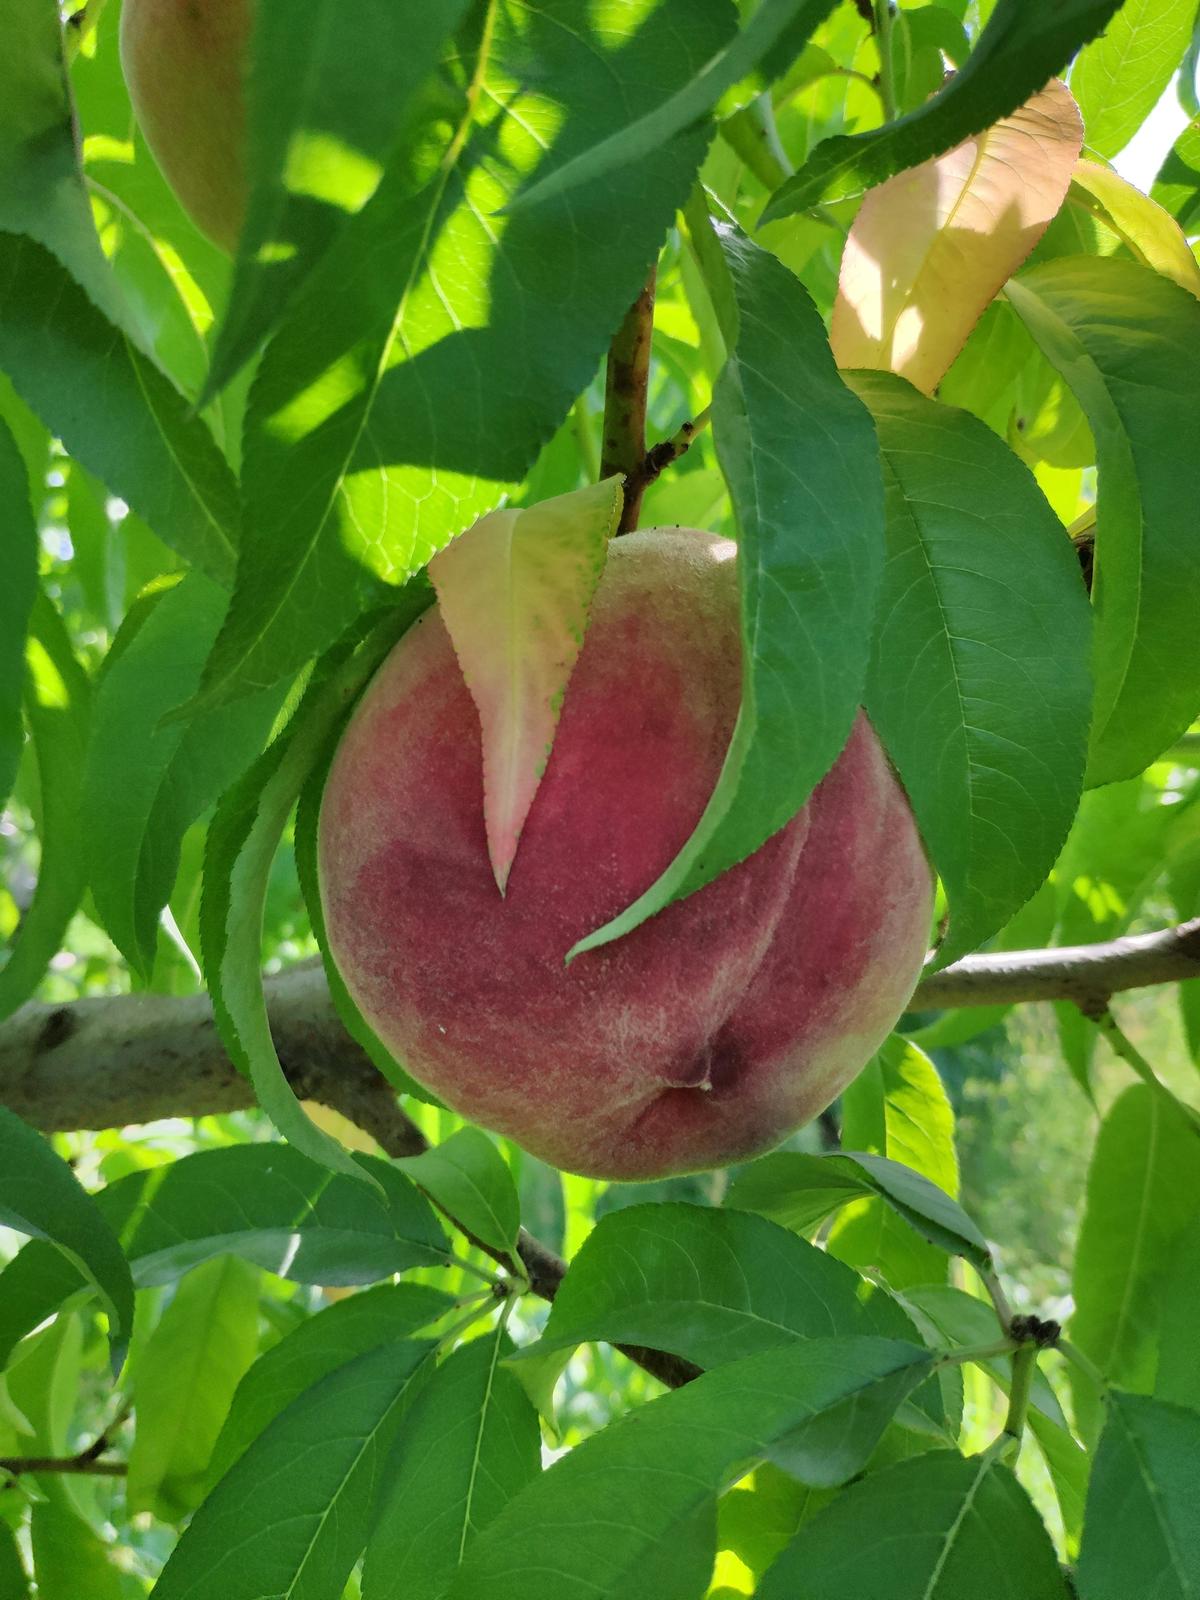
Photo by collab_media on Unsplash
Embarking on the journey of growing a peach tree from a pit offers more than just the lure of luscious fruits. It represents a deeper connection with nature, an understanding of the cycles of life and growth, and the tangible satisfaction of nurturing life from a seedling. Always remember – correct procedures in the initial stages, including the choice of a ripe peach, proper pit preparation, and the correct stratification process, are just as crucial as consistent care and maintenance which involve appropriate watering, timely fertilization, prudent pruning, and effective pest control. These different aspects coalesce, ensuring your peach tree matures well, healthy and abundantly productive. Let this be an experience that brings you joy, knowledge, and of course, plenty of peaches to relish from your very own garden.


