
The Perfect Guide: Propagating and Planting Christmas Cactus
When the holiday season rolls around, nothing brightens the home quite like a beautifully blooming Christmas cactus. Beyond their festive appeal, these hardy plants also allow for the unique opportunity to contribute to their lineage through propagation. The propagation process involves identifying and selecting healthy segments from an existing plant, appropriately preparing them for planting, and nurturing them into fully blooming individuals. Our guide will provide clear and concise advice on not only how to propagate these seasonal succulents but also proffer maintenance tips to ensure their continual growth and excellent health.
Identifying Healthy Christmas Cactus Segments
Whether you’re a novice houseplant owner or a seasoned green thumb, a little know-how can spur your indoor garden growth. Today, we’re centering the spotlight on the beloved Christmas cactus, a phenomenal plant that brings joy not just during the holiday season, but all year round.
To propagate a Christmas cactus successfully, a keen eye and a little knowledge on what to look for in the healthiest segments for propagation will do wonders. So, let’s dive headfirst into those nitty-gritty details that’ll turn your Christmas cactus propagation into a green, flowering triumph.
Choose Mature Segments
When deciding which part of your Christmas cactus to use for propagation, maturity is crucial. It’s best to choose fully developed segments instead of young shots. An older segment is more likely to flourish once propagated and tends to adapt more easily to its new environment. Look for a section that is firm, green, well-formed, and about two to four segments long.
Avoid Using Damaged or Diseased Segments
Any sign of damage, disease, rot, or aberration on a segment disqualifies it outright as a wise choice for propagation. Such issues can potentially impair the segment’s ability to successfully root and grow. Look for segments that are free of spots, brown patches, fuzz, or any visual signs of disease or pest infestation.
Check for Bright Green Color
A vibrant, consistent shade of green is a reliable indication of a healthy segment. Discoloration, whether it’s uneven patches of yellow, brown, or unusually pale green, raises a red flag that something could be amiss. Select segments that display a uniform, bright green color, a veritable neon sign that it’s in prime shape for propagation.
Select a Segment with Healthy Leaves
Leaves contribute to the overall health and success of propagation. They are crucial for photosynthesis and hold essential nutrients needed for growth. Be sure to pick a segment whose leaves are firm, plump, and glossy. Any wilting, deformity, or discoloration is a clear sign that the segment may not be ready for propagation.
Examining the Joint
Finally, consider where the segment is joined to the main cactus. This connection point, or joint, is what plays a significant role in producing roots for a new cactus. Look for joints that are firm and exhibit no signs of damage or weakening.
Time to Dive in
Armed with this knowledge, propagating a Christmas cactus is a rewarding process that can be achieved by anyone. By paying attention to the fundamental signs of a healthy and mature segment for propagation, you too can cultivate these remarkable plants and share the joy they provide with others. Enjoy the journey and the new growth you’ll undoubtedly succeed in making!

Process of Propagation for Christmas Cactus
The Ins and Outs of Propagating Your Christmas Cactus
The joy of seeing a new sprout grow from a parent Christmas cactus is incredibly rewarding, and doing the propagation yourself adds an extra layer of accomplishment! After selecting the perfect mature, healthy, vibrantly green segment to propagate, there are several important steps to follow.
Begin by Gently Twisting the Segment: This can be done with a delicate touch. The aim is to detach the segment from the mother plant without causing any extra damage. Make sure to grasp the segment from the joint, where it connects to the plant, and twist gently.
Patience is Key: Once the segment is detached, patience becomes a top priority. The segment should not be planted right away as it needs time to dry and form a callous, this minimally takes one to two days. This step is crucial to prevent potential rotting when it’s planted into the soil.
Preparation of the Pot: While the segment is drying, use this time to prepare the pot which will become its new home. A small pot, around three to four inches in diameter, is ideal. Unlike many plants, Christmas cactus prefer a snug fit, feeling secure within the pot’s boundaries. For soil, a well-draining mix using builder’s sand, potting soil and peat moss provides an ideal environment. Remember, Christmas cacti are not desert cacti; they’re forest cacti that thrive in dappled light under the cover of Brazilian trees and nutrient-rich soil.
Planting the Segment: Once the segment has successfully formed a callous at the cut end, it’s time to plant. The cut end of the segment should be inserted around one inch into the soil. Water sparingly at first to avoid over-saturation. However, keeping the soil slightly moist, not wet, will encourage root growth.
Finding the Ideal Spot: The final step is to find the perfect location for the pot! Depending on your home, there may be several suitable spots. This forest cactus appreciates bright, indirect light – it’s not a sun worshipper! Temperature-wise, it enjoys the same room temperatures most people find comfortable, around 70 to 75°F during the day and 10° cooler at night.
Understanding the needs of the Christmas cactus, including the type of light, soil, and temperature it needs, is crucial to successful propagation. Treat this charming little plant right, and it will reward with a spectacular bloom display every holiday season! Unveil your green thumb and turn one Christmas cactus into many, adorning your home or sharing as heartfelt gifts for loved ones. Ready to give it a try? Don’t forget, propagating Christmas cactus is a labor of love, not a race!
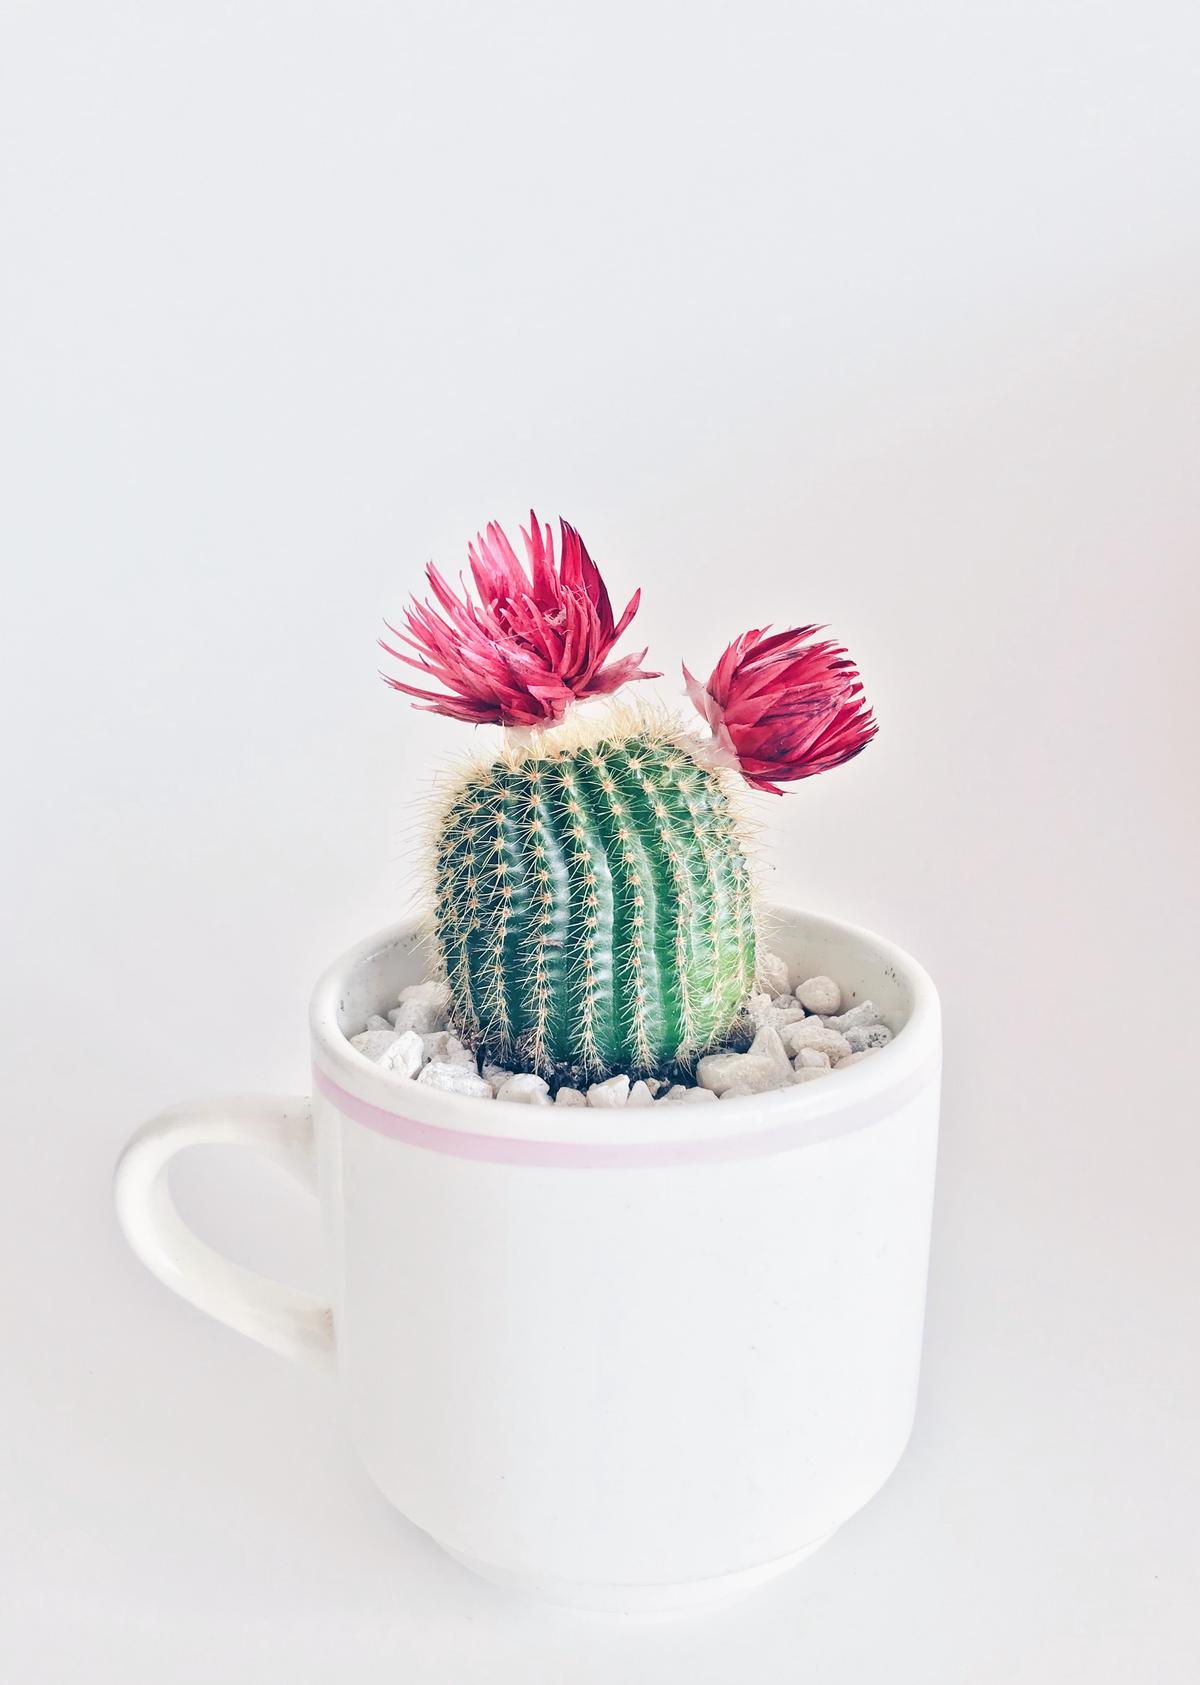
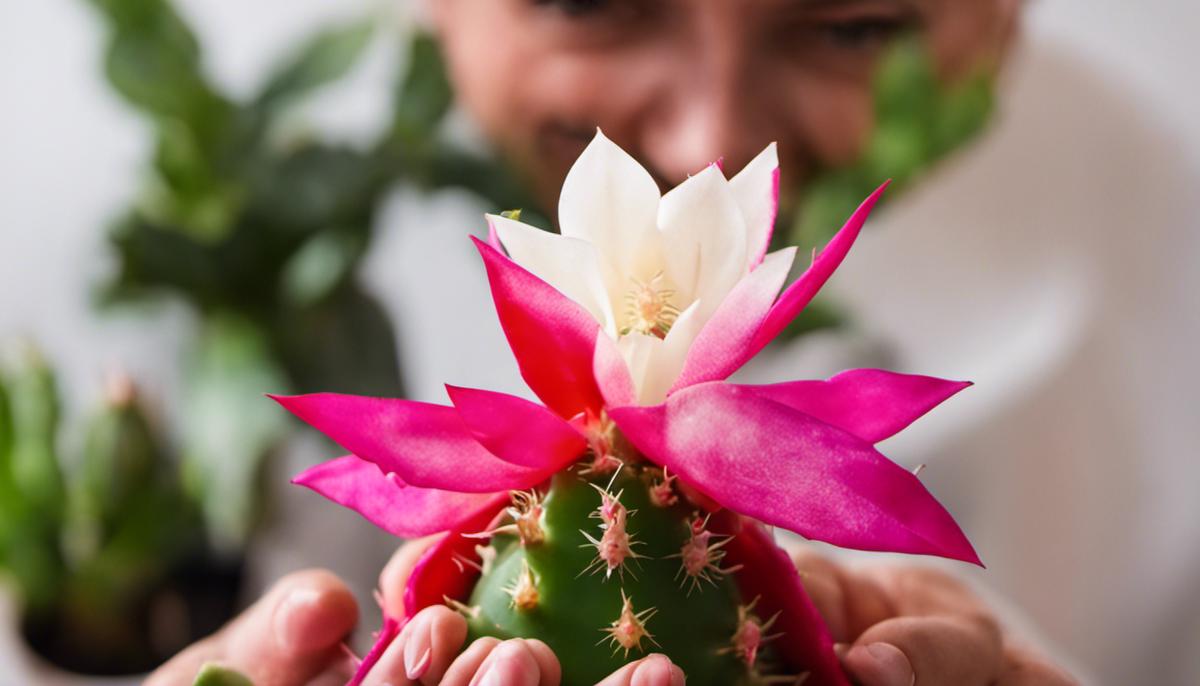
Photo by stephanieharvey on Unsplash
Christmas Cactus Care and Maintenance
So, you’ve successfully propagated your Christmas cactus, and now you’re thinking, “Well, now what do I do?”. Fear not, for here begins the exhilarating journey of nurturing your new spiky green friend!
Planting a Christmas cactus is quite a rewarding experience. The first step in this process is to pick the right pot. Your potted segment should have adequate drainage to avoid water-logging, given these tropical cacti are not fond of ‘wet feet’. Choose a pot with ample drainage holes and fill it with a well-draining, slightly acidic medium like a mix of perlite, peat moss, and sand.
After planting, give it a good initial watering. But remember, Christmas cacti have adapted to thrive in drier conditions, so avoid overwatering. As a general rule, let the top 1-2 inches of soil dry out before the next watering session.
Next is finding the perfect spot for your plant. Christmas cacti aren’t your typical desert-loving cacti. They prefer temperature conditions ranging from 50 to 70 degrees Fahrenheit, which is similar to indoor temperatures. Shield them from direct sunlight, which can cause leaf burn, while giving them sufficient exposure to bright, indirect light to reach their full blossoming potential.
Moreover, strive to provide these beauties with high humidity levels. An easy way to achieve this is by placing the pot on a tray filled with water and pebbles, ensuring the pot remains above the water to prevent the roots from soaking up too much moisture.
Now, let’s dive into fertilizing, a critical step to ensure blossoming. Start fertilizing once the new leaves sprout, but stop before the flower buds start to form. Use a balanced houseplant fertilizer that includes stints of potassium, nitrogen, and phosphorus for optimal growth.
As this fabulous plant typically blooms during winter, the best way to initiate blooming is by mimicking its natural environment. Subject your Christmas cactus to 12-14 hours of darkness for at least 6 weeks or until buds appear. While it seems tedious, the breathtaking sight of those beautiful flowers is worth every second of effort!
Finally, to keep these cacti in tip-top shape, they’ll need pruning. Trimming a couple of segments off in the spring can encourage bushier growth and more flowers during the next blooming period.
Taking care of your Christmas cactus isn’t just about helping it survive – it’s about making it thrive! So, get ready to roll up your sleeves and prepare for a floral spectacle unlike any other, because, with a little love and care, your Christmas cactus will reward you with a spectacular display of blossoming beauty. Happy Gardening!

Photo by brittgaiser on Unsplash
Propagating and caring for a Christmas cactus can be a rewarding process if executed correctly. Having a keen eye in identifying healthy segments and understanding the propagation process sets the stage for successful growth. After propagation, it is crucial to uphold consistent care and maintenance, adapting to the cactus’s needs for water, light, and nourishment. By following these guidelines and caring for your Christmas cactus attentively, you can look forward to luscious blooms adorning your home every holiday season.


