
Tomatoes thrive in 5-gallon buckets: A beginner’s guide
Container gardening has become increasingly popular in recent years, and for good reason. It offers a number of benefits, including the ability to grow plants in small spaces, portability, and control over soil quality and drainage. One of the best options for container gardening is using 5-gallon buckets to grow tomatoes. Not only are they affordable and readily available, but they also provide the perfect environment for tomato plants to thrive.
Key Takeaways
- Growing tomatoes in 5-gallon buckets is a great way to have fresh, homegrown tomatoes even if you have limited space.
- Benefits of growing tomatoes in buckets include better control over soil quality, easier pest management, and the ability to move the plants to optimal sunlight.
- When choosing a tomato variety for bucket gardening, look for determinate or bush varieties that won’t grow too tall.
- To prepare your bucket for planting, drill drainage holes and add a layer of gravel or rocks to the bottom.
- The best soil mix for tomato bucket gardening includes a combination of peat moss, vermiculite, and compost.
Benefits of Growing Tomatoes in 5-Gallon Buckets
One of the main advantages of growing tomatoes in 5-gallon buckets is their portability and flexibility. Unlike traditional garden beds, buckets can be easily moved around to take advantage of sunlight or protect plants from extreme weather conditions. This is especially useful for those who have limited space or live in apartments or condos with no access to a garden.
Another benefit is the control over soil quality and drainage. By using a high-quality potting mix, you can ensure that your tomato plants have all the nutrients they need to grow and produce abundant fruit. Additionally, buckets allow for better drainage compared to other containers, preventing waterlogged roots and reducing the risk of root rot.
Growing tomatoes in buckets also provides protection from pests and diseases. By keeping your plants off the ground, you can minimize the risk of soil-borne diseases and pests such as slugs or snails. This can result in healthier plants and higher yields.
Lastly, growing tomatoes in 5-gallon buckets allows you to achieve higher yields in smaller spaces. The confined environment of a bucket encourages vertical growth, which means you can grow more plants in a smaller area. This is especially beneficial for those with limited garden space or who want to maximize their harvest.
Choosing the Right Type of Tomato for Bucket Gardening
When it comes to choosing the right type of tomato for bucket gardening, there are a few factors to consider. Determinate varieties are often recommended for container gardening because they have a more compact growth habit and tend to produce fruit all at once. This makes them easier to manage and harvest.
However, if you prefer indeterminate varieties, which continue to grow and produce fruit throughout the season, there are still options available. Look for smaller or dwarf varieties that are better suited for container gardening. These varieties have been bred to have a more compact growth habit, making them more manageable in a bucket.
Some recommended varieties for container gardening include ‘Patio’, ‘Tiny Tim’, ‘Celebrity’, and ‘Cherry Cascade’. These varieties are known for their compact size, disease resistance, and high yields. Be sure to read the seed packet or plant label for specific information on the variety’s growth habit and suitability for containers.
Preparing Your 5-Gallon Bucket for Tomato Planting
| Step | Description |
|---|---|
| 1 | Clean the bucket with soap and water to remove any dirt or debris. |
| 2 | Drill drainage holes in the bottom of the bucket to prevent water from pooling. |
| 3 | Add a layer of gravel or rocks to the bottom of the bucket for additional drainage. |
| 4 | Fill the bucket with potting soil, leaving about 2 inches of space at the top. |
| 5 | Add fertilizer or compost to the soil to provide nutrients for the tomato plant. |
| 6 | Plant the tomato seedling in the center of the bucket, burying it up to the first set of leaves. |
| 7 | Water the tomato plant regularly, making sure the soil stays moist but not waterlogged. |
| 8 | Place the bucket in a sunny location, ideally receiving at least 6 hours of direct sunlight per day. |
Before planting your tomato seedlings in the bucket, it’s important to properly prepare the container. Start by cleaning and sanitizing the bucket to remove any dirt or debris that could harbor pests or diseases. Use a mild detergent or bleach solution to clean the bucket, then rinse thoroughly with water.
Next, drill drainage holes in the bottom of the bucket to ensure proper drainage. This is crucial for preventing waterlogged roots and root rot. Use a drill with a 1/4-inch drill bit and make several holes evenly spaced across the bottom of the bucket.
To further improve drainage, add a layer of gravel or rocks to the bottom of the bucket before adding soil. This will create a space for excess water to collect and prevent it from sitting directly on the roots.
Selecting the Best Soil Mix for Your Tomato Bucket Garden
Choosing the right soil mix is essential for the success of your tomato plants. A good soil mix should be well-draining, yet retain enough moisture for the plants to thrive. It should also be rich in nutrients to support healthy growth and fruit production.
A recommended soil mix for tomato bucket gardening is a combination of potting soil, compost, and perlite or vermiculite. The potting soil provides a good base for the plants, while the compost adds organic matter and nutrients. The perlite or vermiculite helps improve drainage and aeration.
A general ratio to follow is 1 part potting soil, 1 part compost, and 1 part perlite or vermiculite. Mix these ingredients together thoroughly before filling the bucket.
It’s also important to test the pH level of your soil mix. Tomatoes prefer a slightly acidic soil with a pH range of 6.0 to 6.8. You can use a pH testing kit or meter to determine the pH level of your soil mix. If it’s too acidic, you can add lime to raise the pH, or if it’s too alkaline, you can add sulfur to lower the pH.
Planting Your Tomato Seedlings in the Bucket
When your tomato seedlings are ready to be transplanted, it’s important to handle them with care to avoid damaging the roots. Gently remove the seedlings from their containers and loosen the roots if they are tightly bound.
Proper spacing and depth are crucial when planting tomatoes in buckets. Space the seedlings at least 12 inches apart to allow for adequate air circulation and prevent overcrowding. Dig a hole in the soil mix that is deep enough to cover the roots and part of the stem, leaving only a few leaves above the surface.
For indeterminate varieties, it’s important to provide support structures such as stakes or cages to help them grow vertically. Place the support structure in the bucket before planting the seedling, making sure it is securely anchored in the soil mix.
Watering and Fertilizing Your Tomato Plants
Proper watering and fertilizing are key to the success of your tomato plants. Tomatoes require consistent moisture, but overwatering can lead to root rot and other problems. Water your plants deeply and thoroughly, allowing the soil to dry out slightly between waterings. Aim to keep the soil evenly moist, but not waterlogged.
When it comes to fertilizing, tomatoes are heavy feeders and require regular applications of nutrients. Use a balanced fertilizer with equal amounts of nitrogen, phosphorus, and potassium. Apply the fertilizer according to the package instructions, usually every 2-3 weeks during the growing season.
To avoid overfertilizing and nutrient burn, it’s important to follow the recommended dosage and not exceed it. Always water your plants before applying fertilizer to prevent burning the roots.
Pruning and Training Your Tomato Plants for Optimal Growth
Pruning is an important practice for tomato plants as it helps improve air circulation, reduce disease risk, and promote higher yields. It also helps manage the size and shape of the plant, especially for indeterminate varieties.
Start by removing any suckers that develop in the leaf axils of the plant. Suckers are small shoots that grow between the main stem and a leaf branch. Pinch them off when they are small to prevent them from growing into large branches that compete for nutrients.
For indeterminate varieties, it’s important to train them to grow vertically by tying them to a support structure as they grow. This helps maximize space and sunlight exposure, as well as reduce the risk of disease by keeping the foliage off the ground.
Common Problems and Solutions for Growing Tomatoes in Buckets
Growing tomatoes in buckets is not without its challenges. Pests such as aphids, whiteflies, and tomato hornworms can be a problem. Regularly inspect your plants for signs of pests and take appropriate measures to control them, such as using organic insecticides or handpicking.
Diseases such as blight, powdery mildew, and blossom end rot can also affect tomato plants. To prevent these diseases, ensure proper air circulation, avoid overhead watering, and provide adequate spacing between plants. If diseases do occur, treat them with appropriate fungicides or remove affected plant parts.
Nutrient deficiencies and excesses can also occur in container-grown tomatoes. Monitor your plants for signs of nutrient deficiencies, such as yellowing leaves or stunted growth, and adjust your fertilization accordingly. Regularly test the pH level of your soil mix to ensure it is within the optimal range for tomato growth.
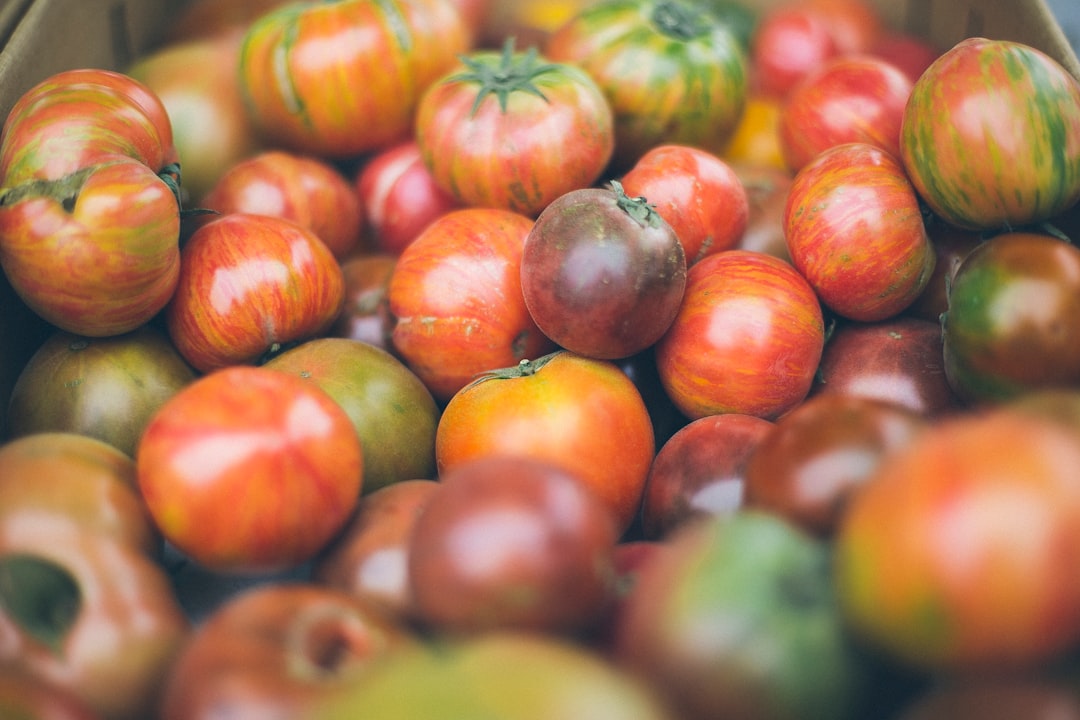
Harvesting and Enjoying Your Homegrown Tomatoes from the Bucket Garden
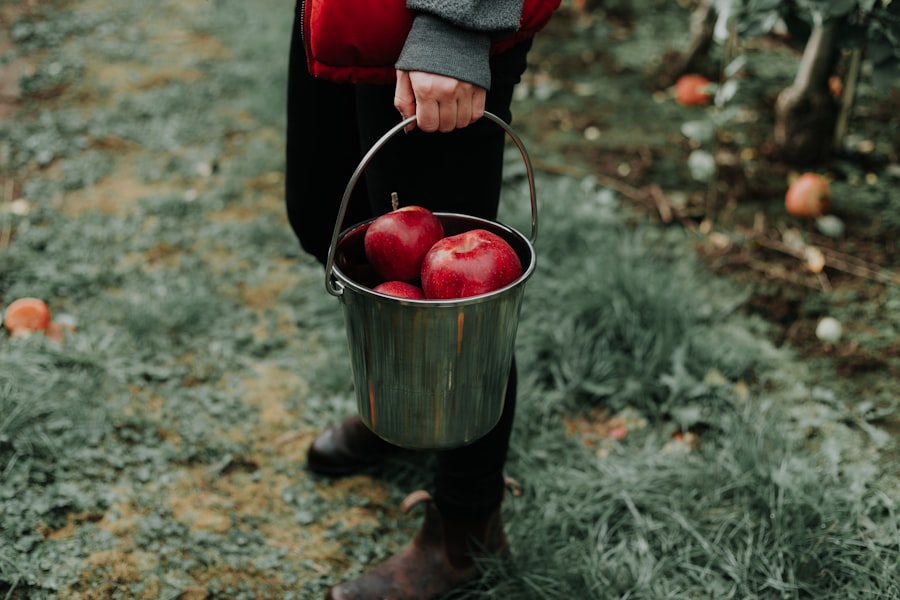
The moment you’ve been waiting for has arrived – it’s time to harvest your homegrown tomatoes! Look for signs of ripeness, such as a deep red color and a slight give when gently squeezed. Harvest the tomatoes by gently twisting or cutting the stem just above the fruit.
Once harvested, store your tomatoes in a cool, dry place away from direct sunlight. Avoid refrigerating them as this can affect their flavor and texture. If you have an abundance of tomatoes, consider preserving them by canning, freezing, or making sauces and salsas.
When it comes to enjoying your homegrown tomatoes, the possibilities are endless. Slice them for sandwiches and salads, roast them for pasta dishes, or make fresh salsa or bruschetta. The taste of a homegrown tomato is truly unmatched and will make all your hard work worth it.
In conclusion, growing tomatoes in 5-gallon buckets offers numerous benefits for gardeners of all levels. From portability and flexibility to control over soil quality and drainage, buckets provide an ideal environment for tomato plants to thrive. By choosing the right type of tomato, preparing the bucket properly, selecting the best soil mix, and following proper planting, watering, and pruning techniques, you can enjoy a bountiful harvest of homegrown tomatoes. So why wait? Start your own tomato bucket garden today and experience the joy of growing your own food.
If you’re looking for a practical and space-saving way to grow tomatoes, you might want to consider using 5-gallon buckets. This method is gaining popularity among urban gardeners and those with limited gardening space. To learn more about how to successfully grow tomatoes in 5-gallon buckets, check out this informative article from Lawn World: https://www.lawnworld.com/grow-tomatoes-in-5-gallon-buckets. It provides step-by-step instructions, helpful tips, and valuable insights to help you achieve a bountiful tomato harvest.
FAQs
What is the best type of bucket to use for growing tomatoes?
A 5-gallon plastic bucket with drainage holes is the best type of bucket to use for growing tomatoes.
What type of soil should be used for growing tomatoes in a 5-gallon bucket?
A high-quality potting mix that is rich in organic matter and has good drainage is recommended for growing tomatoes in a 5-gallon bucket.
How many tomato plants can be grown in a 5-gallon bucket?
One tomato plant can be grown in a 5-gallon bucket.
What is the best location to place the 5-gallon bucket for growing tomatoes?
The 5-gallon bucket should be placed in a location that receives at least 6 hours of direct sunlight per day.
How often should tomato plants in a 5-gallon bucket be watered?
Tomato plants in a 5-gallon bucket should be watered when the top inch of soil feels dry to the touch. This may be once or twice a day, depending on the weather conditions.
What type of fertilizer should be used for growing tomatoes in a 5-gallon bucket?
A balanced fertilizer that is high in phosphorus and potassium is recommended for growing tomatoes in a 5-gallon bucket.
How long does it take for tomato plants in a 5-gallon bucket to produce fruit?
Tomato plants in a 5-gallon bucket typically take 60-80 days to produce fruit, depending on the variety and growing conditions.


