
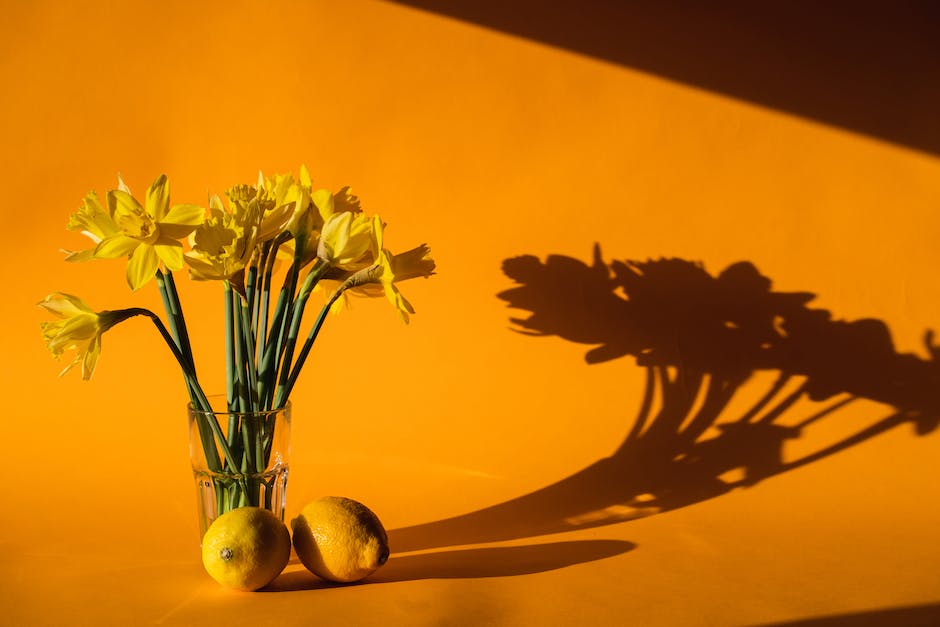
Afterblooming Care for Daffodils: A Guide
Daffodils, with their dazzling display of blooms, are a welcome sight in any garden, a sure sign that spring has arrived. However, the care and maintenance that follows once these cheerful yellow flowers have faded requires an understanding of their natural lifecycle. This guide will cover essential areas such as deadheading daffodils, an important practice that removes spent blooms and redirects energy towards bulb health. You will also learn about the key role of feeding and mulching daffodils after blooming, which impacts the overall health of your plants. Finally, we delve into the various intricacies of daffodil planting strategies, including proper spacing and depth tailored to ensure a successful dormancy period and regrowth in seasons to come.
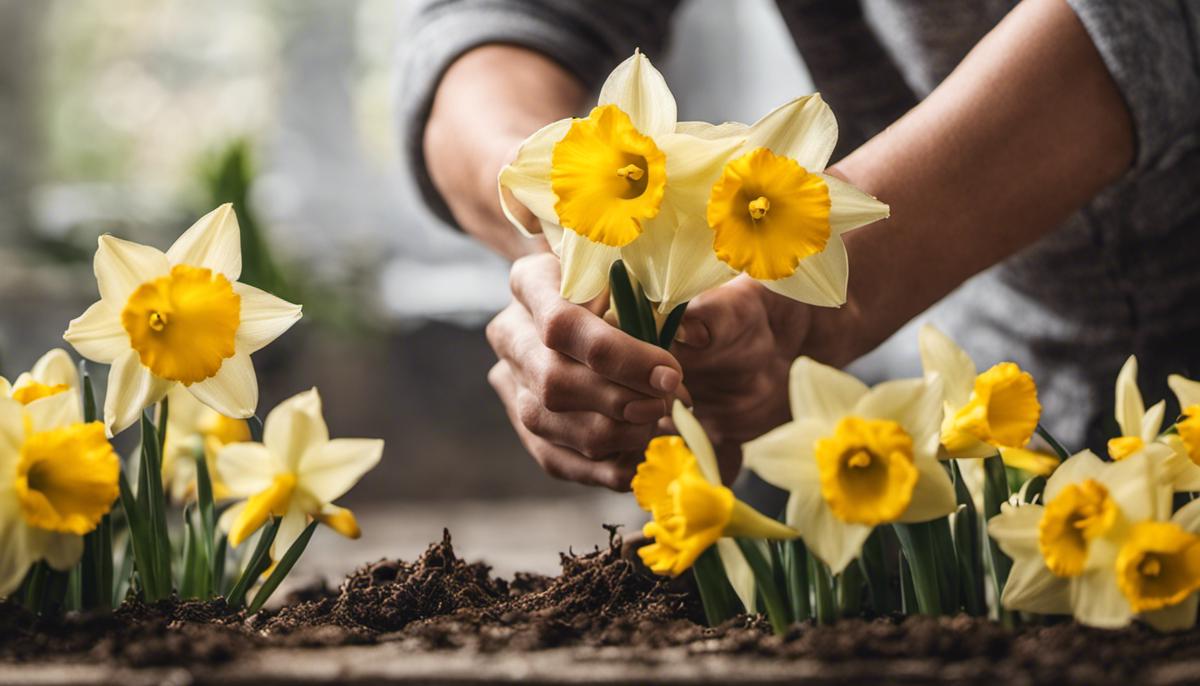
Deadheading Daffodils
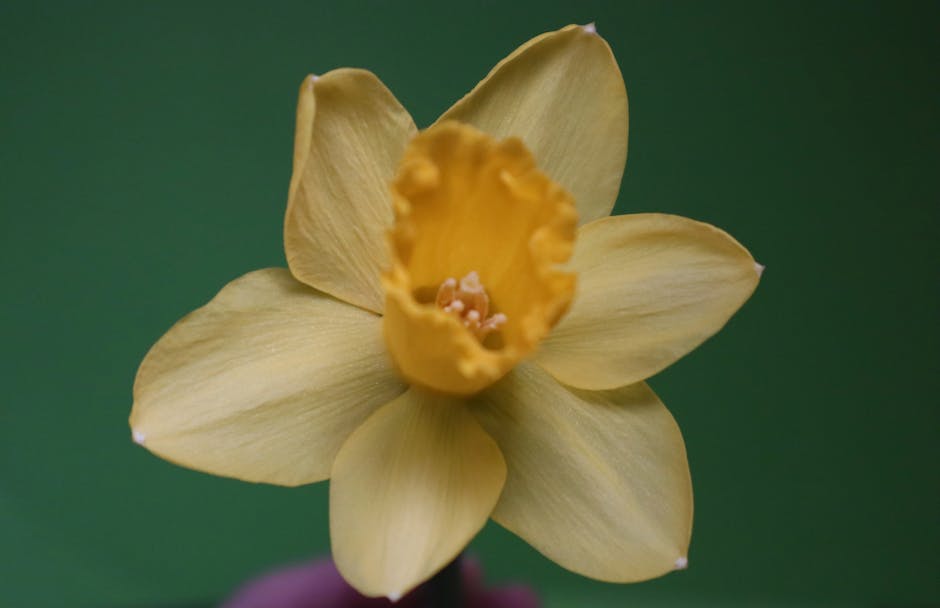
Hello, fellow flower enthusiasts! Let’s dive into the fascinating world of daffodils, one of the most charming ambassadors of spring. They come with an array of colors and are a testament to the prospect of warm weather and new beginnings. However, to keep these blooming beauties full of life and energy, some tender loving care is necessary. One of the best practices to keep them vigorous? Deadheading. Yes, the process of removing spent daffodil flowers, can be a game-changer. Here’s why and, more importantly, how, it should be done.
First, understanding the biology and life cycle of daffodils is the starting point. After the spring bloom, daffodils undergo a phase known as “senescence”. This is a critical phase where the plant focuses on replenishing the bulb’s nutrients for the following year’s flowers. The secret to getting more stunning blooms next spring? Redirecting the plant’s energy. That’s precisely where deadheading comes into play.
Deadheading is essentially the removal of faded, or dead, flowers from plants. This may seem trivial but it has significant advantages for your daffodils. Without deadheading, the plant wastes precious energy sustaining seed pods, formed after flowering. By removing these, the energy is redirected to the bulb, fueling nutrient storage for the following season’s blooms. This is how one gets not just flowering daffodils but flourishing ones.
So, how does one deadhead a daffodil? It’s simpler than one might think. Firstly, it’s important to wait until the daffodil bloom begins to wilt or fade. Once this happens, use clean, sharp shears to snip off the flower head. It’s key to make the cut close to the top of the stem, just under the seed pod. This leaves the stem, leaves, and bulb intact, which continue photosynthesis and nutrient absorption.
However, make sure not to remove the leaves until they die back and turn yellow. The foliage needs to remain as long as possible to produce and store up energy in the bulb. Removing the leaves prematurely can significantly hinder your daffodils’ growth in the next blooming period.
It’s also worth mentioning that deadheading is not just a handy trick for energy optimization but also for aesthetically pleasant beds. The removal of dead or dying flowers brings neat and clean-looking flower beds while promoting plant health.
Overall, the practice of deadheading requires some care and attention, but the reward is worth it. As an enthusiastic daffodil grower, this simple trick can make the difference between having bulbs just survive, to having them thrive. So, the next time you see a fading daffodil bloom, remember to give it a swift and helpful snip. Happy deadheading!
Feeding and Mulching Daffodils
Feeding and Mulching: Advancing Your Daffodils’ Development and Prosperity
Kickstarting the remarkable journey of developing daffodils, the energy stored within the bulb is utilized. However, it is essential to supplement this inherent energy with external nourishment through feeding. Therein lays the vital importance of feeding your daffodil bulbs.
Daffodil bulbs thrive best when fed with a balanced fertilizer during the fall. The critical macronutrients required for healthy growth are Nitrogen (N), Phosphorous (P) and Potassium (K). Nitrogen fuels lush leaf growth, Phosphorous is the catalyst for the development of roots and flowers, and Potassium strengthens overall plant health. A fertilizer combination boasting a high middle number, like a 5-10-10 mix, usually works best as it provides an adequate supply of Phosphorous. It’s easier for these plants to assimilate the nutrients needed during cooler weather, which makes fall a near-perfect time for feeding.
Additionally, applying a top layer of compost at the soil surface provides superior results. Composting organic matter with fallen leaves or well-rotted manure for at least a year will enrich the soil and provide it with micro-nutrients needed by daffodils.
Now, let’s shift our attention towards mulching, an often under-valued but critical aspect of daffodil care. Irrespective of the season, mulch serves various purposes and can be a daffodil bulb’s best friend.
During the cold winter months, a layer of mulch can provide a cozy blanket for the bulbs. This protective covering helps maintain more consistent and less frigid soil temperatures, thereby preventing soil freeze that could potentially damage the bulbs.
In contrast, during warmer months, the same mulch layer helps to conserve moisture. It prevents the topsoil from drying and retains moisture for longer periods. It also impedes weed growth, preventing unwanted competition for nutrients and water and maintaining a pristine and healthy environment for the bulbs to flourish.
Wood chips or straw can serve as excellent mulch for daffodils. Just ensure the layer of mulch is about 2 to 3 inches thick and evenly spread. It’s better to apply mulch after the first frost of the season when the ground is cold.
In conclusion, feeding and mulching daffodil bulbs is an investment that yields blooms of gratification. With proper care, daffodils will not only thrive but will continue to brighten up the world with their charming blossoms spring after spring. Here’s to a prosperous and vibrant burst of colors in your backyard!
Daffodil Planting Strategies
There is nothing more rewarding than the sight of vibrant daffodils flourishing in one’s garden. Continually caring for daffodil bulbs is crucial in achieving this gratifying sight. A significant aspect of this care involves providing supplemental nutrition to these bulbs.
Like any living organism, daffodils need to eat, and the feast begins right at their roots. The bulbs must be endowed with the essential macronutrients necessary for their growth and health; namely, nitrogen, phosphorus, and potassium. Nitrogen encourages lush leaf growth, phosphorus nurtures bulb development, and potassium boosts overall plant health. Incorporate a bulb-specific fertilizer rich in these nutrients in the planting hole at the time of planting. Alternatively, apply a slow-release granular fertilizer to the soil surface in the fall and early spring.
Speaking of timing, it is vital to facilitate these nutrients at the optimal point in the daffodil’s growth cycle. Feeding the bulbs should ideally occur when the first signs of green shoots appear in late winter or early spring. At this time, the daffodils are waking from their dormancy and are most receptive to nutrients.
Remember, your backyard soil isn’t just dirt! It’s the foundation of all your gardening efforts. Applying compost to the soil surface isn’t merely recycling organic waste. It is enhancing the soil’s texture, adding vital nutrients, and enhancing its moisture-retention capacity. Regular compost application also encourages beneficial microorganisms in the soil, boosting the overall soil health.
Now, let’s talk about mulch. As seemingly unglamorous as it is, mulch is a superhero for any daffodil garden! When applied correctly, it serves as an effective protective covering in winter and helps conserve moisture in the soil during warmer months, making it a significant advantage for the overall daffodil care plan.
Bark, straw, or leaf mold all make excellent mulches for daffodils. The choice of mulch depends on one’s personal preference and availability. Whichever type used, ensure it is applied to a depth of around two to four inches around the base of the plants, without touching the stems. This proper application will provide an insulating blanket for the daffodils, defending them against harsh weather elements.
Remember that planting strategies are an investment in the future health and beauty of your daffodils. Implementing these strategies not only brightens up your garden but also fills your heart with a sense of accomplishment, knowing you played a crucial part in bringing such beauty to life. There’s nothing quite like the magic of a garden in bloom. Give your daffodils the care they deserve, and they will reward you with an enchanting show when spring comes blooming in!
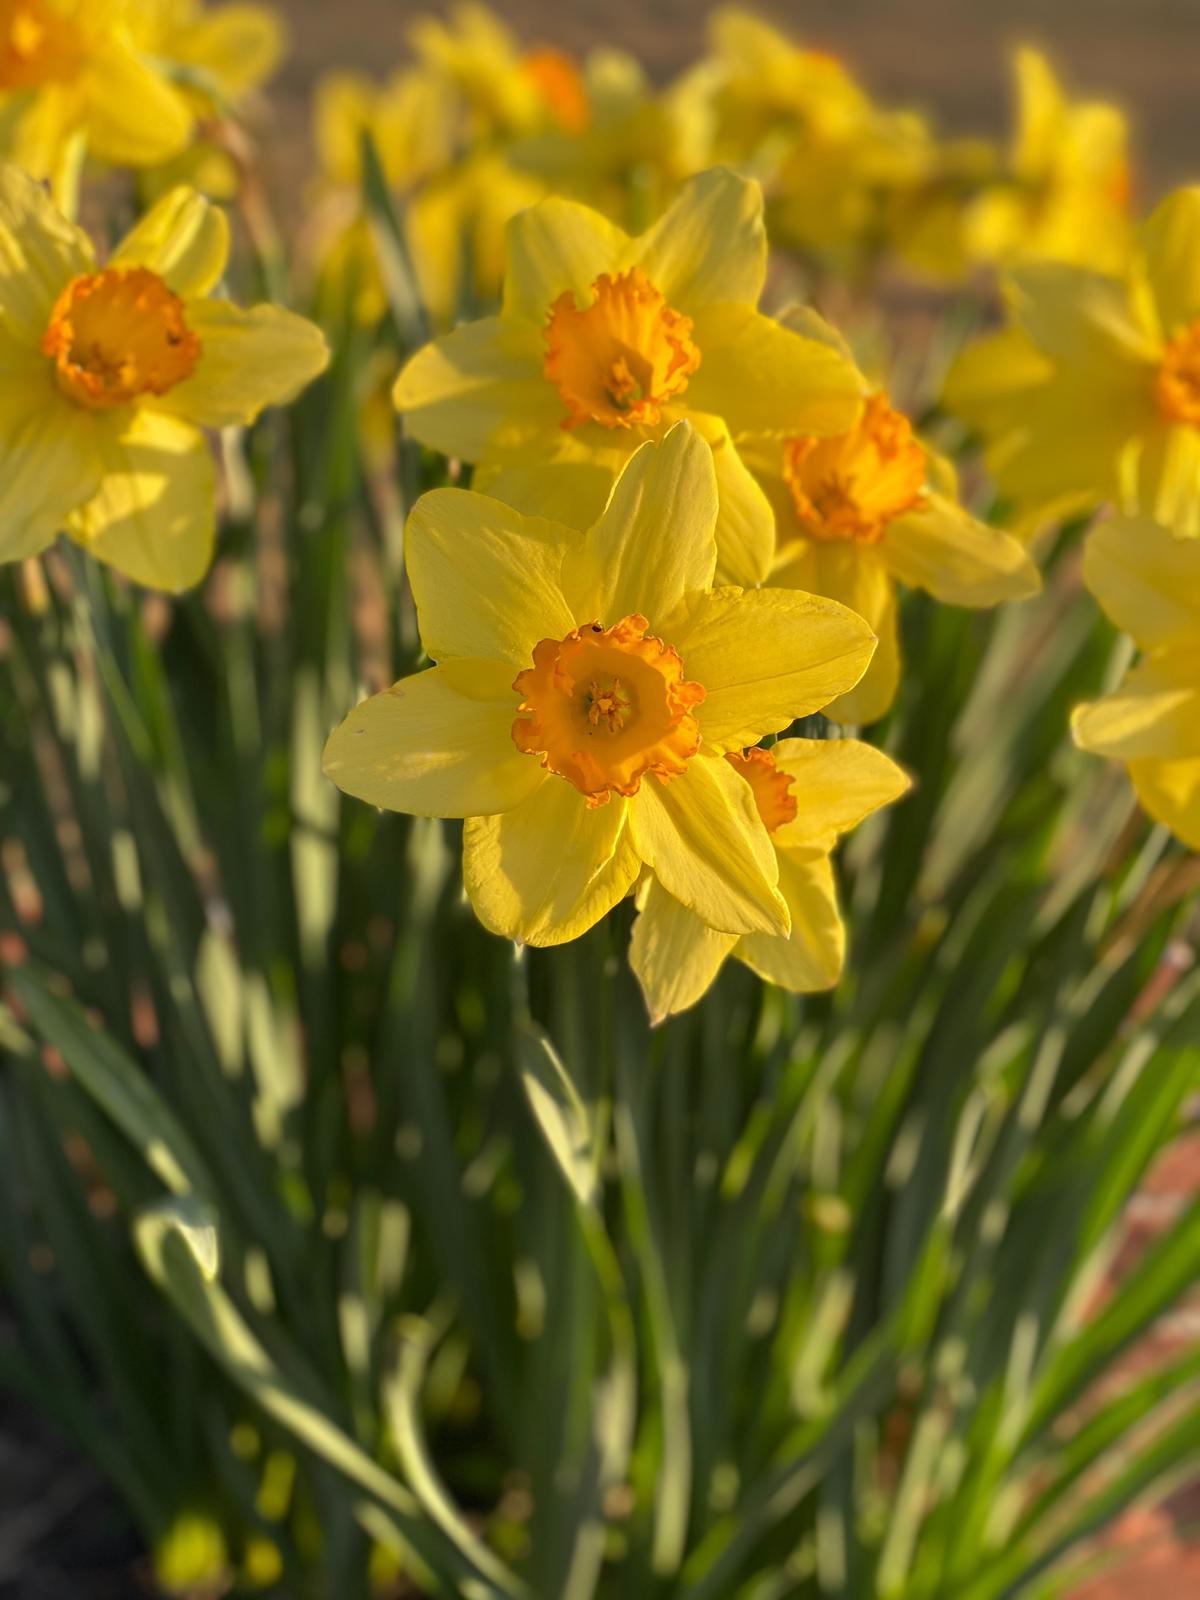
Photo by hsamuelson2013 on Unsplash
With knowledge and a little practice, you can maximize your daffodil’s performance and ensure a glorious display year after year. From learning about the technique of deadheading to understanding how feeding and mulching contribute to your daffodils’ well-being and eventual bloom, you will be equipped with strategies for a vibrant garden. With insights into planting strategies such as proper depth and appropriate spacing, you will also prepare your garden for successful dormancy and future regrowth. Enjoy the process and reap the rewards of a beautiful display of daffodils each spring, as these practices truly enhance the splendor they bring to your garden.


