
Germinating And Growing Your First Plum Tree

Plum trees are among the most beloved fruit trees with their profusion of fragrant blossoms and succulent fruit. While you can purchase a young tree from a nursery, there’s a rewarding challenge in growing your own tree from a seed. It takes patience and a fair bit of nurturing, but with knowledge and determination, it’s an achievable goal. You’ll learn how to prepare the plum tree seeds properly for successful germination, understand the conditions which are optimal for this critical stage, and finally, find out how to take care of a sprouting seedling. Your journey towards growing a plum tree begins here, with the stratification process designed to soften the hard shell of the seed and improve the germination rate.
Seed Preparation
Unleashing New Life: A Practical Guide to Preparing a Plum Tree Seed for Germination
Entrusted with the potential to bloom into a luscious plum tree, plum seeds are packets of life waiting to be triggered. While the process of preparing a plum tree seed for germination may seem arduous or complex, it’s a beautiful journey that a passionate hobbyist wouldn’t want to miss. No prior knowledge or experience needed, every tiny step in the process resonates with the magic of creating new life from a seed.
To start with, select fresh and ripe plums. The quality of the seed inside directly corresponds to the health of the fruit it’s nested in. Plum seeds thrive best when harvested from ripe fruits.
Once the perfect plum is picked out, it’s time to extract the seed. Rinely cutting around the plum, being careful not to damage the seed inside, is the way to go. After removing the seed from the remnant flesh, rinse it thoroughly under running water, ensuring it’s well cleaned.
Next, allow the seed to dry. Let Mother Nature do her magic, leaving the seed in a sunlit area with plenty of ventilation. However, keep in mind that patience is key; the seed should be allowed to air dry for one to two weeks.
Once dry, it’s time to trick Mother Nature, and there’s no better way than ‘stratification.’ This process emulates the cold winter, which plum seeds require before natural germination can take place in spring. It involves chilling the seeds in the refrigerator for about 6-10 weeks. A simple way to do this is to wrap the dried seeds in a damp paper towel, then placing them in a zip-top bag before refrigeration.
The ‘stratified’ seed, after the chilling period, is ready for its grand debut into the soil. Planting the seeds should be done in spring or early summer when soil temperatures are ideal for germination. The seeds should be placed 2-3 inches into the soil, ensuring that it’s well watered.
Germination can take between 1 to 6 months, so remember – patience is a virtue that a tree-cultivator should never lose. Water regularly, make sure the plant gets plenty of sunlight, and wait for the magic of nature to work its charm. In not much time, the first leaves will poke their head out, and the steps toward growing the plum tree will have been effectively initiated.
Giving life to a tree from a seed is no ordinary accomplishment. It’s a heartwarming journey, filled with anticipation, occasional challenges, and bountiful rewards. So, here’s to the love of horticulture and the enchantment of seeing life grow from the hands that nurture it. Let’s propagate the love for plum trees!
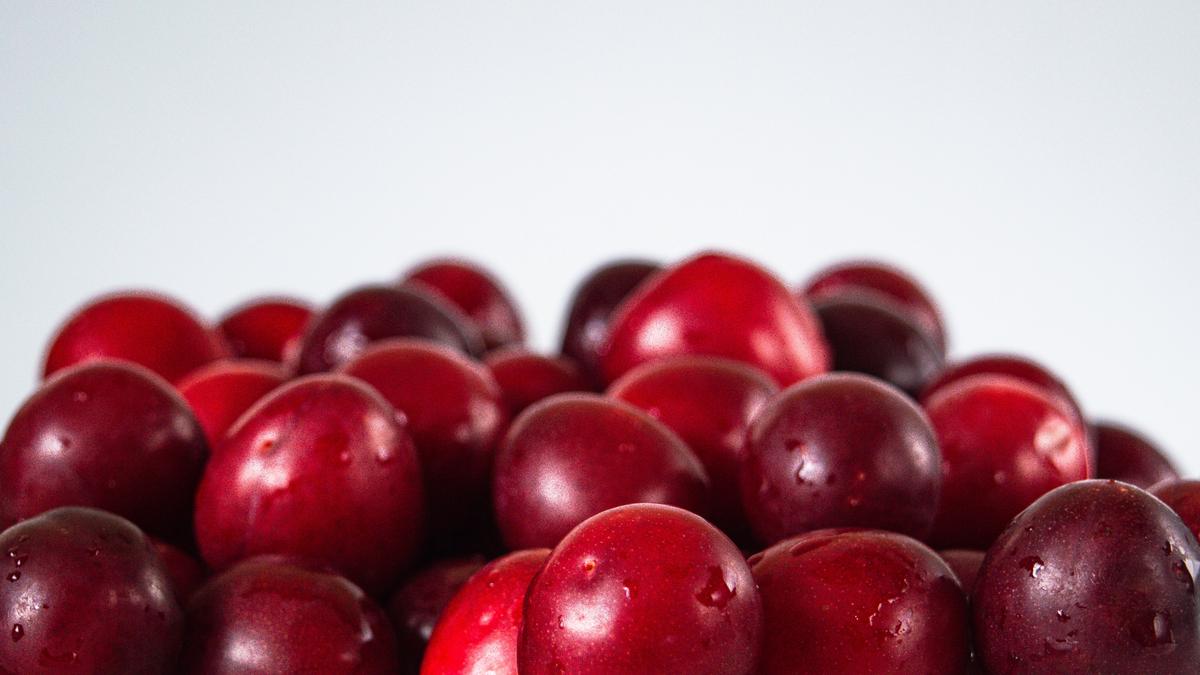
Photo by imsogabriel on Unsplash
Germination Process
As you’ve now harvested your ripe plum, extracted the seed, and dutifully journeyed through the crucial steps of washing, drying and stratification, it’s time to dive head-on into the thrilling next phase: germination. Deeply fascinating, the germination process is where your dormant plum seed will awaken and begin its transformative journey into a sturdy, blooming plum tree.
Once your seed has completed its stratification period (chilling in the refrigerator for about 10 to 12 weeks), it’s primed and ready for germination. It’s essential to ensure your soil is well-prepared and that air and water can circulate freely within it. A mix of regular potting soil, peat moss (or well-rotted compost), and a little sand is a great way to achieve this. Your soil should ideally be nutrient-rich and well-draining to foster the best growth environment for your plum seed.
Now, create a small hole in the soil, roughly an inch or two deep, and gently place the seed inside. Carefully cover the seed with soil, ensuring it’s firm yet not overly compacted. This gives your seed room to breathe while providing necessary support.
After planting, don’t forget the crucial role of moisture in the germination process! Water your seed lightly but consistently, maintaining the soil’s moisture while avoiding waterlogged conditions that could lead to rot. Additionally, keep the pot in a warm area with indirect sunlight.
What comes next? Wait, watch, and cherish. This part could take anywhere from a few weeks up to a few months, as germination times vary greatly for each seed. If you see a green shoot breaking through the surface, well done! It’s now officially a plum tree sapling in the making.
The importance of continued care during this stage cannot be understated. Monitor your sapling closely, always checking for signs of disease or pest attack. Maintain a regular watering and sunlight schedule, but remember that the young tree’s needs may change as it grows. Watch out for these needs and adapt your care routine accordingly.
In cultivating your love for plum trees, remember that this journey goes beyond just the scientific or botanical aspect of it. Growing a plum tree from a seed is a process of passion, persistence, and patience – it’s an intimate dance between you and nature, a testament of your willingness to nurture, to wait, and to celebrate life in its most raw, organic form.
There’s a serene kind of joy in knowing you’ve helped bring life into this world in the form of a plum tree, and that’s what makes this hobby remarkably enriching and fulfilling. As you go on this exhilarating journey, enjoy every moment, every challenge, every leaf, and every plum. Because ultimately, the fruit of your labor is not just the scrumptious plum itself, but the profound pleasure and pride you’ll get from observing the magical transformation of a small seed into a thriving plum tree. Here’s to you and your beautiful, rewarding journey as a guardian of nature!
Seedling Care
Caring for your plum seedling is an exciting stage in the journey towards a fully grown tree. The nurturing process doesn’t end once the seeds have germinated and sprouted – the sapling requires your undivided attention to develop healthily. This article aims to guide you through the intricacies of assisting your plum tree sapling in growing robustly.
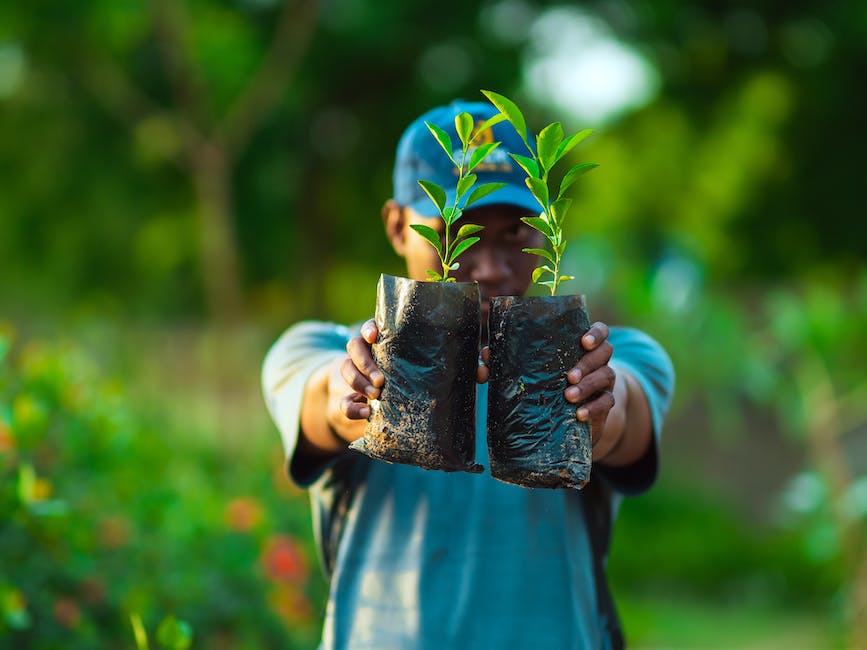
Given you’ve successfully completed the germination process, your seedling is ready for the next stage. You’ll want to plant it in freshly tilled soil to offer it the best possible growing environment. The soil should be fertile and loamy, rich in organic matter. It must have excellent drainage to prevent waterlogged roots. An addition of well-rotted compost or aged manure can improve the soil texture and nutrition immensely.
It’s important to remember that planting techniques play a huge role in the seedling’s growth. Dig a hole deep and wide enough to accommodate the growth of roots. Comfortably place the sapling in the excavation, ensuring the taproot points straight down. Fill the hole, firming soil gently to eliminate any air gaps. Refrain from planting the seedling too deeply or too shallowly – both can hamper growth.
Watering is paramount to the healthy growth of your plum tree. Seedlings crave moisture but remember, moderation is key. Overwatering can cause root rot while underwatering leads to stunted growth. Water thoroughly until soils are adequately soaked, then let it dry out slightly before the next watering session. Be mindful of the weather. Daily watering may be required during hot summer months.
In approximately two weeks, you should notice germination. A small shoot will appear and gradually strengthen into a healthy seedling. Patience and close observation are critical during this phase. Monitor the growth and ensure the sapling is tolerating the surrounding conditions well.
Saplings, much like newborns, are prone to disease and pests. Regularly inspect for signs of fungal diseases, insect infestation, or unusual markings. Any significant change could be a signal to dive in and offer some targeted treatment. Natural pesticides and fungicides can help prevent common ailments without harming your future plum tree.
Pay attention to your care routine as the tree grows, adapting to the changing needs of your juvenile tree. As your sapling reaches a height of 2-3 feet and roots comfortably anchors it, you’ll need to cut back on watering. Instead, water deeply but less frequently, encouraging the development of deep roots.
Through careful attention and love for the process, you’ll inevitably develop a fondness for plum tree cultivation. It’s a joy to witness the transformation from seed to tree, a fruitful journey that you can replicated with other types of trees.
As your young tree continues to mature, remember that your role as its guardian doesn’t end. Take pride in the tree you’ve nurtured and continue educating yourself on how to care for it as it evolves into a mature, fruit-bearing entity. After all, tree cultivation is an intricate dance between man and nature, and you’re just about to fully immerse yourself in the rhythm!
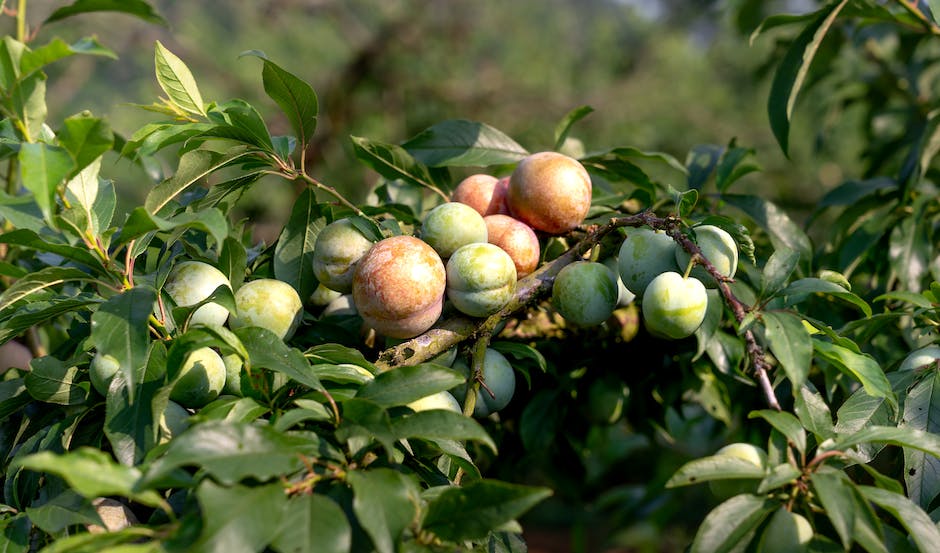
As your plum tree continues to grow, you’ll be able to observe the fruits of your labor quite literally, as it starts to produce delectable plums. The process, starting from initial seed preparation, understanding the germination process, to seedling care, has been an immersive learning experience. It’s a journey filled with practical lessons on patience, dedication, and the science of plant growth. Ultimately, once the tree has been transplanted into the ground and starts to thrive, you will no doubt feel a deep sense of satisfaction knowing you were instrumental in its cultivation every step of the way. And that truly is the ultimate reward of growing a plum tree from a seed.


