
Grow Plum Trees From Seed: A Simple Guide
Welcome to the fascinating world of growing your own plum trees from the seeds! It’s one of those endeavors that can be both challenging and rewarding, especially when you get to taste the sweet fruits of your hard work. This journey begins with choosing and preparing the plum seeds; understanding how to select the ripest seeds, cleaning them thoroughly, and preparing them for germination through a process known as stratification. Once prepared, these seeds need the right conditions to germinate – ideal temperature, moisture, and soil type. But the journey doesn’t stop there. After germination, the saplings then need to be transplanted and provided with long-term care which includes watering, pruning, and fertilizing.
Choosing and Preparing Plum Seeds
Discover the Joy of Gardening: Handpicking and Prepping Plum Seeds for Germination!
Launched yourself on a gardening journey and fallen in love with plum trees? Well, you’re not alone! Raising plum trees is both a rewarding and an enjoyable hobby. It takes some know-how and lots of patience to get from a simple seed to juicy, delicious plums. But don’t worry – this thorough guide unravels the mystery behind picking perfect plum seeds and preparing them for germination!
Selecting Your Plum Seeds
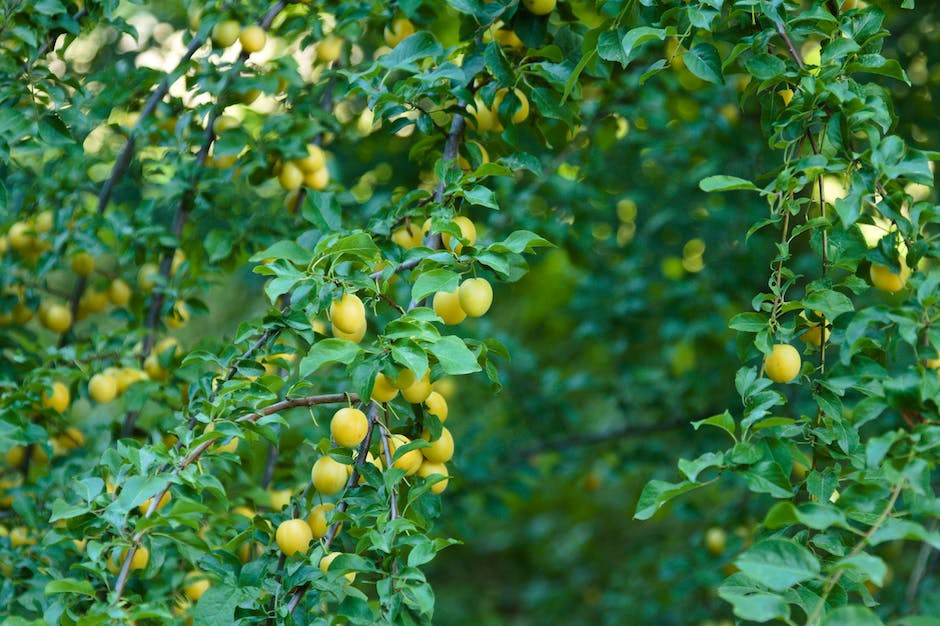
Wondering where to start? It begins with selecting the right plum seeds. Be mindful that each variety of plums come with its unique set of flavors, resistances, and blooming seasons. So, make sure to pick an assortment that thrives in your climate and suits your taste.
- Local Nurseries: Check with your nearest live nursery for some viable seeds. Nationwide stores, local farmers’ markets, or specialized online sellers are fantastic sources. Seek local varieties that have proven success in your specific area. Alternatively, domesticated wild plums, known as Prunus Domestica, are known to be sturdy and can grow effortlessly in most climates.
- Neighborly Sharing: Start socializing with fellow gardening enthusiasts in your neighborhood. They might have heirloom seeds to share.
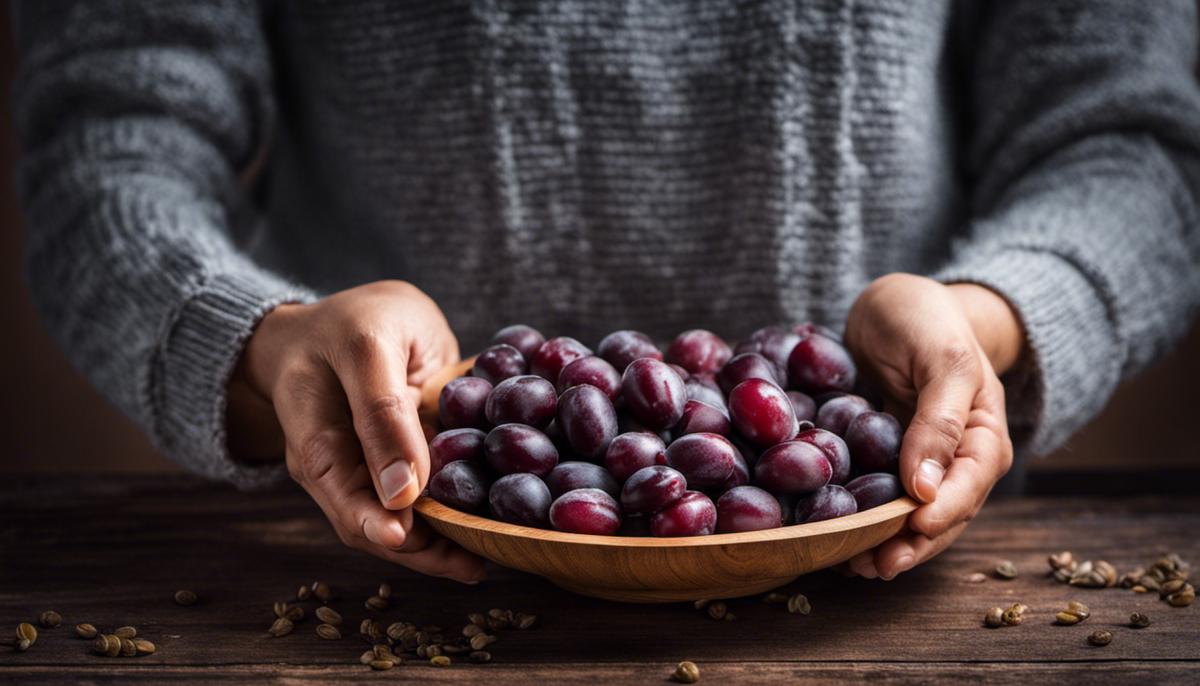
- Self-Sourcing: Enjoy a plum and preserve the pit! If you’re lucky enough to have access to fully ripe and high-quality plums, you can extract the seeds from them. Remember, farmers market plums or your neighbor’s garden-grown species are usually a better choice than grocery store ones as they’re not commercially manipulated for shelf longevity.
Preparing Seeds for Germination
Got your seeds? Perfect! Now, it’s time to carefully carry out the seed preparation process. Here’s how:
- Cleanse the Seeds: Rinse them under running water to get rid of any residue. After cleaning, pat them dry and let them air for a while. This process makes the transition to the next phase smoother.
- Stratify the Seeds: This exciting term refers to the practice of creating winter-like conditions to coax seeds into dormancy. Wrap the seeds in a damp paper towel, put them in a sealed plastic bag, or a glass jar with a few holes drilled on its top for airflow. Now, place it all in the refrigerator. Note: Not the freezer! This mimics winter and helps break the seed’s dormancy.
- Warm Germination: This step kick-starts the germination process. It requires patience, as it may take a few weeks. Set the stratified seeds in a glass jar filled with room temperature sterilized water. Change the water every day. Gradually, the seed will start to crack, indicating that germination has begun.
- Pot Planting: Once the seed has germinated, it’s time to move it to a pot. Use a pot with proper drainage. Plant your seed at a depth of around 2-3 inches into a mixture of coarse sand and topsoil. Water the pot thoroughly and place it in a sunny spot. With regular watering and lots of care, your tiny plum seed sprout will grow into a full-fledged tree!
Gardening is a journey, so buckle up and embark with enthusiasm. Remember, every plum tree started as a humble seed. Cultivating your plum tree from that tiny seed comes with its challenges and rewards. But the sight of the first white, fragrant blossom, followed by juicy, delicious plums, will make you immensely proud of your efforts. Grasp these basic steps, and never forget – the best time to plant a seed was twenty years ago, the second-best time is now. Happy Gardening!
Germinating Plum Seeds
Plunging further into the art of germinating plum seeds, one would discover that creating an ideal setup for your germinating seeds can significantly boost their growth rate. It’s the kind of gardening magic that harnesses nature’s wisdom and can be accomplished right at home!
Once the stratification process has completed and the seeds have been incubated in warm water (gentle as a May afternoon), it’s time to consider the environmental variables that play crucial roles during the initial growth.
Light, a waltzing partner to photosynthesis, becomes the lifeblood of any thriving plant. Contrary to what one might initially think, plum seeds don’t require a cavalcade of sunlight during the germination process. Instead, opt for a location with indirect, gentle light — a north-facing window, for instance, ensures an adequate amount of scattered light exposure. Too much direct sunlight can scorch the tender shoots, leaving them shriveled and defeated.
Temperature is another pivotal player that affects how quickly a seed will germinate. While plum seeds are quite hardy, they appreciate a kindly balance. Maintaining an optimal temperature range between 70-85°F (21-29°C) allows for healthy germination. Do consider that large fluctuations in temperature – the kind that would evoke shivers or beads of sweat – can thwart an otherwise successful germination journey!
Ah, the art of humidity – yet another ingredient in the secret sauce of prime seed germination! While your plum seeds are making the grand effort to germinate, a humid environment offers them a nurturing embrace. Eliminate dryness by covering the pot with a clear plastic bag, creating a miniature greenhouse that facilitates optimal humidity.
Substrate – the medium in which your seeds lay nestled. Opt for a well-draining medium that allows optimum oxygen flow to the roots. Consider soil with a healthy balance of sand, loam, and a handful of organic matter. Soaked in water until it’s just moist, and not sodden, it forms the perfect cradle for our germinating heroes.
Collectively, this harmony of light, temperature, humidity, and selection of the right substrate offer your plum seeds the optimal conditions to break through their hard coat and stretch out into the world.
Remember, patience is the final ingredient to this recipe. Germination for plum seeds typically takes between 1-3 months, but it can vary. Meanwhile, cultivate a deeper connection with your growing plant. Understand its needs, observe its progress, and respond to any changes you notice. Before you know it, roots will snake out, followed by the shy unwinding of green shoots – a sure signal that you’re on track with your plum tree journey.
In the world of plum seed germination, these seemingly small aspects play a massive role. They’re your toolkit; your guiding star showing you the path to nurturing a healthy, fruit-bearing plum tree. It’s an act of creation that brings joy second to none. So, roll up those sleeves, get your hands in the soil, and let’s germinate!

Transplanting and Caring for Your Plum Tree
Transitioning from Seedling to Transplant: Strengthening Your Plum Tree
Embosoming the enthusiastic gardener that resides in all of us, this article delves deep into the art and science of properly transplanting and caring for plum trees. Having progressed from seeds to seedlings, these saplings are ready to take the next step in their journey, one that involves the careful hands and nurturing touch of a devoted hobbyist.
The Magic of Transplantation
Transplanting is an essential stage in the life of a plum tree. It involves moving the young, fledgling tree from its beginner’s container to its more permanent and open surrounding. Effectively transplanting these trees can add to their lifetime health and prosperity.
The best time for transplantation is during their dormant phase, ideally late winter to early spring before buds break out. This equips the tree to cope up with the stress of movement and adapt to new surroundings successfully.
Choosing the Perfect Spot
When selecting a site for translocation, consider the full growth potential of the tree. Plum trees require a significant amount of space to grow and spread their branches. An ideal location would be one that gets full sun exposure for about 6-8 hours per day and has well-drained soil.
Prepping for the Big Move
Preparing the planting hole is a vital step here. The depth of the hole should be the same as the height of the root ball, and the hole’s width at least two to three times wider than the root spread. Keeping the hole wide enough eases root expansion, encouraging the tree to take root more effectively.
The Journey to a New Home
Once the hole is ready, place the tree gently and spread out the roots. Fill the hole halfway with the original soil and water it, allowing it to settle around the roots. This process helps get rid of air pockets, providing direct root-to-soil contact. Once moisturized, fill the rest of the hole with soil, firming it gently but ensuring not to compact it. Establishing a watering schedule is crucial post-transplantation.
Ongoing Care
Once the plum trees are in their new location, their journey is far from over. Consistent watering, weeding nearby area, and protection from wildlife are important factors for young trees. Additionally, in the initial years, prune the tree lightly to encourage a sturdy, well-spaced framework of branches.
The beauty of transplanting lies in this: Every fall of a spade, every placement of a sapling, and every splash of water contributes to the shaping of its future. So take delight in this meticulous process, for when the fruits of labor finally blossom, you can’t help but feel a sense of profound fulfillment. Plum tree care and transplantation may require a patient and nurturing hand, but the eventual rewards of tasty plum harvest make it a rewarding hobby. Rest in the knowledge that you are creating a delicious legacy, one plum at a time.
While growing plum trees from seeds may seem like a daunting task, it’s truly an experience that takes you closer to the marvels of nature. As you learn to select seeds, watch them germinate, and transplant saplings, you’ll develop a deep sense of fulfillment and a heightened understanding of life’s cycles. Long-term care, from watering to pruning, cements your bond with these trees. And let’s not forget, when the time comes, you’ll be enjoying delicious, home-grown plums as a reward. So why wait? Start your journey today and enjoy the fruits of your labor.


