
Grow Sweet Corn at Home Successfully
Growing sweet corn in your home garden can be gratifying and beneficial. Sweet corn not only serves as a delicious and nutritious food source, but it also adds a striking visual appeal to your garden. It’s essential to grasp the various stages of sweet corn growth, from germination to harvest, to achieve the best yield. Equally important is understanding how to prepare the soil adequately, ensuring it has appropriate sunlight exposure, soil pH, type, and spacing. This essay explores the full process, arming you with the knowledge you need to plant, grow, and harvest your sweet corn successfully.
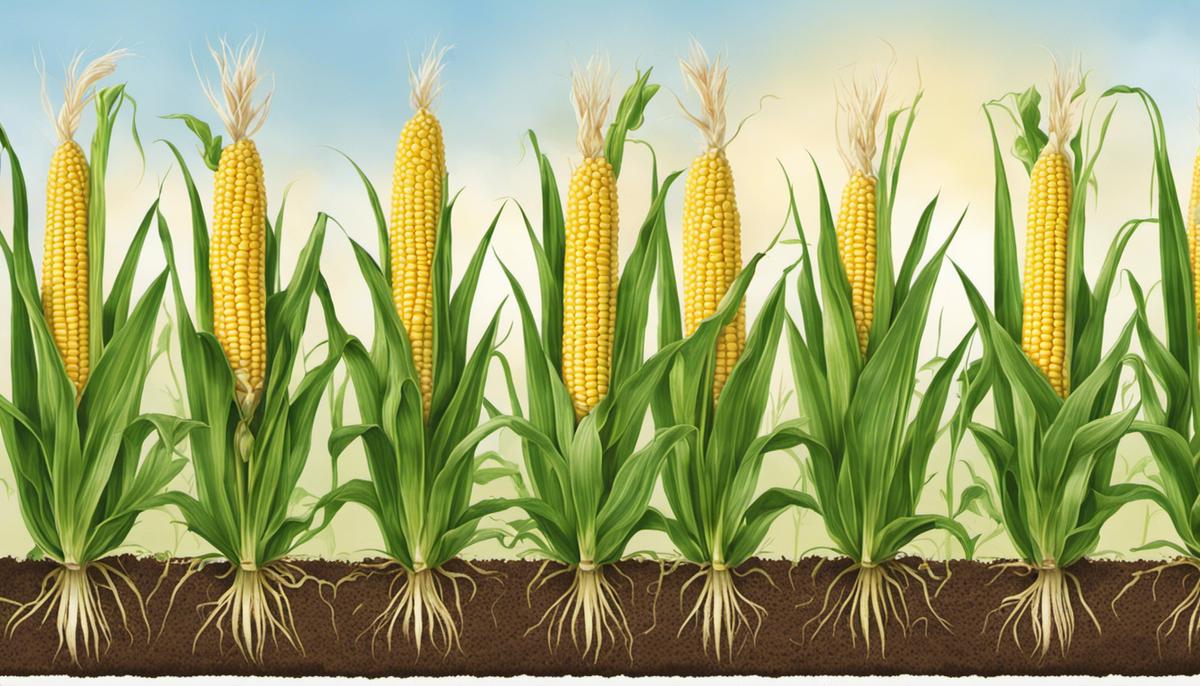
Understanding Corn Growth Stages
Raising sweet corn from seed to harvest can be one of the most rewarding experiences for a gardening enthusiast. Watching the corn grow through its different stages brings a kind of satisfaction that is shared by gardeners worldwide. Do you ever wonder what’s happening as your cornstalks skyrocket towards the sky? Let’s dive into the intriguing world of sweet corn and understand its various growth stages.
In gardening, there are typically five key growth stages for sweet corn – Germination, Vegetative, Tasseling, Silking, and Maturity. Understanding these stages helps in providing the ideal care and nutrients at the right time for optimal yield. So, here we go!
- Germination Stage
- Vegetative Stage
- Tasseling Stage
- Silking Stage
- Maturity Stage
The journey of the sweet corn plant begins with the germination phase. It usually starts about 7-10 days after planting the seeds. At this stage, the seminal root system forms, the coleoptile – a protective sheath protecting the emerging shoot, begins to push through the soil surface.
The next step in the growth cycle is the vegetative stage. It’s here that the corn plant actively grows stems, leaves, and a secondary root system. This stage can last up to 50-60 days based on the type of the crop and the conditions it’s grown in. There are several important occurrences during this phase, such as the formation of the nodal root system and production of tillers, which are basically corn’s version of branches. It’s also a critical phase where the potential yield of the crop is determined.
Once the vegetative phase is complete, corn plants enter the tasseling stage. It’s named after the ‘tassel,’ a spike of tiny male flowers at the top of the plant. The tassel will start shedding pollen. This pollen will help in fertilizing the female flowers that form along the ear of the corn—the tasseling stage signals the beginning of the corn’s reproductive phase.
The silking stage is when the silk – long thread-like stigmas, emerge at the end of the corn ear, ready to catch the pollen falling from the tassels. Each silk leads to a potential kernel on the cob, so it’s crucial that each silk is fertilized. The silk starts to turn brown and dry once the kernel is fertilized.
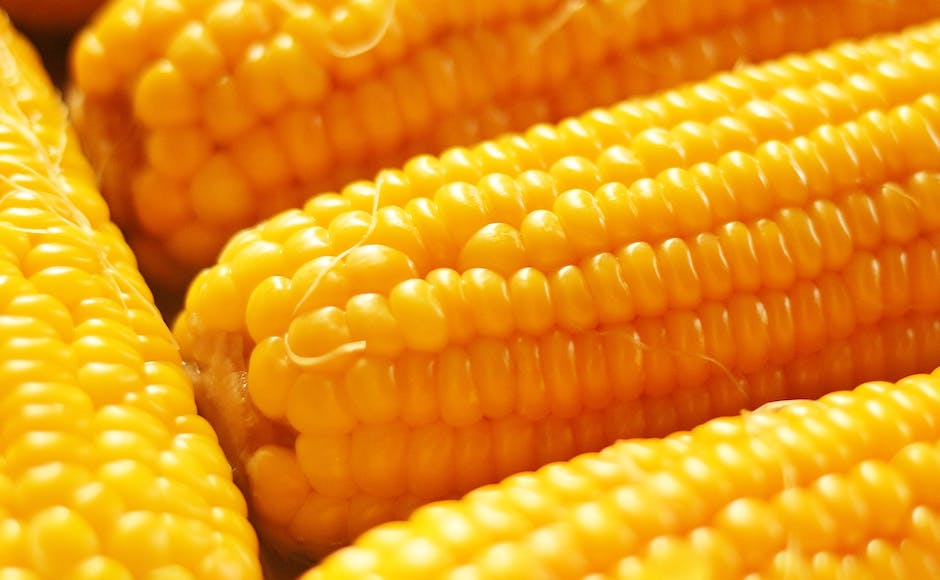
The maturity stage, the final growth phase, is where all the magic happens. The fertilized kernels start to develop on the cob, and the corn fills out. The ears drop down, while the husks turn from green to a light brown. As the kernels reach their full size and lose about half of their moisture content, they become milky – it’s the perfect moment when the sweet corn is ready to be picked and enjoyed!
Each tiny corn seed embarks on a journey, transforming into a towering cornstalk with ripe, juicy kernels. Understanding these stages of growth helps enhance the yield and the quality of the sweet corn, making for an exceptional homegrown treat. Have patience, provide the right care during each stage, and Mother Nature will reward you with ears of sweet, crunchy corn! Enjoy the fruits of your labor and the elation of growing your own food. The complexity, the science behind it all, is awe-inspiring, unveiling the true art of gardening. The magic of corn growth, indeed!

Preparing and Planting Corn
The Perfect Groundwork for Thriving Sweet Corn: Soil Preparation and Planting Techniques
Sweet corn is a summer staple that every home gardener should consider growing. Its juicy cobs right off the stalk can’t compare to store-bought. But nurturing sweet corn from a tiny seed to a bursting ear of corn requires some know-how. Particularly, the groundwork, concerning soil preparation and planting, is crucial for a fruitful yield. So, let’s delve right into it!
PREPARING THE SOIL
A thriving corn crop begins with fertile, well-prepared soil. The golden rule: Not all dirt is created equal. Corn prefers a well-draining, loamy soil with a pH between 5.8 and 7.0. Too basic or acidic, and the seeds might be reluctant to grow, so it pays to begin by testing your soil’s pH level, which you can accomplish with a kit from your local garden center.
Next, turn your attention to organic matter. Corn is a heavy feeder, meaning it demands loads of nutrients to grow big and strong. You’ll want to enrich the soil with an organic compost or seasoned manure before planting time. A three to four-inch layer should be more than enough, ready to be tilled in.
Make sure to work the soil well, ensuring the organic matter is well integrated. In fact, tilling to a depth of around 12 inches is beneficial. The secret to success? Keep the soil loose and aerated, which will aid in root development and water retention. Top off with a high-nitrogen fertilizer to give budding corn plants that vital green-leaf energy boost.
PLANTING SWEET CORN
Once soil preparation is out of the way, it’s time to sow those seeds. Sweet corn prefers warm soil; seeds planted in chilly soil will likely rot before they ever have a chance to grow. Therefore, make sure soil temperatures are at least 55°F – better if it’s around 60°F to 70°F.
Corn is wind-pollinated, so it’s planted in blocks rather than single rows to ensure good pollination. Aim for about 15 to 20 plants per block for the best results. When planting, each seed should be sown approximately 1 to 2 inches deep and about 9 to 12 inches apart. This allows plenty of room for the corn stalks to grow without competition.
Watering the seeds immediately after planting will help them settle in and start the journey of growth. Following planting, it’s crucial to keep the soil consistently moist but never waterlogged. Overwatering can encourage root rot.
It may seem like a lot of work, but get these early stages correct, and you’re halfway to a healthy crop of sweet corn. Remember, preparing the ground and planting correctly is the genesis of harvesting mouth-watering sweet corn from your garden. Once you’ve set the stage right, an abundant yield is not far behind.
Maintaining and Harvesting Sweet Corn
Maneuvering the Intricacies: Maintenance and Harvesting of Your Plump Sweet Corn
Ready to explore the terrain beyond the tasseling, silking, and maturity stages? Good news! The adventure you’ve embarked on doesn’t end there, stick around as we dive deeper into the world of sweet corn cultivation. The experience so far might have shown you that sweet corn growing is not a monotonous hike, but an exciting expedition to experience, learn and master. Let’s pivot to another crucial component of that journey: meticulous maintenance and successful harvesting of your sweet corn.
First off, let’s delve into the aspect of disease and pest control. Sound knowledge in this area is decisive for bumper yields. The common pests and diseases that attack sweet corn include corn earworm, cutworm, and smut. The key is early detection, so regularly inspect your plants for signs of these. If detected, handpicking insects or using environmentally friendly pesticides can help combat this threat. It comes down to tender love and care for your sweet corn.
Important to note also is the concept of Crop rotation, a strategic approach that should not be downplayed. This cycle of rotating crops helps prevent soil depletion and controls pests and diseases that could curtail your sweet corn growth. So, after harvesting your corn, consider rotating it with a crop from a different plant family, say beans, cabbage, or tomatoes.
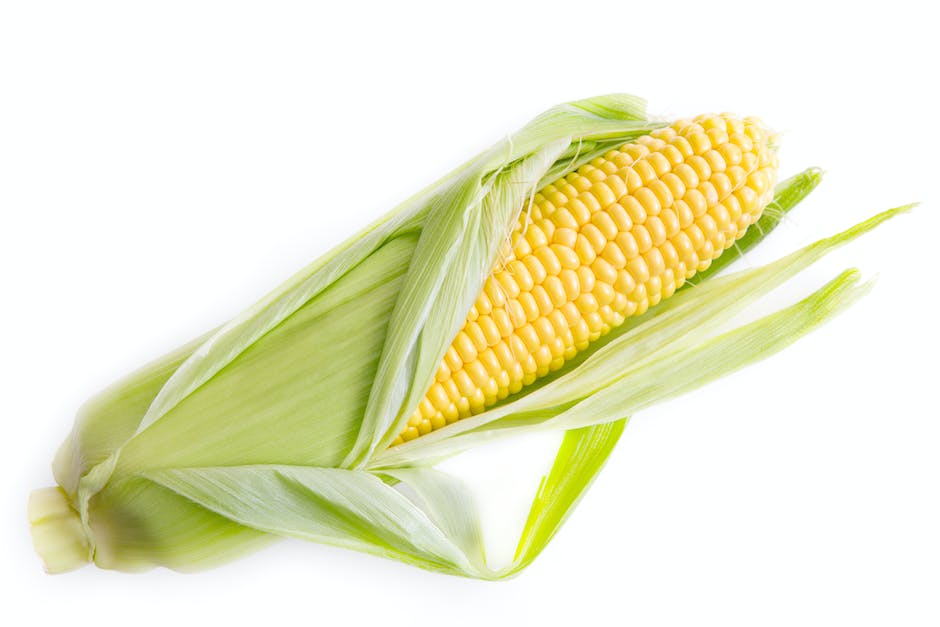
Now, let’s stroll into the most rewarding part of the voyage – the harvest. Sweet corn reaches peak readiness about 20 days after the first silk strands appear. If you prefer tender kernels, timing is everything. An effective method of checking readiness is the “milk stage” test where you pierce a kernel with your thumb. If a milky substance appears, it’s ready for harvest. Magic, right? When the perfect harvest day arrives, be ready at dawn, armed with a firm grip. Aim for the bottom of the ear, and twist it off the stalk.
Proper storage is as essential as the actual harvest. If you’re not planning on eating your sweet corn immediately, keeping the ears chilled slows down the conversion of sugar into starch, prolonging the sweet taste. Quick freezing of the kernels also locks in the maximum freshness and flavor.
Growing sweet corn can be an exhilarating hobby, offering a sense of achievement with every successful harvest. It’s not just about the process– with patience and proper guidance, sweet corn cultivation can be a truly rewarding endeavor. Let’s celebrate the wins, adapt and thrive along with the challenges, and keep sowing the love and care our sweet corn deserves. Let’s reach the top of the mountain and marvel at what’s been accomplished. Happy sweet corn cultivation!
Successfully cultivating sweet corn goes beyond just planting the seeds. It’s critical to maintaining your corn plants throughout their growth by ensuring proper watering, effective weed management, and adequate pest control. Additionally, recognizing when your corn is ready for harvesting and knowing how to efficiently do so will guarantee you enjoy the fruits of your labour at the peak of their freshness. With serious commitment and dedicated effort, you can grow your sweet corn, giving you both a sense of accomplishment and a home-produced food source for your kitchen table.


