
Grow Your Own Pineapple: A Simple Guide
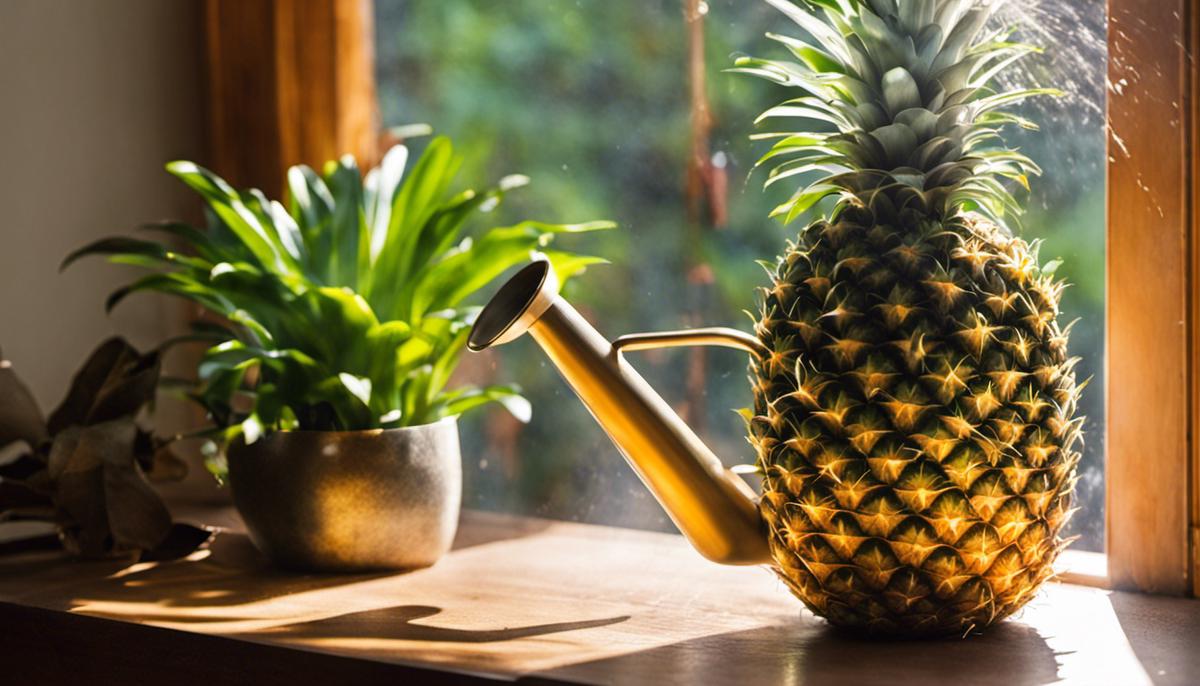
Gardening indeed is a pleasure-filled and enriching activity; more so, when it involves growing exotic fruits like pineapples right in the comfort of your own backyard. Pineapples not only offer a fresh and tangy delight to our taste buds but also carry a tropical charm that can add to the naïve beauty of our homes. This exciting guide elucidates some simple steps by which you can accomplish the feat of growing a pineapple plant from only a pineapple top. Starting from choosing a ripe fruit to nurturing the young plant, every aspect will be covered to ensure you a hassle-free, rewarding experience.
Preparing the Pineapple Top
Master the Art of Preparing Pineapple Tops for Planting
Excitement is in the air! It’s time to get our hands dirty and dive into a remarkable adventure: preparing pineapple tops for planting. Gardening enthusiasts, this is our moment to shine, a venture to tap into our green thumb skills. Transforming that delicious, juicy fruit into a thriving plant requires a precise, yet enjoyable process. So, let’s get down to brass tacks!
Step 1: Choose a Healthy Pineapple
The first chapter in our thrilling horticultural escapade begins at the grocery store. Scour over the heaps of pineapples and select a ripe one featuring a lush green top – our future plant. The leaves should look fresh, robust, and virus-free; it’s the keystone to gaining a thriving pineapple plant.
Step 2: Twist the Top Off
Once our pineapple champion is at home gleaming with potential, it’s time for the twist-off. Grasp the body of the fruit with one hand and the leafy top with the other. Gently, yet confidently, twist the top; it should separate smoothly from the fruit.
Step 3: Remove the Lower Leaves
Be fearless, and strip away the lower leaves, exposing about an inch of the stem. This will reveal tiny brownish bumps, or root buds, which will be the origin of our new roots.
Step 4: Allow it to Dry
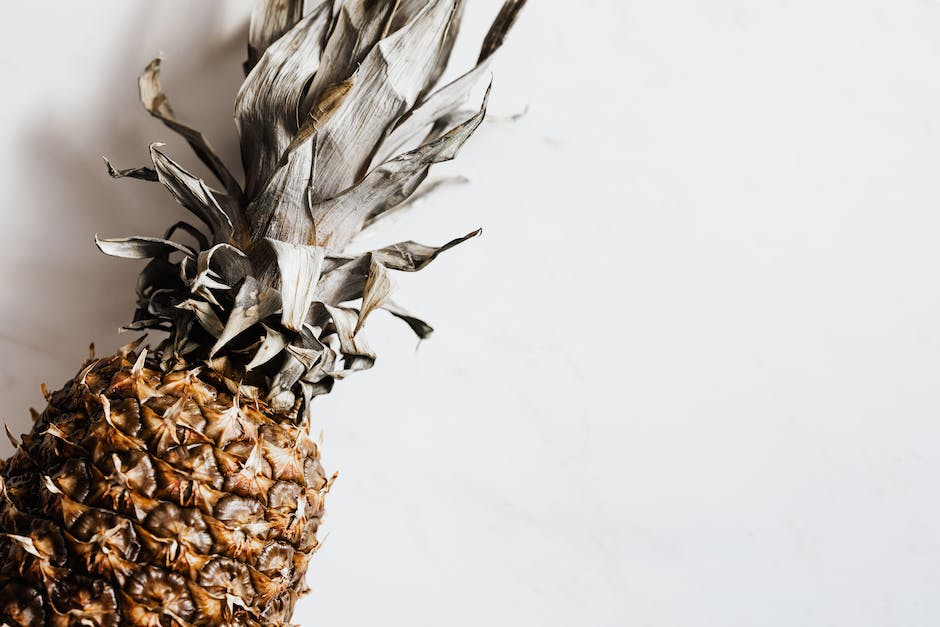
Patience is a virtue, and letting the pineapple top dry is the testament of that. Allow it to rest and dry for about a week. This step prevents rotting and gives it a sound rooting environment. Keep it in a well-ventilated area away from direct sunlight and watch as it prepares itself for the planting journey.
Step 5: Soaking the Top
Immerse the dried pineapple top in water ensuring only the exposed stem is submerged. It’s the perfect time for our little plant-to-be to take a sip, encouraging those dormant root buds to awaken. A glass jar can make an excellent makeshift nursery, allowing a close-up view of this rooting spectacle!
Step 6: Wait for Roots to Emerge
This is where the magic takes place. Hold your horses during this period, which may range from days to weeks, until roots start to emerge fruitfully. Remember to change the water every other day to keep it fresh and to prevent any algae or fungus growth.
Step 7: Planting Time!
Hooray! Once the roots are about two inches long, our humble pineapple top is ready to be planted. Opt for a pot filled with a mixture of peat, perlite, and sand. Plant it shallow, keeping the base of its leaves at soil level, and water thoroughly.
And there we have it, fellow gardening comrades – the journey from a pineapple top to a beautiful green plant. Remember, growing a pineapple plant demands patience as these tropical belles can take years to bear fruit. Until then, enjoy the journey, bask in the accomplishment, and keep those green thumbs busy!
Planting the Pineapple Top
Picking up from where we left off, we’ve just finished allowing our beautiful pineapple top to dry and then soaked it in water until roots have emerged, and now comes the exciting part: planting the pineapple top. This exciting hobby of growing your very own pineapple plant is going to get a lot livelier now!
Now with roots emerging from your pineapple top, it’s time to grab the perfect pot for your future pineapple plant. Aim for a pot that’s about 12 inches in diameter. One thing to remember, it’s absolutely essential that the pot has excellent drainage – Pooling water would mean root rot, and nobody wants that.
The soil you choose is just as crucial in this journey. An organically-rich, well-draining, sandy soil mixture is the way to go. Look for loamy or sandy soil, add a bit of perlite, and top it up with compost. This combination ensures your pineapple top has the best environment to prosper!
Now, on to the actual planting. It’s incredibly simple, just make sure you do it right. Make a small hole in the center of the pot, just deep enough to comfortably fit the roots. Anticipation surges as you place your pineapple top in the hole, tucking those fresh roots gently into the ground. Cover it up until the base of the leaves, stand back, and admire the masterpiece!
Voila! Your rooting pineapple top is planted, but the job isn’t quite done yet. Now it devolves into a mix of patience, proper care and a sprinkle of love. Pineapple plants crave bright light, but can handle partial shade. It’s also critical to keep that soil moist, not soaked – a fine mist of water spray usually does the trick!
As the seasons change, remember, pineapple plants are native to the tropics, so they’re not big fans of the cold. If temperatures drop below 60°F, it’s better to bring them indoors. Warmth and light give you the best shot at a blossoming plant.
Part of the fun of hobbies like this is the hands-on aspect. Keep checking for signs of growth and prune if necessary. Over time, you will develop an intuition for your plant’s needs.
In no time (well, a couple of years, technically), you’ll spot a gorgeous flower emerging from the center of your pineapple plant. This is where the magic happens, and, eventually, your own homegrown pineapple will appear.
Witnessing this transformation, victorious growth from a humble pineapple top, truly captures the spirit of this unique hobby. Keep up the persistence, and harvest the fruits (or should I say pineapple) of your efforts! Embrace the journey of every step, and there’s no doubt you’ll fall in love with this sweet endeavor.
Caring for the Pineapple Plant
Continuing on from planting the pineapple top in a pot with a well-suited soil mix, the next phase is paramount—nurturing the settled pineapple plant. The best way forward is to understand the specific requirements your new green friend has and catering to them diligently.
First up, the placement of the pot! Pineapple plants adore the sunlight; they crave it. Make sure you place your pot where it can revel in a good minimum of six hours of sunlight each day. A south-facing window perch might be your best bet indoors. If you live in a warm, sunny climate, your pineapple would be typically happiest outside.
Speaking of outside, instinct may paint a sunny image of pineapples basking in the heat, but note that they actually detest too strong sun. If the rays get too hot, shielding your plant by moving it to a shaded area or using protective covering will prevent leaf burn and preserve this sun lover’s vitality.
Next on the list—watering. Pineapple plants require a moderate watering schedule. Frequency truly depends on the climate and placement. If it’s in a hotter location, you might need to water it every alternate day. A cooler spot may only require watering once a week. The key is to not let the soil dry out completely. But tread the line cautiously, overly soggy soil is as harmful to the plant. A good rule is to water until it begins to drain out of the bottom.
An underwatered or overwatered pineapple plant will show its discomfort. Yellowing leaves indicate the plant is thirsty, while browning leaves point to too much water. Comprehending these signals will make caring for your pineapple plant a breeze.
Now let’s think frost. Pineapple plants love the warmth, so any drop below 50°F can be alarming. In case of the mercury plunging, consider moving your outdoor plant undercover or indoors. An indoor plant is easily manageable, just keep it away from drafty windows.
Growth checks are pivotal. The pineapple top you planted would eventually sprout broader, spiked leaves. Maintenance-wise, remove any dead or yellowing leaves regularly to avoid fungus or rot setting in. Be gentle and patient. Pineapple plants grow slowly, but the payoff is indeed gratifying.
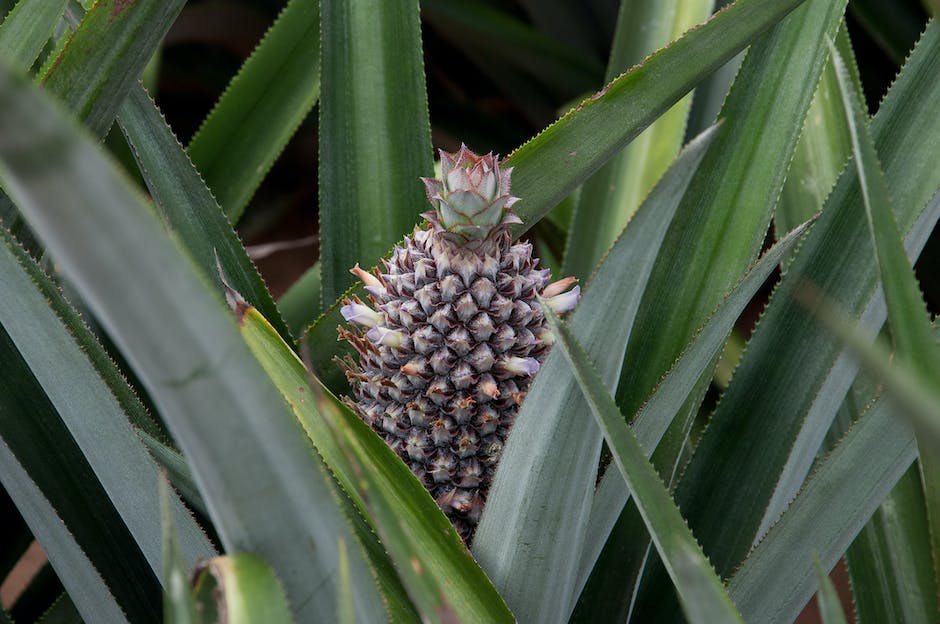
One day, the thrill of spotting a red or purple flower starting to appear at the plant’s center will leave you breathless. Now, it’s just a matter of time before that flower closes up and forms a tiny green pineapple. This adorable baby pineapple will eventually grow to a size suitable for harvesting and basking in the pride of your homegrown tropical treat.
The process requires patience but the anticipation of nurturing something from scratch to fruition is indeed exhilarating. This journey with a pineapple plant is not just about the end product; it’s about the steps, the learning, and the close connection with nature. Happy gardening!
Freeman Tilden once said, “The best education in the world is that got by struggling to get a living.” By understanding how to correctly prepare, plant, and care for a pineapple plant, you are gaining firsthand education and experience that extends beyond horticulture. Not only is growing your own pineapple plant an eco-friendly choice, but it also provides the opportunity to garner a deeper connection and appreciation for the food we eat and the delicate processes involved in its growth. May your pineapple cultivation journey be as refreshing and flavorful as the fruit itself, providing you not just a tasty fruit but also the joy and satisfaction of cultivating life.


