
Growing a Plum Tree from Seed: A Simple Guide
Growing a plum tree from a seed is an intriguing yet rewarding journey, teeming with delicate steps of preparation, planting, as well as post-planting care and transplantation. This process is brimming with learning opportunities related not only to the cultivation of this particular tree but also the overarching principles of nature and its mesmerizing process of growth. From culling a ripe plum, stratifying its seed, preparing the right soil mixture to the subtle yet dignified act of planting the seed, every step is a respectful nod to the natural world. This guide elucidates these phases in a manner that is engaging and feasible to any curious novitiate.
Preparation For Planting
Embarking on A Fruitful Journey: Prepping to Plant Your Plum Seed!
How exciting it is to delve into the world of gardening, and specifically, the delightful domain of fruit trees! There’s an invigorating thrill that accompanies our beloved hobby. And today’s topic? Well, it’s all about the prep required to plant a plum seed – such a simple seed that holds the capacity to burgeon into a robust, fruit-bearing tree.
To plant a plum seed successfully is to start a beautiful relationship between human and nature. It’s all about nurturing, patience, and meticulous care. This venture requires some preparation, but don’t fret; it’s a simple process. Here’s the breakdown:
- Seed Selection and Cleaning: Ideally, home-grown plum seeds are considered superior to market-bought for this purpose, primarily because of freshness and proper ripening conditions. Rinse the pit under cool, running water, and be thorough in removing the fleshy parts. Pat the plum seed dry with a clean, soft cloth.
- Cracking Open: This step is crucial and requires precision. Using a pair of pliers, gently crack open the hard outer shell of the plum seed. Make sure to do this over a clean surface to collect the seed inside. Keep those fragile seeds safe!
- Stratification Process: Before sowing, seeds need to be exposed to the chill of winter – a process called stratification. This can be successfully simulated at home. Mix the plum seed with damp peat or sand, place this mixture in a plastic bag, and store it inside your refrigerator. This cold treatment helps trigger the seed’s germination process.
- Duration: During stratification, make sure to check the seeds every week for any sign of fungal growth. If fungus is found, rinse the seeds with warm water and replace the moist medium. This process should last about 10-12 weeks. When a white, root-like structure starts to emerge, it’s time to move to the next step.
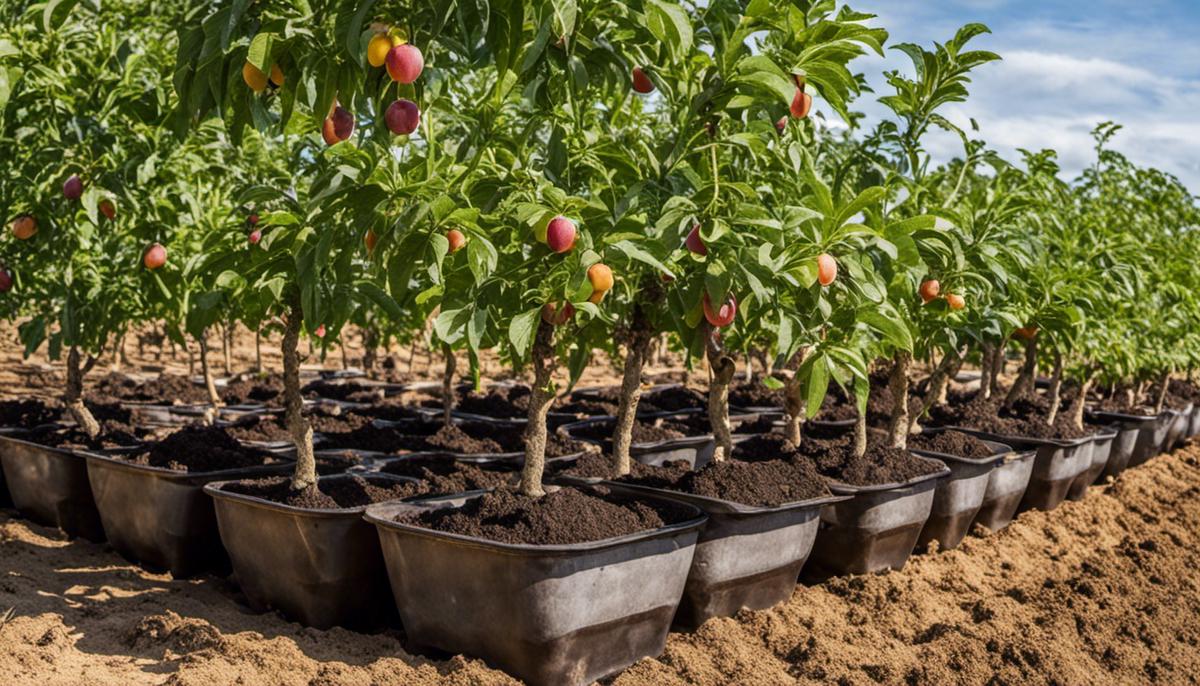
- Basket Time: It’s about three months later, and the seed is ready to move out of the fridge. Take it from the cold and directly put it inside a small basket filled with compost. Ensure the compost is adequately drained to avoid waterlogging.
- Settling in: Situate the basket in a location that can receive full sunlight. Water it moderately and regularly. And voila! The wait begins.
These are the preliminary steps that lay the foundation for a gracefully growing plum tree. They aren’t complex by any means, yet they’re crucial to usher in the verdant growth for which we all strive. So let’s tread this path of meticulous care and nurturing, because the rewards – an efflorescent plum tree, and the satisfaction of a successful gardening venture – are surely worth these efforts.
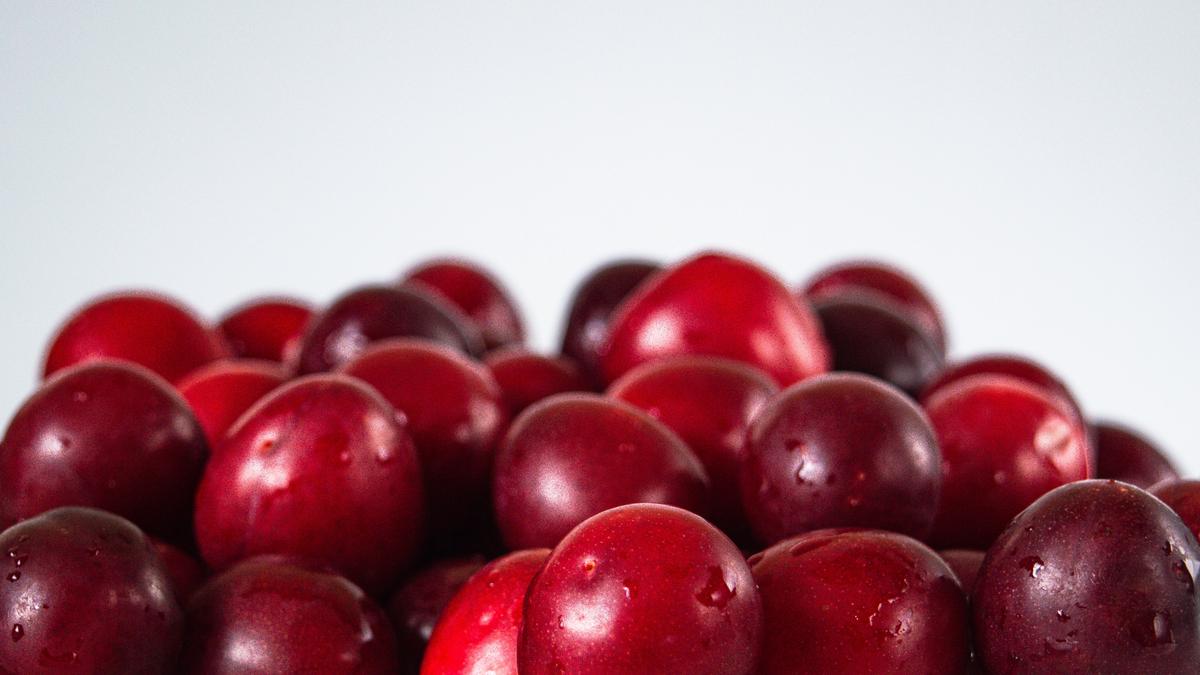
Photo by imsogabriel on Unsplash
Planting Process
Title: From Seed to Splendor: The Journey of the Plum Tree
Following the careful selection, thorough cleaning, precision in cracking open the seed for stratification, strict maintenance of optimal conditions during the stratification process, and cautious inspection for fungal growth, it’s finally time for the next phase, planting and caring for the plum tree. The passion and commitment dedicated to this rewarding hobby will now overflow into nurturing this plant to its utmost potential.
It’s imperative to recall that the plum seed has been nestled in a basket teeming with nourishing compost, ideally placed in a sunny spot. The venture now moves into new terrain, focusing on consistent watering and ultimately, the nurturance of the plum plant.
One critical element to bear in mind is proper soil preparation. Incorporate organic matter into the existing soil, guaranteeing the correct nutritional level for the healthy growth and development of the seed. Blend compost, leaf mold, or well-rotted manure into the soil, enriching it significantly.
Proceed to transfer the sprouted plum seed from the basket, ensuring the root-side of the seedling is directed downwards. An ideal depth of 2 to 3 inches is recommended.
On completing the initial planting process, it’s essential to remember that consistency is key. The plum plant appreciates a humid environment, so there should be no hesitation in committing to regular watering. However, caution should be exercised to avoid water-logging, as it might lead to root rot.
As the plum plant grows, maintaining its surrounding environment is of utmost importance. Keep the area around the tree free from weeds and other plants that might compete with the plum tree for nutrients.
Pruning represents another important aspect of the care process. Regular trimming prevents overcrowding, keeps the plum tree healthy, and yields a much more bountiful harvest. It’s advisable to commence this process when the tree attains a height of about 3 feet.
Additionally, the usage of a balanced fertilizer during the growing season augments plant growth, ensuring the plum tree receives an ample supply of the nutrients it requires.
Be prepared for pests. Plum trees can be a magnet for aphids, caterpillars, and other pests. Implement organic pest control measures and consider consultation with local agricultural extension services for customized guidance on pest management.
Above all else, remember that patience is truly a virtue when embarking on this journey of growing a plum tree. Cherish the progression of the plant from a sprouted seed to a blossoming tree, sharing the glow of accomplishment admiring the fruits of hard-earned efforts. With time, patience, and ample care, the plum tree will undoubtedly yield fruits that will grace tables and reward efforts in the most delicious manner possible. Ultimately, the rewards reaped will serve as a testament to the love, dedication, and unwavering commitment instilled in this delightful gardening venture.
Post-Planting Care and Transplantation
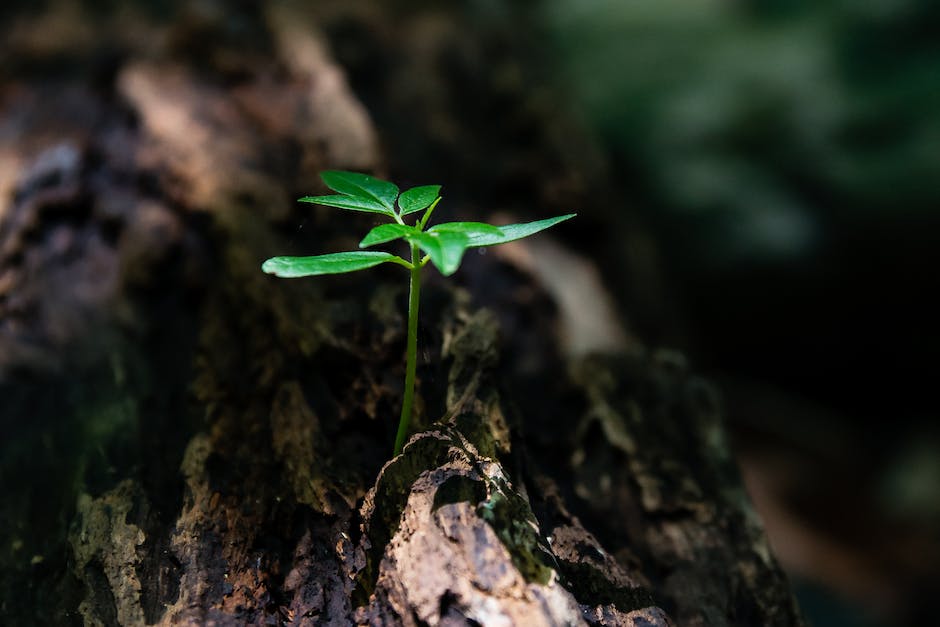
Following the process of stratification, the journey of growth has only just begun for the seedling. This phase, vital as it is, requires a consistent and careful approach. Being meticulous about care during this stage will ensure a healthy plant. Here are steps for caring for the seedling and guidelines on when it’s time to transplant.
Caring for the seedling:
- Provide Adequate Light: Busy as a growing plant may be, light remains a key resource for that needed energy boost while photosynthesizing. Keep the seedling in a bright, sunlit space, though not directly under scorching midday sunlight which could easily scorch the tiny plant.
- Heat Regulation: Temperature plays a crucial role in the wellbeing of a plant. Seedlings generally thrive at around 65-75°F. Ensuring this regulated temperature will create a conducive environment for the new sprout.
- Soil Moisture: While watering is indispensable, so is keeping a keen eye on the moisture levels of the soil. Overwatering seedlings can lead to “damping off,” a fungal disease that can kill young plants. Remember, damp, not soaked.
- Fertilizing: After the seedling develops its first pair of true leaves, it’s time to apply a diluted standard liquid fertilizer once every fortnight. This nutrient replenishment will supplement the soil’s nutrients and boost the tiny plant’s growth.
When to transplant?
- Check for Healthy Roots: True signs of readiness for transplantation involve the development of healthy and robust roots. Once they start to fill the pot and form a dense network, it’s a good indicator it’s time to begin preparations for transplantation.
- Consider the Size: Another good rule of thumb is that when a seedling reaches about three times the height of its seeding container, it is ready for the next step – a new pot.
- Check the Number of Leaves: A seedling with at least 2-4 mature leaves and developing multiple new ones is generally sturdy enough to sustain a transplantation.
Following these guidelines and paying careful attention to the seedlings’ signals will support their journey to maturity. Remember, patience is undoubtedly the constant companion of any gardening enthusiast. Happy gardening!
Though it takes patience to see the final result, there’s something inherently exciting about watching your plum tree thrive, knowing it all started from a single seed that once resided in your palm. As you continue to care for your plum tree, remember that consistent watering, regular fertilizing, and strategic pruning are key to a vibrant growth journey. Whether you decide to transplant your plum seedling to a larger container or directly into the great outdoors, the understanding and the respect you have for the process will guide you. Embrace this journey, attend to your tree with diligence and love, and await the season when you can pluck juicy, delicious plums right from your own garden.


