
Harvesting Sunflower Seeds: A Step-by-Step Guide
Thriving in fields and gardens, the humble sunflower not only adds a splash of vibrant colour to our landscapes but is also a bountiful source of nutrient-rich seeds. But when is the right time to harvest these sun-soaked gifts and how do we go about it? This guide elucidates the process, from recognizing the perfect time for harvest—usually when the flower petals have wilted and the back of the flower head has browned—to understanding the careful technique of cutting the head, removing, and extracting the seeds. Furthermore, the importance of strategically drying and selecting viable seeds for future cultivation will be demystified.
Understanding the right time to harvest sunflower seeds
Headline: Ins & Outs of Harvesting Sunflower Seeds at the Perfect Time
Seasoned or budding hobby gardeners alike, we’ve all been there – the beautiful and imposing sunflowers we’ve nurtured and watched grow towering high throughout the season have donned their huge seed-packed craters, and we’re eager to collect those prismatic kernels. But when is the optimal time to harvest sunflower seeds?
Harvesting sunflower seeds isn’t determined by a specific date in the calendar, but by signs from the sunflowers themselves. When well-heeded, these signs will ensure the seeds’ quality and maximize the yield.
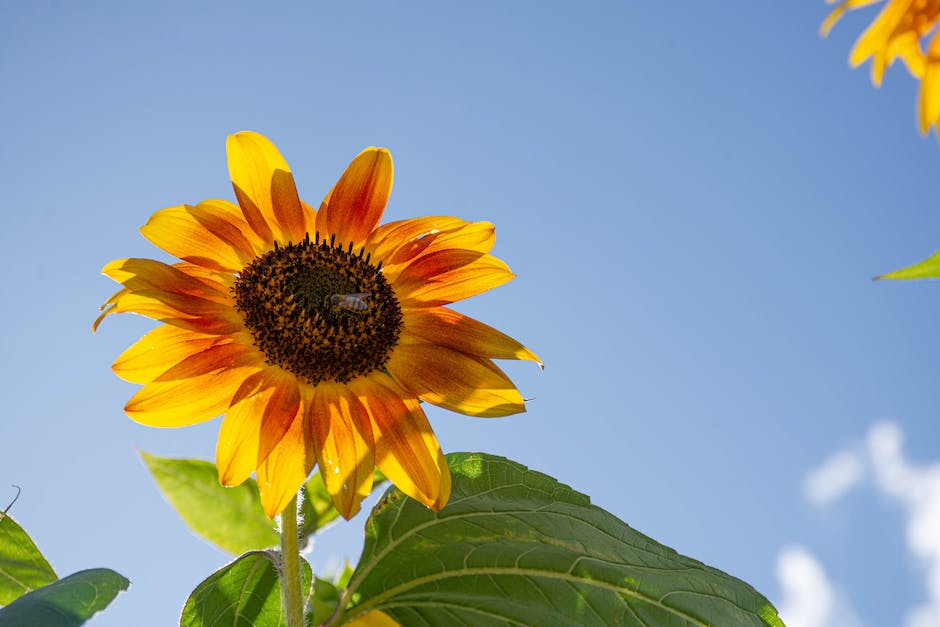
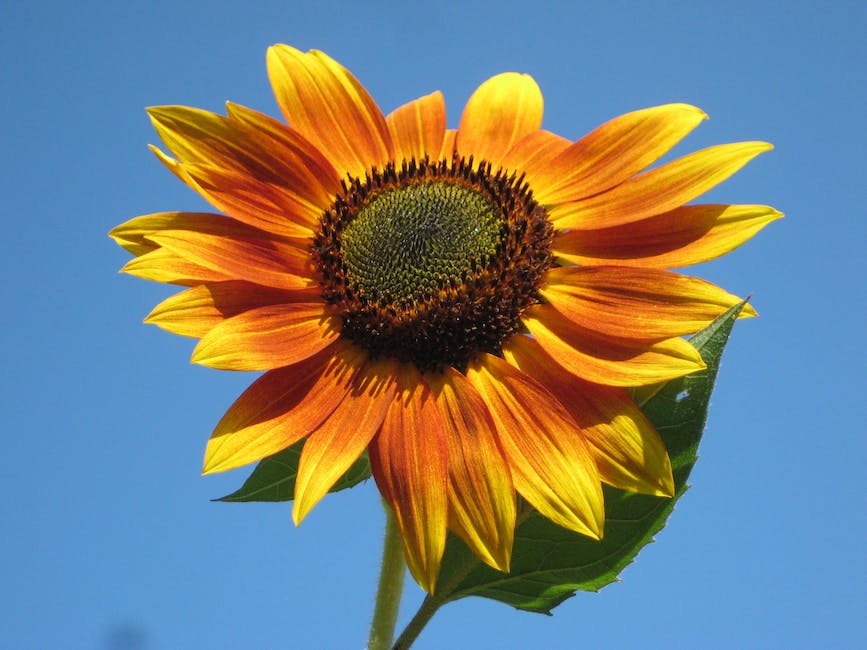
Firstly, let’s talk about sunflower maturity. A mature sunflower blooms magnificent petals around a dark head, the trademark look everyone aspires to capture in sunlit photographs. When the dazzling, golden rays shed, exposing the seed pot underneath, it signals the beginning of the harvesting countdown.
Approaching harvest time, the once-bright sunflower head turns from green to brown on the back, mirroring the autumn season unfolding in the background. During this phase, the head starts drooping due to the weight and might face the ground – a clear nod to progress. However, it isn’t quite the time yet to reach for the secateurs.
The unveiling moment is here when the head matures into a brown or yellowish color entirely, and seeds appear hard and plump. If debuting this physical form, our sunflower heads now house fully-developed and ready-to-harvest seeds.
A noteworthy point here is moisture. The ‘right time’ will also assure that the seeds contain minimal moisture which aids their longer storage life and prevents mold. Now, how to check it? An age-old method suggests pressing a fingernail into the kernel. If the seed indents but gets back in its shape promptly, it suggests less moisture, and you, my friend, can prepare to harvest.
Nonetheless, eager hobbyists must remember that overripe seeds aren’t ruinous and often attract birds, thus creating a balancing ecosystem. Covering the heads with cheesecloth or brown paper bags can deter feathered friends while the drying process continues.
In conclusion, prepare to herald the harvesting season when the sunflower’s head turns brown, tilts downwards due to weight, the seeds are hard and full, and the kernels are not overly moist. Harvesting sunflower seeds might involve patience, but the joy of cracking open a fresh sunflower seed makes the wait worthwhile.
May your sunflowers grow lofty enough to touch the sky and your seeds be bountiful! Happy Harvesting!
The process of harvesting sunflower seeds
Mastering the Art of Harvesting Sunflower Seeds: Steps to Follow
If you’re no stranger to the world of sunflower cultivation, you already know about the significance of timing and the essential signs of sunflower maturity. However, the process doesn’t stop at merely identifying the ripe heads. Read on as we take a deep dive into the additional steps needed to harvest seeds—the sunflower growers’ holy grail.
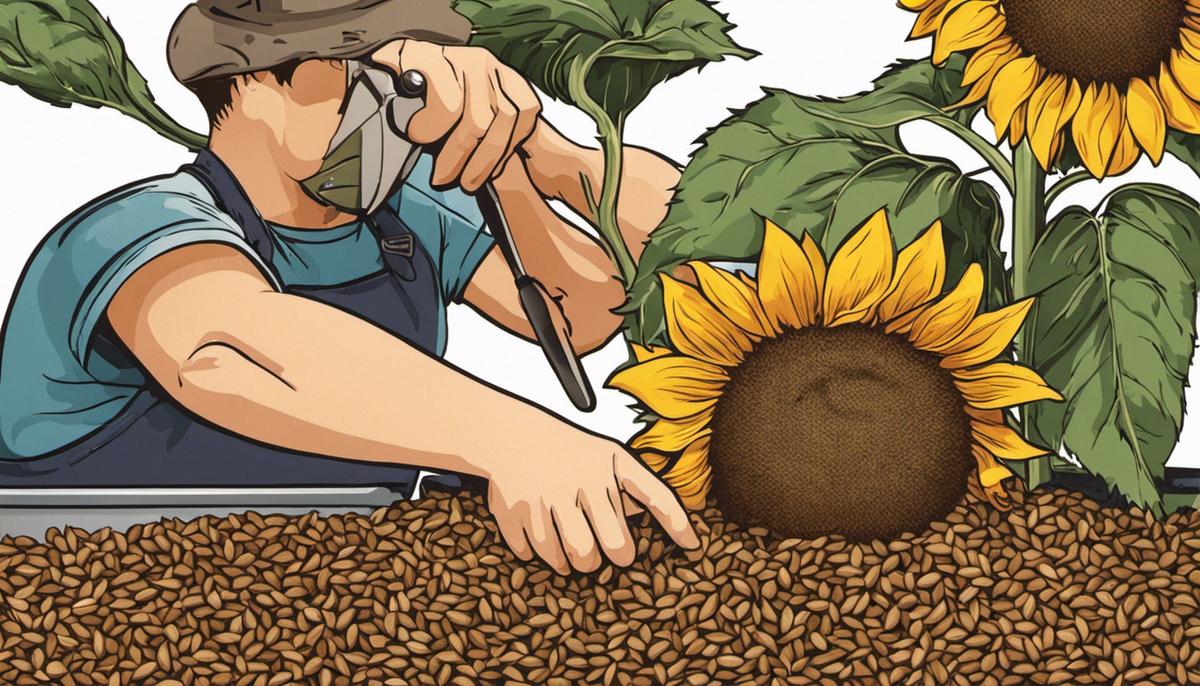
Step 1: Cutting
Once you’ve ascertained your sunflower is ripe and the conditions are optimal, it is time to cut the head from the stem. A sharp, clean knife or pruning shears are most effective. Cut the stem around 3-4 inches below the flower head. This leaves ample room to handle the cut head and aids in the drying process.
Step 2: The Drying Phase
Following the cutting, we now have to allow the seeds to dry. This step is crucial! Sunflower seeds need to be thoroughly dried for successful storage. For smaller flower heads, a well-ventilated, warm, dry area within your home is the perfect location. For larger heads, hang them upside down in an airy spot away from direct sunlight to prevent over-drying. Also, do not forget to cover them with a breathable cloth to fend off any curious critters.
Step 3: Remove the Seeds
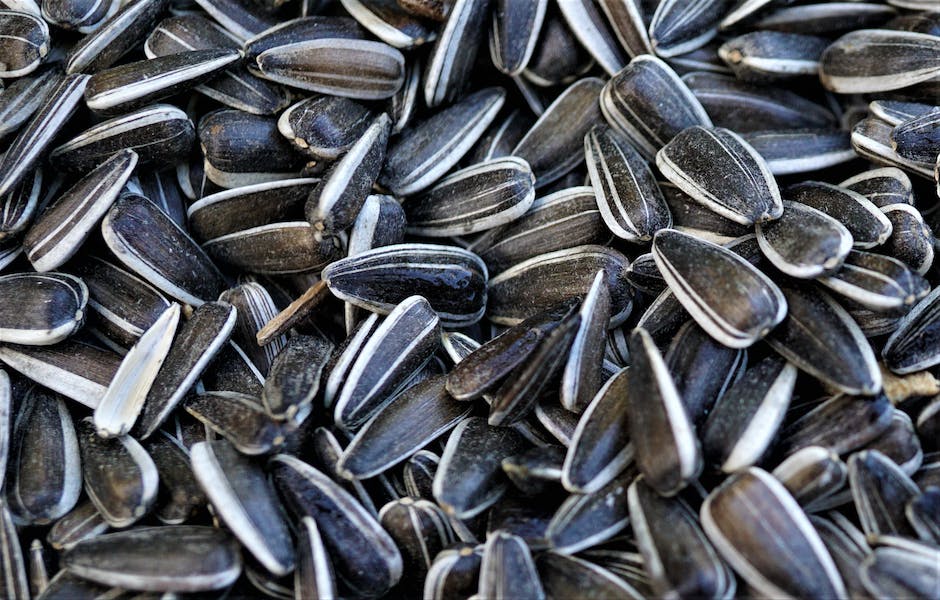
This step is perhaps one of the most therapeutic parts of the process. After a week of drying, your sunflower seeds should be ready for removal. What’s the secret to ease this process, you ask? A simple tool—a fork! Just run the fork over the dried seeds, and they’ll easily dislodge from the head. And voila! Beautiful, ready-to-use sunflower seeds!
Step 4: Final Drying Session
After removal, the seeds require one final bout of drying before they’re ready to be stored. Spread them out in a single layer on a flat surface and leave them for an additional day or two. This ensures any remaining moisture is eliminated—a necessity for avoiding unpleasant surprises, like fungi.
Step 5: Storage
Finally, your dried sunflower seeds are all set to be stored! Stored properly, they can last you through the colder months, providing a multitude of culinary uses. Pack them into airtight containers—glass jars work great—to maintain their flavor, texture, and quality. Remember to always store seeds in a cool, dark place for optimal longevity.
And there you have it—a comprehensive guide to harvesting sunflower seeds that goes beyond the basics! By following these instructions, you’ll be able to enjoy the fruits of your hard-won green thumb in no time. Remember, patience is key, and as with any hobby, it’s the journey that ultimately brings the most joy. So, get out there and begin your sunflower seed harvesting adventure today!
Storing Sunflower Seeds
Step 1: Slice Off Sunflower Head
Once you’ve confirmed your sunflower seeds are ready for harvest, you should deploy a pair of sharp garden scissors or pruners to sever the head from the stalk. Maintain a couple of inches of stem attached to the flower head, as this inching handlers a grip during the drying and extraction stages.
Step 2: Let Sunflower Heads Dry
There’s something fascinating and nearly ceremonial about the drying phase. This step demands a dash of patience but it’s worth the wait. If Mother Nature graces you with a stretch of dry, sunny weather, you can hang the sunflower heads outdoors to bask in the golden sunlight. However, indoor drying is just as effective. Simply hang the heads upside-down in an area with ample airflow and low humidity, like a shed or a well-ventilated room. Leave them there for about 2-3 weeks until completely dry.
Step 3: Unveiling the Seeds
Now comes the exciting part – extracting the seeds! Grab your dried sunflower head and simply rub your hand over the face of the sunflower, moving it back and forth until the seeds start to fall out. This process, although a bit messy, is thrilling as each sweep unveils a bounty of perfect sunflower seeds.
Step 4: One More Dry Run
Moisture is the enemy of longevity in stored seeds, so we commit to an extra drying stage to mitigate any remaining dampness. Scatter the seeds on a flat surface, ensuring they aren’t stacked or overlapping, and allow them to dry for a few more days. A drying screen or old window screen works wonderfully for this purpose.
Step 5: The Art of Storage
Behold! Your sunflower seeds are now ready to be stored. Ensure they’re cool and completely dehydrated before proceeding. Pour them into airtight containers or sealable bags, taking care not to cram them in too tightly. Glass jars, metal tins with tight-sealing lids, or vapor-proof freezer bags are all excellent choices for long-term storage. Don’t forget to label your containers with the variety and the year to keep track of your stored seeds.
Storing your sunflower seeds in a cool, dark, dry place will prolong their freshness and viability. The ideal temperature for seed storage is between 32-41°F. Consider the back of your refrigerator or a cool basement as prime storage spaces.
With every seasonal cycle, we confirm the magic embedded in the heart of every sunflower seed. The thrill in the harvesting, drying, extraction, and storage of these tiny life-holders is nothing short of wondrous. Now, with your newly stored sunflower seeds safe and sound, you are a step closer towards the next cycle of this blooming hobby.
Securing a fertile future from your sunflower harvest is not just in the harvesting but also in the subsequent care and storage of the seeds. The preservation of these hardy kernels is a science in itself, with special emphasis on the correct drying, cleansing, and storage circumstances. The mastery of these steps is vital whether your intent is eating, selling, or replanting. Fostered properly, these seeds will continue the cycle of life, sprouting other radiant sunflowers or providing a nutritious snack. Thus, with the wisdom to harvest and store correctly, we can all unlock the profound potential hidden within each sunflower.


