
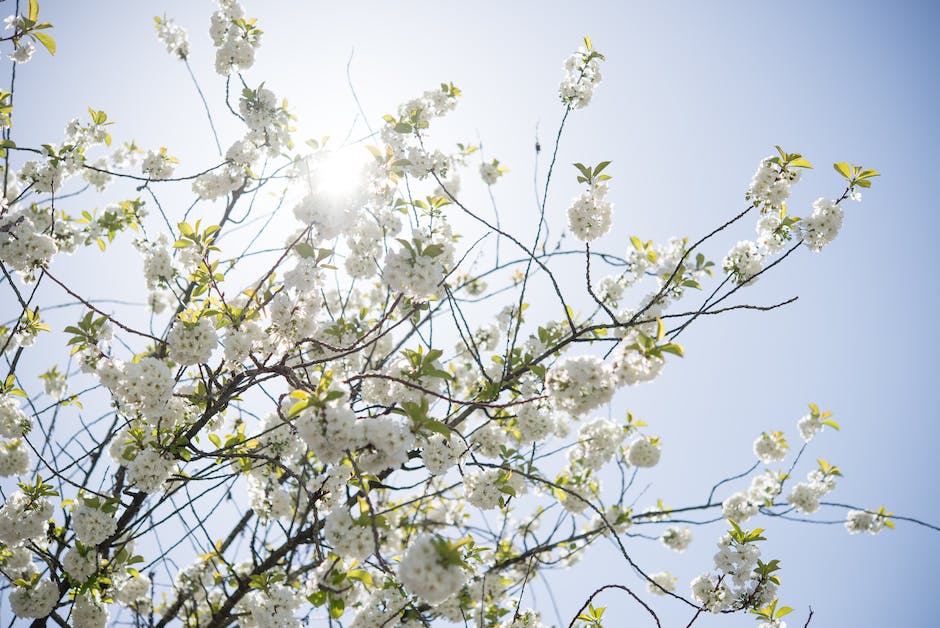
Planting Your First Plum Tree from Seed: A Guide
Planting a plum tree from a seed and seeing it burgeon into its full splendor counts among the most captivating and satisfying endeavors one can undertake. Beginning with the exploration of preparing the plum seed, a process that encompasses choosing a suitable seed, cleaning it, and making it ready for germination, this journey will incite a profound understanding of the natural cycles every living organism endures. Delving into the details of stratification, we touch upon a technique used to fabricate winter conditions crucial to a seed’s germination. Following the same natural course of progression, our attention will be channeled toward meticulously preparing the soil and planting the seed. Here, our considerations will dwell on selecting a place with an abundance of sunlight, testing the soil’s nutrient content, and finally, embarking on the actual planting. Such meticulous preparation is key to ensure a strong and fruitful life for the plum tree.
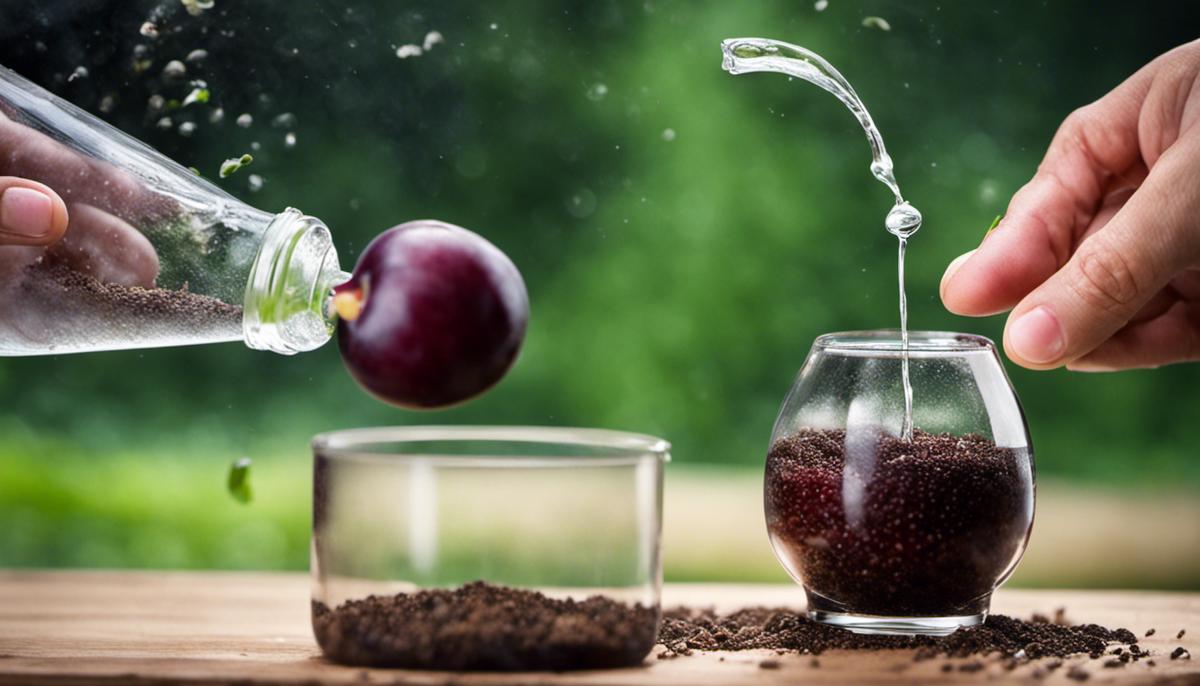
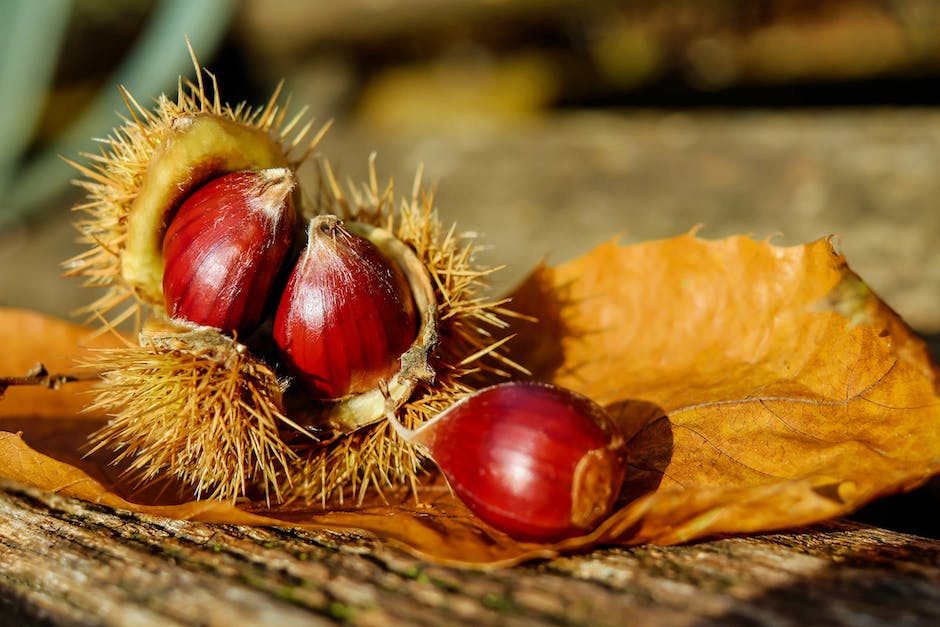
Preparing the Plum Seed
Unleashing the Promise of Plum Pits: Your Complete Guide to Preparing Plums for Planting
Step into the world of gardening, and you’ll find a trove of satisfaction and beauty waiting to be revealed, especially with the delightful plum tree. Grown from a simple seed, or as we garden enthusiasts like to call them, “pits”, the journey to a full-fledged plum tree starts with the preparation of a single seed. So, how about exploring the intricate yet rewarding process of preparing a plum pit for planting? Let’s dive right in!
First up, we’re going to deal with the outer coating. Because plum pits are naturally built with sturdy outer casings, they prove to be stubborn candidates for germination. So, for step one, soak your plum pit. Submerge it into a glass of lukewarm water and let it sit for about 24 hours. This softens the pit’s hard shell and paves the path for germination.
Then, it’s all about the moisture. Take yourself a sealed bag or an airtight container, and prepare a bed of moist peat moss. Burrow the pit snugly into the moss. Seal up the bag or close the container, place it in your refrigerator and let nature do its magic in what gardeners often term as cold stratification.
Now, patience enters the picture. The process is a slow one, often taking around 10-to-12 weeks. Keep your spirits high and your eyes on the prize! Reminisce about the words of Leonardo da Vinci, “Patience serves as protection against wrongs as clothes do against cold.” So, bide your time, and allow the pit to visit its humble cold stratification regime.
Through this stage, keep an eye on the peat moss. Ensuring that it stays consistently moist is your game plan here. The pit’s stubborn defense breaks down with the help of the moss, thereby encouraging the emergence of a small root.
Next up, tender care and a watchful eye. As soon as the root appears, it’s important to get started on the transition. Delicately excavate the pit from the bag or container, looking after the root to make sure it doesn’t break.
At the root of great gardening, pun intended, is thoughtful planting. It’s now time to prepare a pot with well-draining potting soil. Plant the pit in the soil with its root facing downwards, taking care to cover it lightly with soil. This early stage is key to your plum tree’s success, and thus it demands your vigilance. The fledgling plant needs sunlight but not direct scorching rays, and consistent yet moderate watering.
From the humble beginnings of a pit to embracing chances of growth, the journey of a plum seed mimics the one of a passionate gardener – both transform slowly into something beautiful and fruitful. Remember, the art of gardening is an elegant dance between nature’s cycle, patience, and the gardener’s nurtured knowledge in preparing a plum seed for planting. Will it be easy? Maybe not. But will it be worth it? Absolutely! Now, go forth, and unleash the promise of your favourite plum pit.
Remember, a hobby is the perfect blend of love, patience and a dash of courage – just like the journey of a plum seed to a plum tree.

Soil Preparation and Seed Planting
The Continual Ascend: Preparing Soil and Planting Your Germinated Plum Seed
Plum lovers and green enthusiasts, if you’ve followed our previous articles, you’re now abreast with the preparatory stage involved in transforming a plum pit into a fledgling tree. Incredibly, you may even have witnessed that momentous occasion when a green shoot breaches the shell of a germinated pit! But the journey doesn’t stop there. Today, let’s talk about the critical next steps: soil preparation and planting your germinated plum seed. These aspects are often overlooked but pivotal for a healthy and fruitful plum tree.
Planting a germinated plum pit isn’t as simple as just throwing it into a hole in the ground. Excellent soil preparation creates a healthy home for your tree, ensuring it gets all the nutrients, water, and air it needs. To begin, evaluate your proposed planting site. Is it well-draining? Plums love sunny locations but equally need soil that doesn’t stay wet after a heavy downpour.
Once you’ve found the perfect spot, it’s time to get that soil into prime condition. Typically, plum trees prefer slightly acidic to neutral pH levels (5.5 to 6.5). You may need to test your soil’s pH using an at-home kit and tweak it accordingly. It’s also worth noting that organic matter, like compost or well-rotted manure, can work wonders here. These materials add essential nutrients to the soil, while promoting its ability to retain moisture and improving aeration.
Now let’s move onto the grand event – planting your germinated plum pit! Dig a hole deep enough to accommodate the pit’s developing root system, realistically about twice as wide and deep as your pit is long. Place your germinated pit in the center of your hole, gently fanning out its roots if they are numerous. Be sure to position the pit so that the sprout is pointing upwards, as this will soon become your plum tree’s main trunk.
Cover the pit with your prepared soil, lightly pressing down to remove any unwanted air pockets. A common misconception is to plant seeds too deep – avoid this. Ideally, the top of your pit should be just below the soil surface.
Following planting, give your plum pit a generous splash of water to encourage further root development.
Don’t neglect ongoing care for your plum pit post-planting! Keep the soil consistently moist but not waterlogged. Mulching around the base of your emerging sapling helps maintain soil moisture and temperature levels while combating pesky weeds.
Journeying from pit to plum tree is a passionate endeavor, packed with excitement, anticipation, and a few surprises along the way. Proper preparation of the soil, correct planting of your germinated pit, and diligent care thereafter are all crucial steps towards fruitful success. Onwards, plum aficionados! The juicy rewards of your labors await.
Tree Care and Maintenance
Plum trees are a gratifying undertaking for the committed gardener. Beyond the seedling stage, these deciduous wonders require persistent care to maintain their health and productivity. Armed with the right information and a touch of diligence, your plum tree can provide luscious fruits for many seasons to come.
Once you have carefully planted your germinated plum pit, you have a new set of tasks. The first critical task is consistent watering. Keeping the soil moist, especially during the tree’s first year, encourages root establishment. It’s best to water thoroughly rather than frequently and shallowly. Deep watering is beneficial as it encourages roots to grow deeper into the soil, boosting the tree’s resilience during dry spells.
As your tree grows, proper pruning becomes a significant component of maintenance. A thumb rule is to begin pruning in the second year. Pruning plays a crucial part in maintaining tree health, promoting growth, and maximizing fruit yield. A common practice is to prune late winter or early spring when the tree is still dormant. This dormancy period ensures that the plum tree won’t suffer from pruning wounds during its active growth.
Onward to the thorny issue of pests and diseases. Plum trees are unfortunately susceptible to several stool pigeons like leaf curl, bacterial canker, and plum aphids. Early detection and intervention are vital in controlling these problems. Clean up fallen leaves and fruits to ward off pests, and consider organic or chemical treatments if necessary.
Feeding your plum tree the right nutrients also plays a critical role in its health. A balanced slow-release granular fertilizer, typically applied in the spring, can provide significant nutrients to improve tree vigor and enhance fruit production. Make sure to follow the instructions on the fertilizer packet to avoid over-fertilizing, which could potentially harm your tree.
And lastly, let’s not forget about the fruits themselves. Those wonderful, juicy globules of sweetness ripen typically around late summer. Jam makers and pie enthusiasts hold your horses, allow plums to mature fully on the tree for that perfect burst of flavor. Periodically test the plums for ripeness by giving them a slight squeeze; ripe plums will give under slight pressure.
The road to a bountiful plum harvest may appear long and winding, but the end result is nothing short of rewarding. Maintaining a plum tree demands a mix of vigilance, knowledge, and love. But when the tree rewards with its annual flush of delicious plums, all efforts feel worthy. As passionate gardeners, it’s these hard-earned victories that make it all worthwhile. Keep nurturing, and you’ll find that plum trees are not just providers of fruit but lifelong green companions. Happy gardening!
Indeed, nurturing the growth of a young plum tree demands our continuous attention and care. It’s a task requiring knowledge about adequate watering practices, skilful pruning, and measures to shield the tree against the elements. Furthermore, strategies to manage potential pests and diseases are of equal importance, as is knowing the tree’s life cycle. With patience and constant care, the tree will transform from a humble seed into a bountiful provider of juicy plums. It’s a unique journey with nature, a testament to the beauty of the life cycle, and by understanding and appreciating these processes, we connect with the fascinating realm of horticulture at a deeper level. Plant a seed, nurture a life, and relish the rewards of this extraordinary journey.


