
Simple Steps to Grow Plum Tree from Pit
Embarking on the journey of growing your own plum tree is an exciting and rewarding experience. It requires patience, care, and a little bit of knowledge on how to properly go through each stage of growth. From selecting the right plum pits, preparing them for planting, to taking care of a growing plum tree, each stage demands specific steps and conditions for you to succeed. This guide is designed to walk you step by step, from pit to tree. We will discuss choosing the right plum pits, preparing them for planting, the germination process, and finally, the correct methods for caring for your growing plum tree.
Selecting and Preparing Plum Pits
The Art of Selecting and Preparing Plum Pits for Planting
Embarking on the planting journey with a penchant for plums? By all means, let’s delve right in! This guide will embark on an adventure demystifying the process of selecting and preparing plum pits for planting.
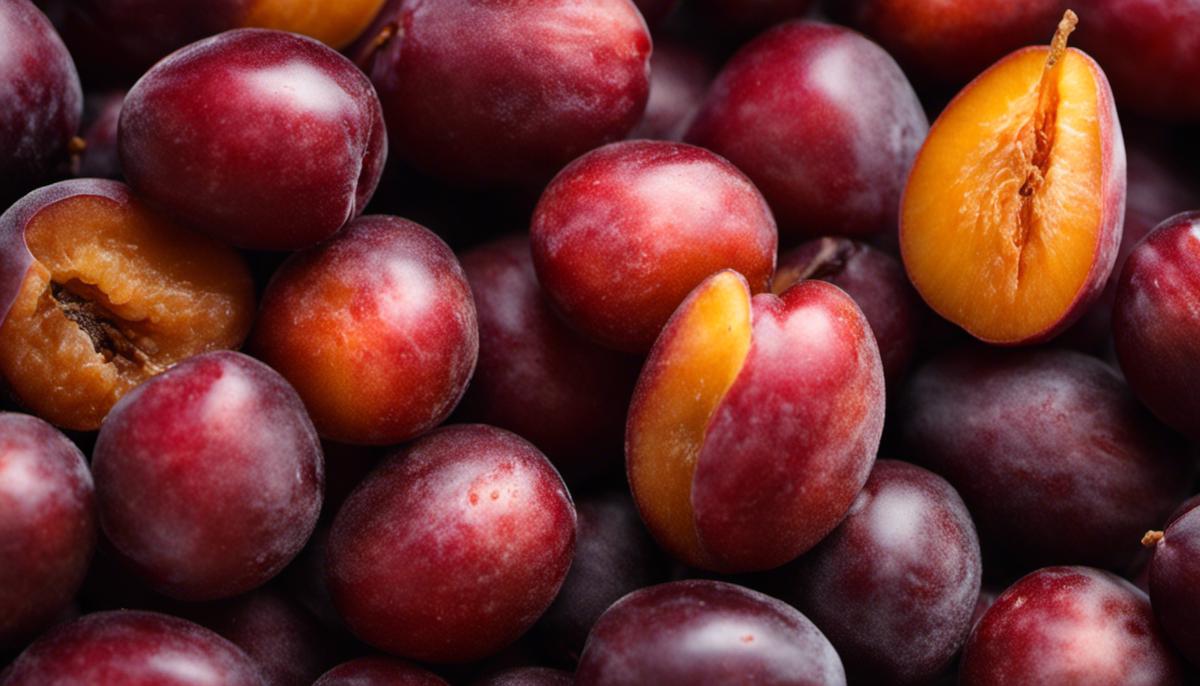
First and foremost, the foundation of planting plum trees begins with the careful picking out of a plum pit. Purchasing plums from a local grocer or a farmers market works perfectly fine. However, for a genuinely enriching and gratifying experience, consider savoring homegrown plums and after relishing, use the pits to grow new trees! Keep in mind, the quality of the fruit is often reflective of the tree it can bear. Therefore, selecting a juicy, healthy, and fully-ripe fruit increases the potential for a robust tree.
After the plums have had their moment of glory on the taste buds and all pits have been collected, it is time to clean these potential sprouters. Rinely rinse the pits under cool running water, ensuring all fruit flesh is entirely removed. By keeping the pits clean, we can prevent latent diseases and any potential fungal growth.
Next up is the process of stratification – a crucial step within the germination process for many seeds, especially those of trees and large shrubs. What is stratification, you may ask? Well, think of it as a simulated winter! It entails a chilling period that induces the seed to break dormancy, making it sprout-ready. Here, the pits experience a cold, moist condition that prepares them for planting.
Effortlessly stratify the plum pits by placing them in a sealable plastic bag with slightly moistened peat moss or sand. Remember to slightly dampen rather than soak. Then, store this bag in the refrigerator for 6-8 weeks. This mimics the chilly winters aiding in breaking the dormancy. Don’t forget to label the bag with the date for easy tracking!
Once the 6-8 weeks have passed, it’s time to check if the pits are ready. A ready-to-grow pit would have cracked open, revealing a small sprout.
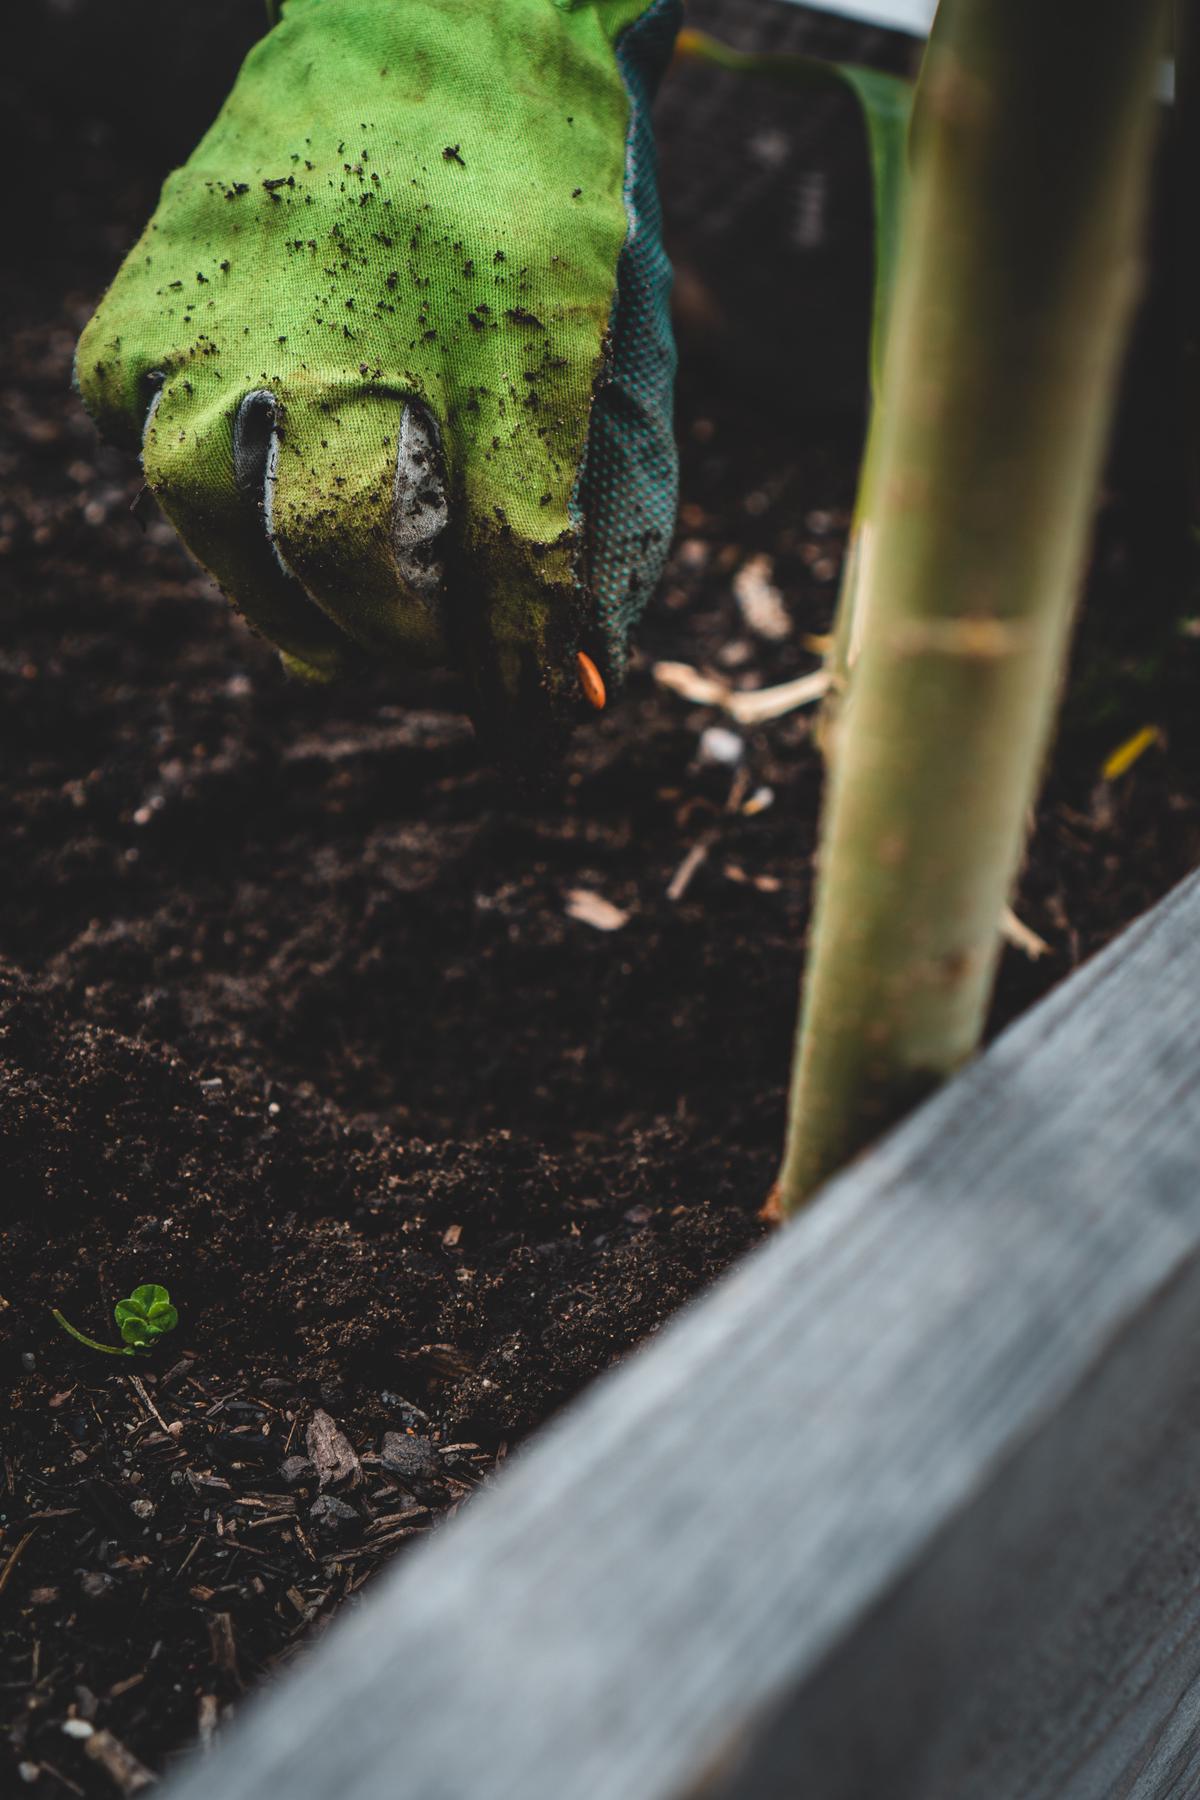
For growing plum trees from these sprouted pits, we proceed with planting! Choose a suitable pot with good drainage, as the last thing any plant wants is waterlogged roots. Fill the pot with an enriched potting soil mix, and nestle the sprouted plum pit inside, ensuring the sprout is pointing upward. Cover the pit with about an inch of soil.
And voila! You’ve now officially embarked on your journey to grow plum trees from pits! However, remember the adventure doesn’t end here. A successful grow requires time, patience, and plenty of care. Keep the soil constantly moist but not waterlogged, provide plenty of direct sunlight, and protect the young sapling from harsh weather conditions. Here’s to enjoying the fruits quite literally, of your labor, happy planting!
Planting and Germinating the Plum Pit
Let’s head right into the next part of our exciting adventure in gardening and discuss how to monitor and facilitate growth once you’ve successfully planted your germinated plum pit. Growing your very own plum tree from a simple pit is no small feat, and it undeniably tickles one’s green thumbs with joy. After all, plum trees are wonderful, resilient fruit trees that reward patience with sweet, juicy plums!
Make no mistake, maintaining and caring for the sprouted pit is equally as important as the processes we previously discussed. A key ingredient here is consistency. Providing these young saplings with a stable environment fosters robust growth, and over time, these seedlings will mature into strong, healthy plum trees.
Firstly, ensure that the pot gets enough sunlight. Generally, a plum tree requires at least six hours of direct sunlight to blossom. Thankfully, growing your tree in a pot provides the liberty to move your sapling around and position it directly under optimum light conditions. However, overexposing the young tree to the scorching midday sun isn’t advisable. Aim for a balance between exposure and shade.
Location is crucial too. Depending on your region, ensure that your plum sapling is protected from harsh winds or frosty conditions, which could hinder its development. Inside, placing it near a sunlit window is perfect, while outdoors, a sheltered spot that still garners sunlight will do the trick.
Watering your sapling is fundamental, though it comes with a twist. While plum trees love lots of water, they don’t appreciate soggy or waterlogged soil. It’s a delicate balance that requires attention. The soil should be watered deeply, allowing the water to reach the roots, but remember to check that the pot has effective drainage to prevent waterlogging. The watering routine can vary depending on climate, seasons, and local conditions, so observing your sapling’s response is essential and adjusting accordingly is pivotal.
Furthermore, fertilizing your soil can foster healthy growth. Opt for a balanced fertilizer, preferably organic and slow-releasing, but resist overdoing it. Too much fertilizer can cause leafy growth at the expense of fruits. Adhere to the product’s instructions and remember, less is more here, especially for younger trees.
Last
ly, prune your sapling, but sparingly, as and when necessary in early years to establish a good shape. Later on, more pruning will be required, mainly to remove damaged or crowded branches and to maintain light levels at the center of the tree.
In all honesty, growing a plum tree from a pit is a labor of love. And the joy of plucking the fruits of your toil cannot be described aptly in words. Our beloved plum pits deserve our best efforts, so here’s to growing fantastic fruit trees from humble beginnings!
Caring for the Growing Plum Tree
Recognizing the Time to Transplant
Once your plum sapling has grown strong and sturdy in the pot, it’s time to plan for transplantation into the ground. The roots should be well-developed and able to handle the rigors of the outside world. In the spirit of careful deliberation, a good sign your sapling is ready for this next step is when it exceeds the height of its pot and starts putting on new growth with vigor.
Choosing the Perfect Spot
Selecting the right location for your plum tree is crucial. Remember, plum trees bask in full sunlight and they need well-drained soil to optimize growth. Look for an area that can provide these conditions. Moreover, understanding your soil type is essential as plum trees do best in slightly sandy, but nutrient-rich soil.
Digging the Right Hole
When you are ready to plant, dig a hole that is approximately twice as wide as the root ball of your plum tree, but no deeper. This gives the roots room to spread out, yet won’t leave them waterlogged if the hole is filled with water.
Adding Fertilizer
Before you backfill the hole, add a layer of slow-release, organic fruit tree fertilizer at the bottom. It will work wonders in providing the nutrients your tree needs to thrive.
Planting the Tree
Plant the tree at the same depth it was growing in the pot, ensuring the graft point (if present) is above ground level. After placing the tree in the hole, backfill with soil and compact gently to remove air pockets. Water well after planting.
Regular Watering
Watering your plum tree is vital to its survival, especially right after transplanting. However, avoid the instinct to over-water, which can lead to root rot. Moderation is the key here, watering deeply and infrequently is recommended.
Annual Pruning
Pruning your plum tree annually is essential to maintain its shape. Aim to create an open center to allow sunlight and air in, which aids in pest control and optimal fruit production.
Year-Round Pest Control
Keeping an eagle-eye out for pests is paramount for the success of your plum tree. Regularly check for evidence of common tree pests and diseases. When noticed early, these issues can be managed with ease.
Enjoying the Fruits of Your Labor
Finally, when all your patience and careful tending bear fruit, quite literally, it’s time to enjoy them. Eat fresh from the tree, or consider learning how to turn them into delicious jams, pies, or plum wines.
Growing a plum tree from a pit might seem like a long journey, but it’s certainly one full of anticipation, excitement, and potentially delicious outcomes. It’s also a journey that connects you deeper to nature and teaches invaluable lessons about patience, care, responsibility, and a sense of fulfillment. So gear up and get started, and in time, be ready to celebrate your very own fruit bearing plum tree!
Successfully growing a plum tree from a pit is not only an enjoyable and fulfilling activity, but it also provides you with an environment-friendly source of fresh and delicious plums. As we’ve learned, selecting and preparing the plum pit, planting and germinating it, and providing the necessary care are all crucial steps in the process. It requires time, patience, and most importantly, regular maintenance in terms of proper sunlight, appropriate watering, and timely fertilizing. Anyone can partake in this endeavor; it is hobby well worth the time and effort. Remember, a plum tree cultivated with love will reward you with the most delicious plums!


